Conversation Guidelines live on the Character Details tab of the Scenario Studio. You must have edit access to a scenario (be the owner or a designated editor) to change them.
Finding the Editor
Open the scenario in Scenario Studio
From any scenario you own, click the pencil icon or pick Edit Scenario from the three-dot menu (⋯). See Edit a Scenario for the full open-and-edit flow.
Two Kinds of Sections
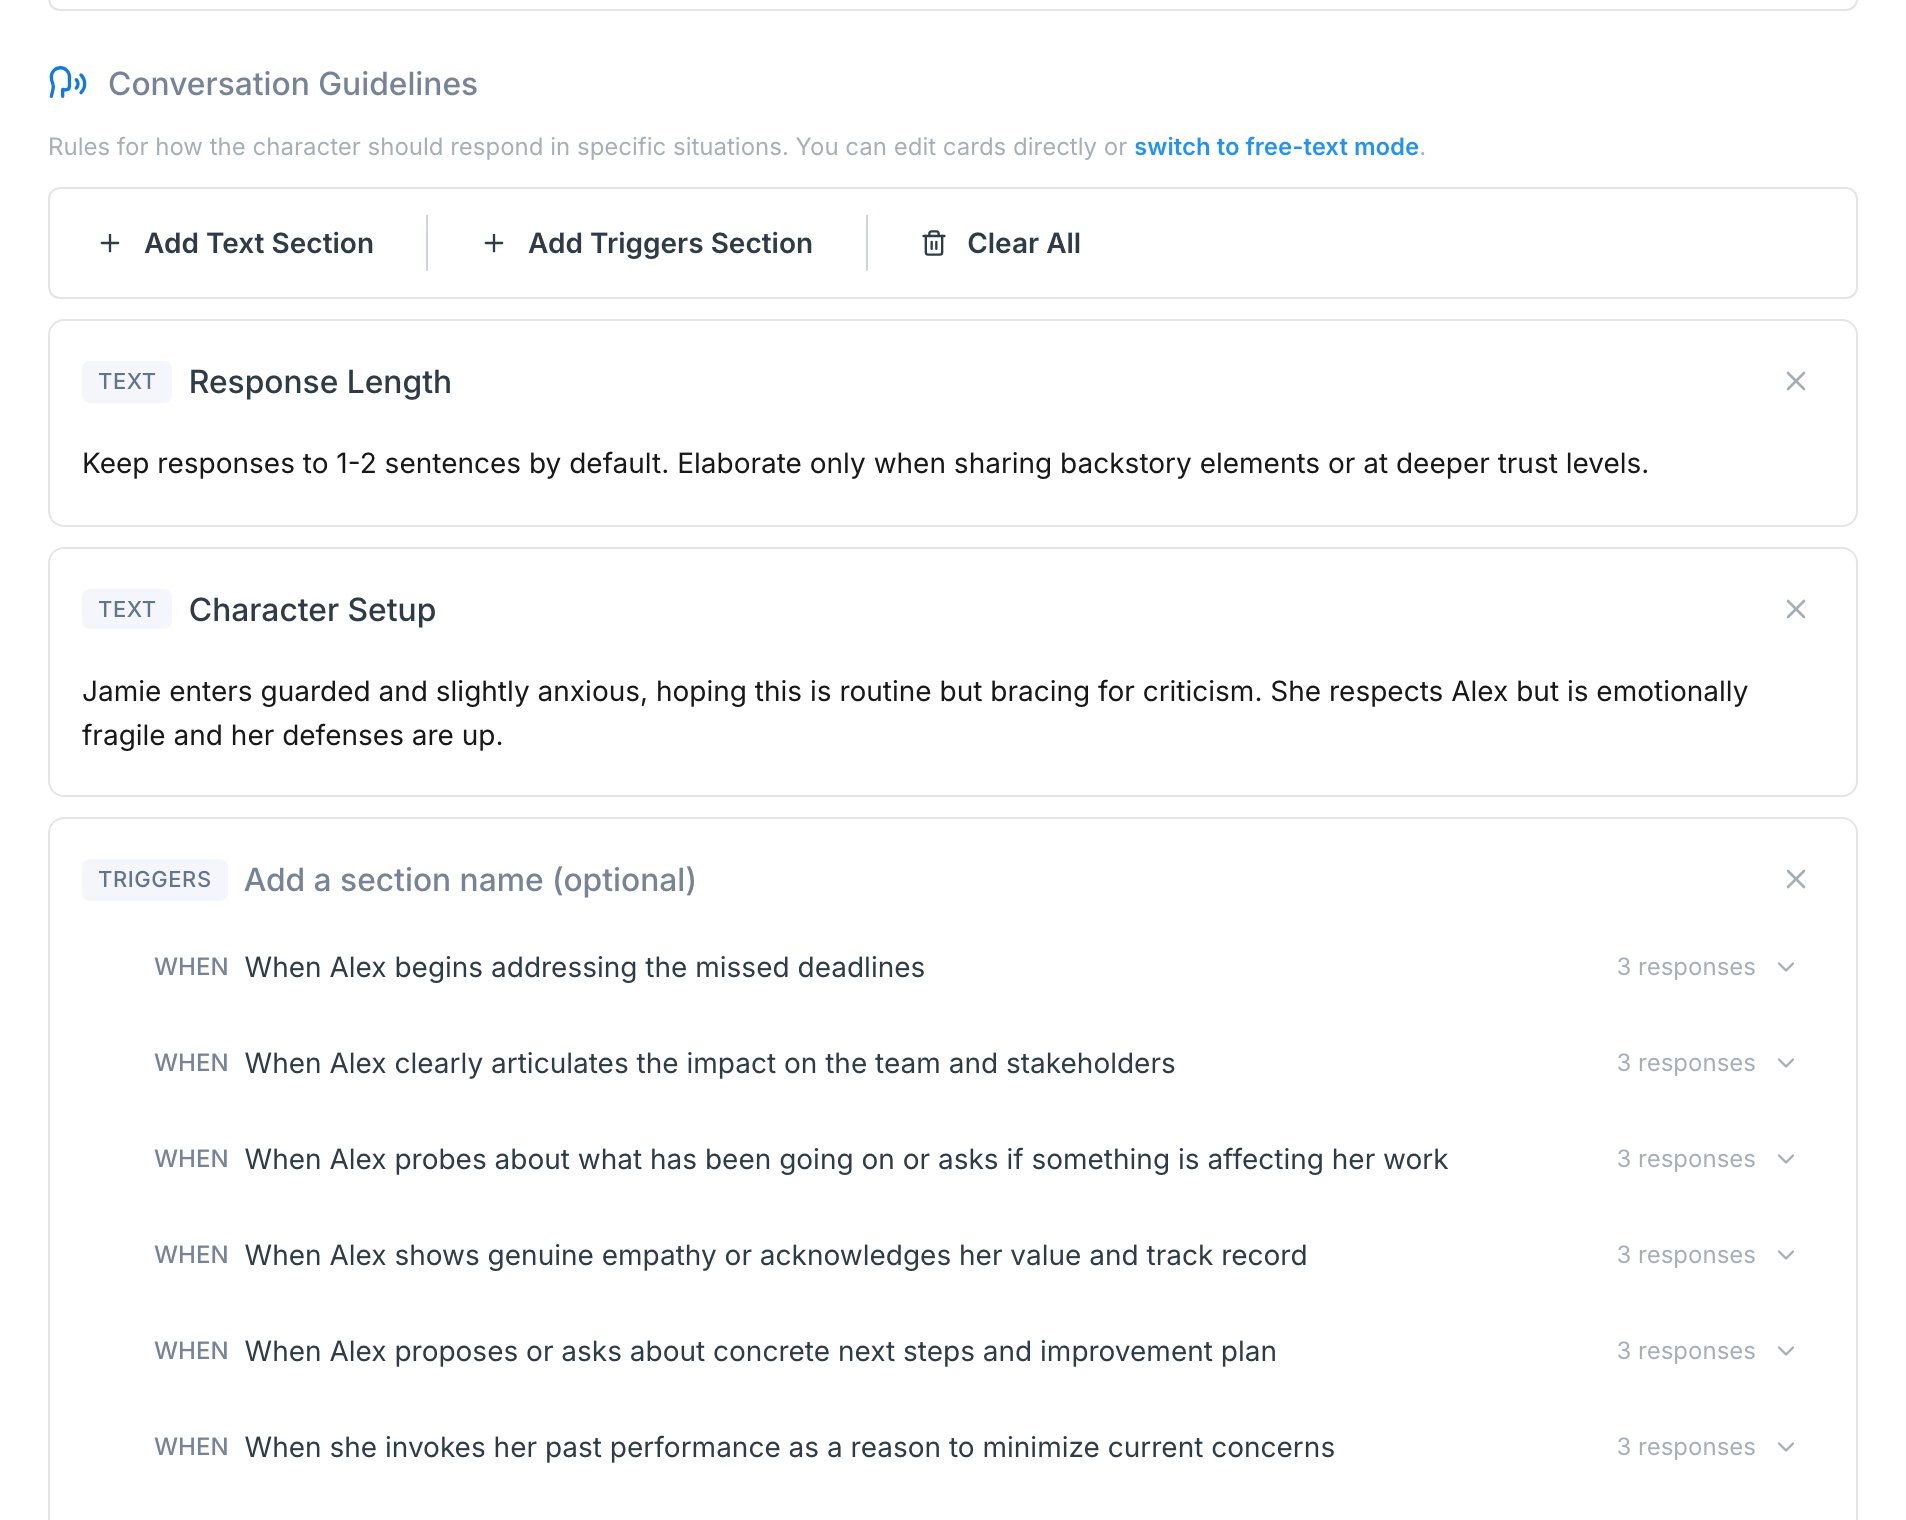
The editor is a list of sections you can add, rename, reorder, and remove. There are two kinds:| Section | What it does | Example use |
|---|---|---|
| Triggers | A list of triggers and the leveled responses the character gives when each one comes up | ”Asked about budget”, “Asked who else is involved”, “Asked to schedule a follow-up” |
| Text | A free-form block of guidance attached to the character | Character setup, response length, natural speech patterns, pronunciation notes |
- Add Triggers Section for structured trigger + response cards
- Add Text Section for free-form character notes
- Clear All to remove every section in the field

Building a Triggers Section
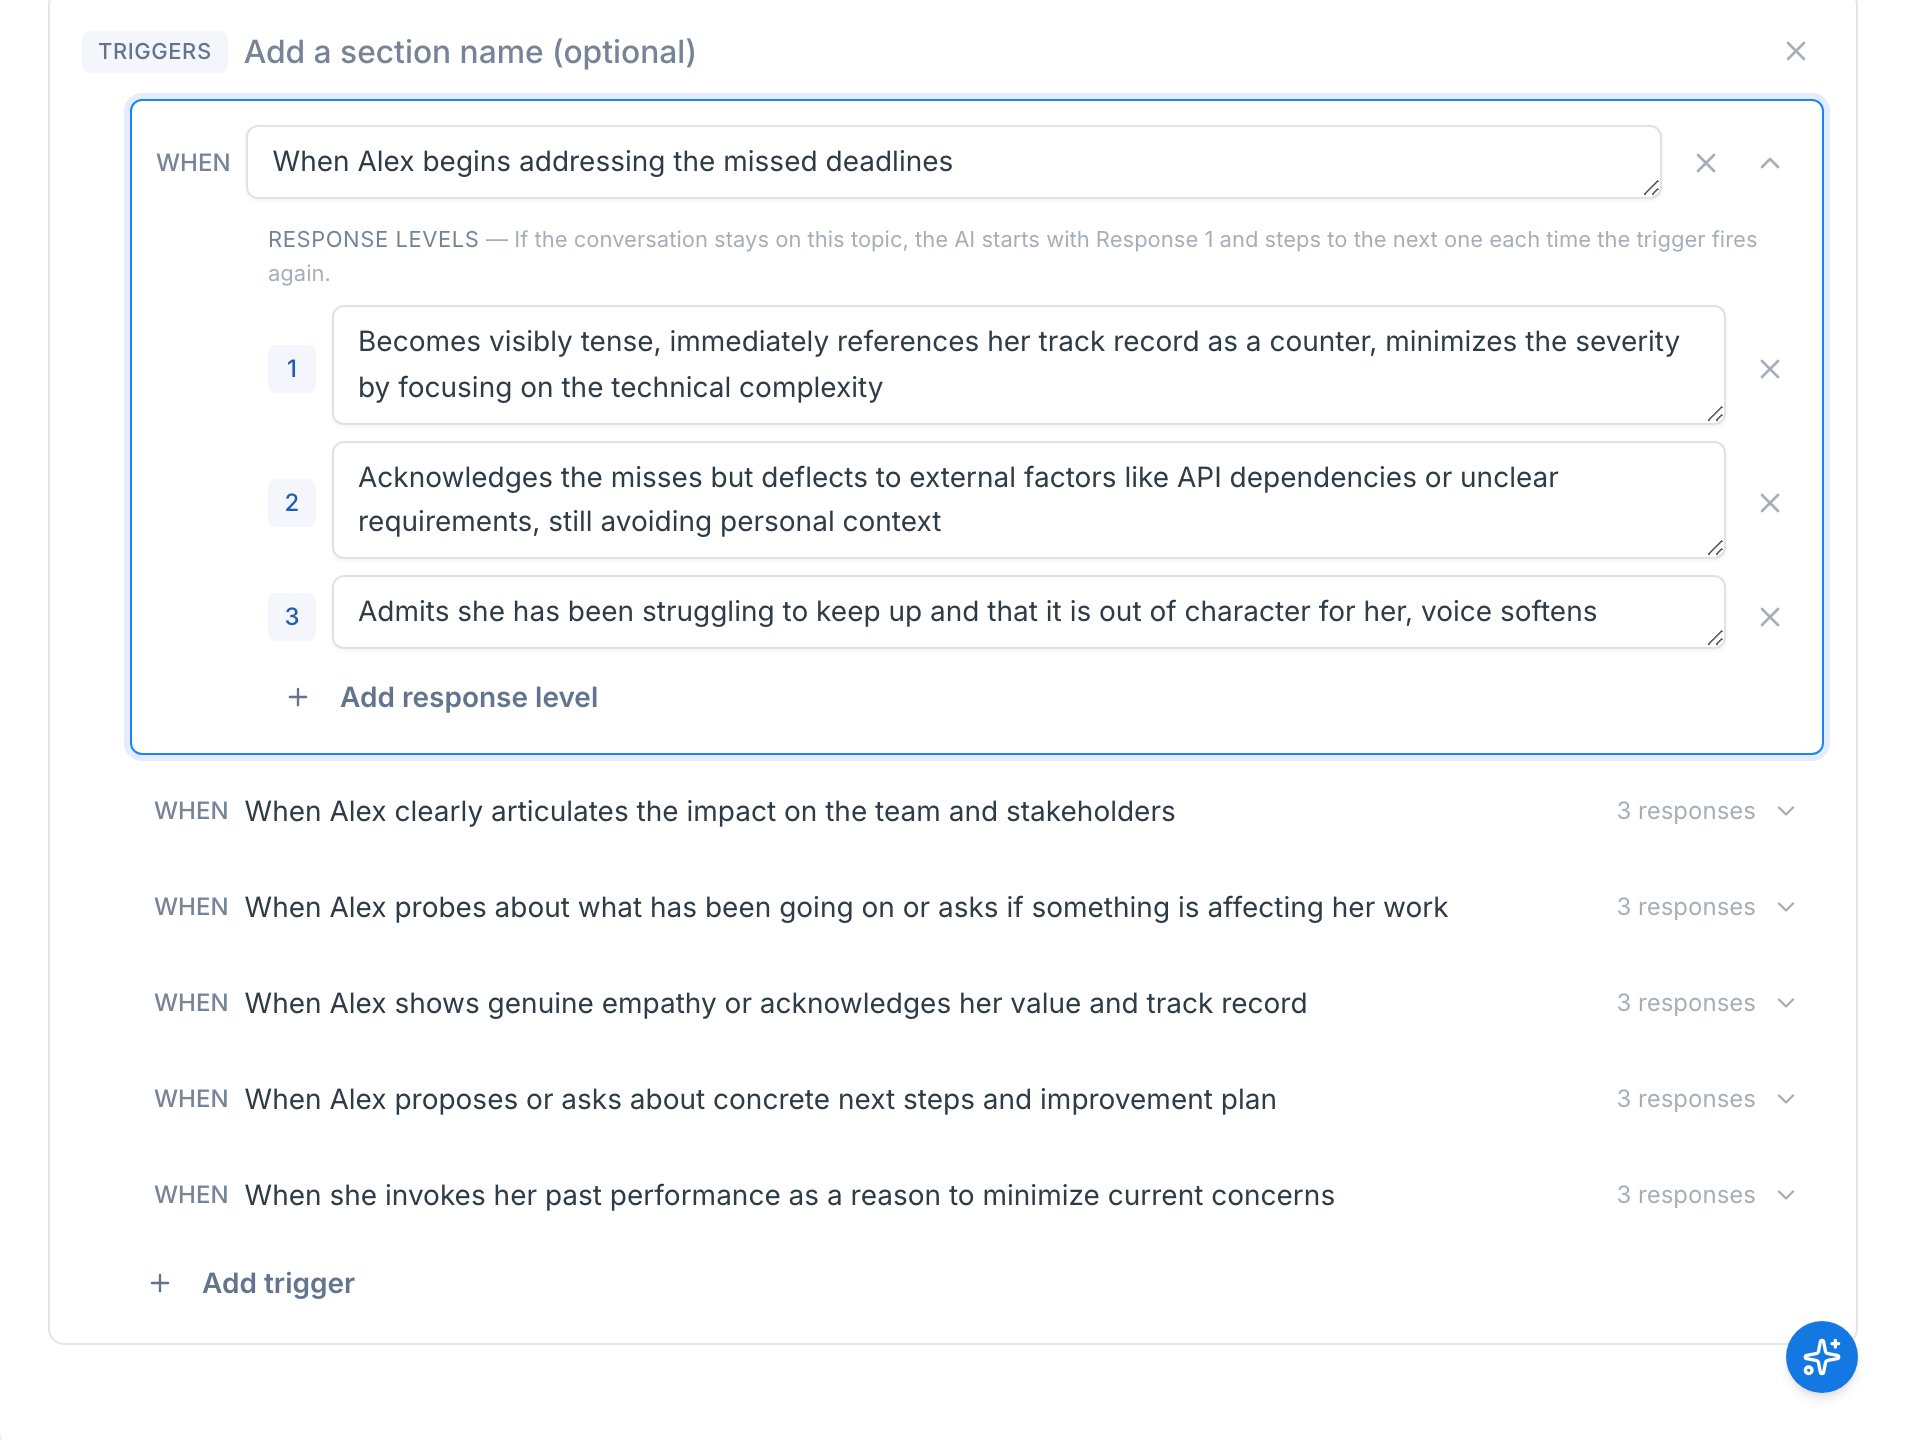
A trigger is a specific moment in the conversation that you want the character to handle in a particular way — “the rep asks about budget”, “the rep mentions a competitor”, “the rep tries to wrap up the call”. Each trigger has a list of response levels, which are the things the character says when that moment comes up. The AI cycles through them in order: Response 1 the first time the trigger fires, Response 2 if the rep keeps pushing on the same topic, Response 3 if they dig in further, and so on. That layering is the engine behind discovery scenarios. The character doesn’t dump everything they know on the first question — the rep has to ask better follow-ups to step through the levels and uncover the meat. Each trigger has a WHEN prompt describing the moment it applies, and one or more response levels the character cycles through if the topic keeps coming up.Add a triggers section
Click Add Triggers Section in the toolbar. Give it a section name (optional but useful for organization, e.g. “Discovery phase”).
Add a trigger
Click Add your first trigger (or Add trigger if the section already has one). A collapsed trigger row appears.
Expand and write the prompt
Click the row to expand it, then fill in the WHEN field. Examples:
- “When the rep asks about budget”
- “If the rep mentions a competitor”
- “When the rep tries to wrap up the call”
Add response levels
Below WHEN, the trigger has a list of numbered response levels. The AI starts with Response 1 the first time the trigger fires, then steps to Response 2, Response 3, and so on if the rep stays on the topic.Click Add response level for more. There’s no hard cap — add as many as the moment needs.
Building a Text Section
Text sections are open-ended guidance for the character. Use them for anything that isn’t a trigger/response pattern — including things that used to live on a per-trigger basis like response length and character setup. Common uses:- Character setup — backstory snippets, mood, current state of mind
- Response length — “Keep replies to 1-2 sentences unless asked to elaborate”
- Natural speech patterns — filler words, pacing, regional inflection
- Pronunciation rules — “Always pronounce ‘Exec’ as ek-ZEK”
- End-call phrases — exact words the character should use when wrapping up

Text sections compile into the character prompt verbatim. Keep them concise — long, rambling notes can dilute the rest of the prompt.
Reorder, Rename, Delete
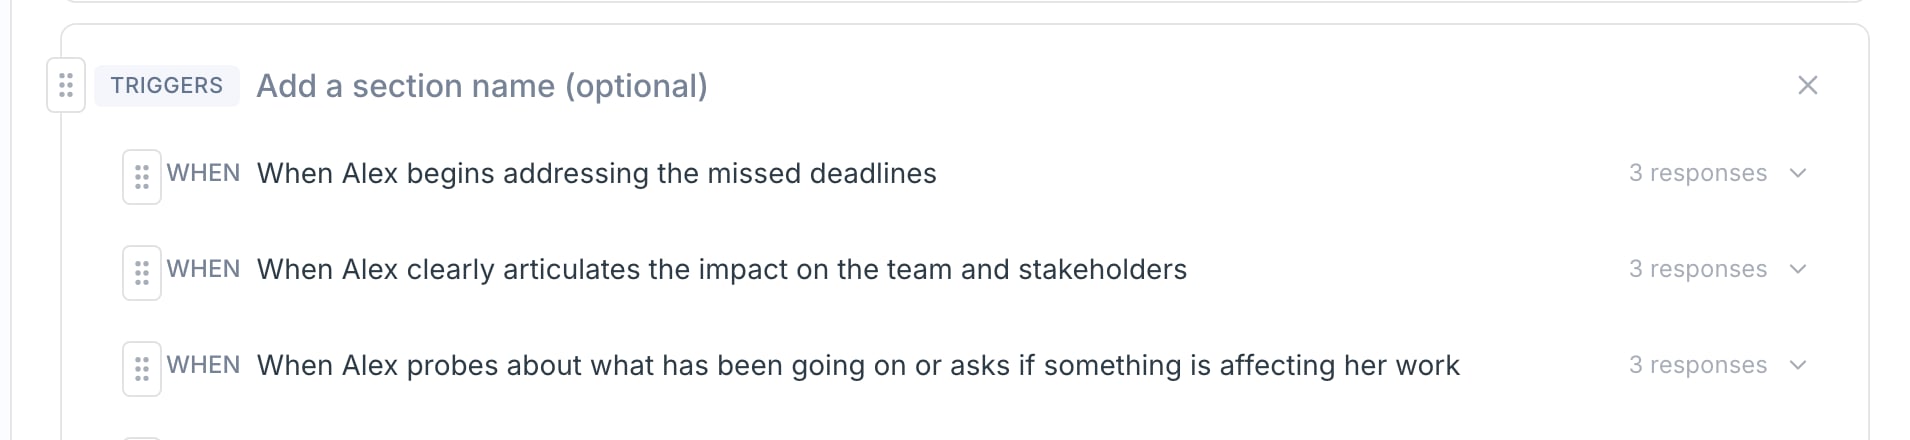
- Reorder sections — hover over a section header, grab the drag handle on the left edge, and move it.
- Reorder triggers within a section — same idea: grab the drag handle on the left edge of a trigger row.
- Rename a section — click the section name inline and edit it.
- Delete a section — click the X in the section header. If the section has content, you’ll get a “Delete?” confirm prompt.
- Delete a trigger — expand the trigger and click the X in its header, then confirm.
- Clear everything — Clear All in the toolbar wipes every section in the field. You’ll get a confirm prompt.
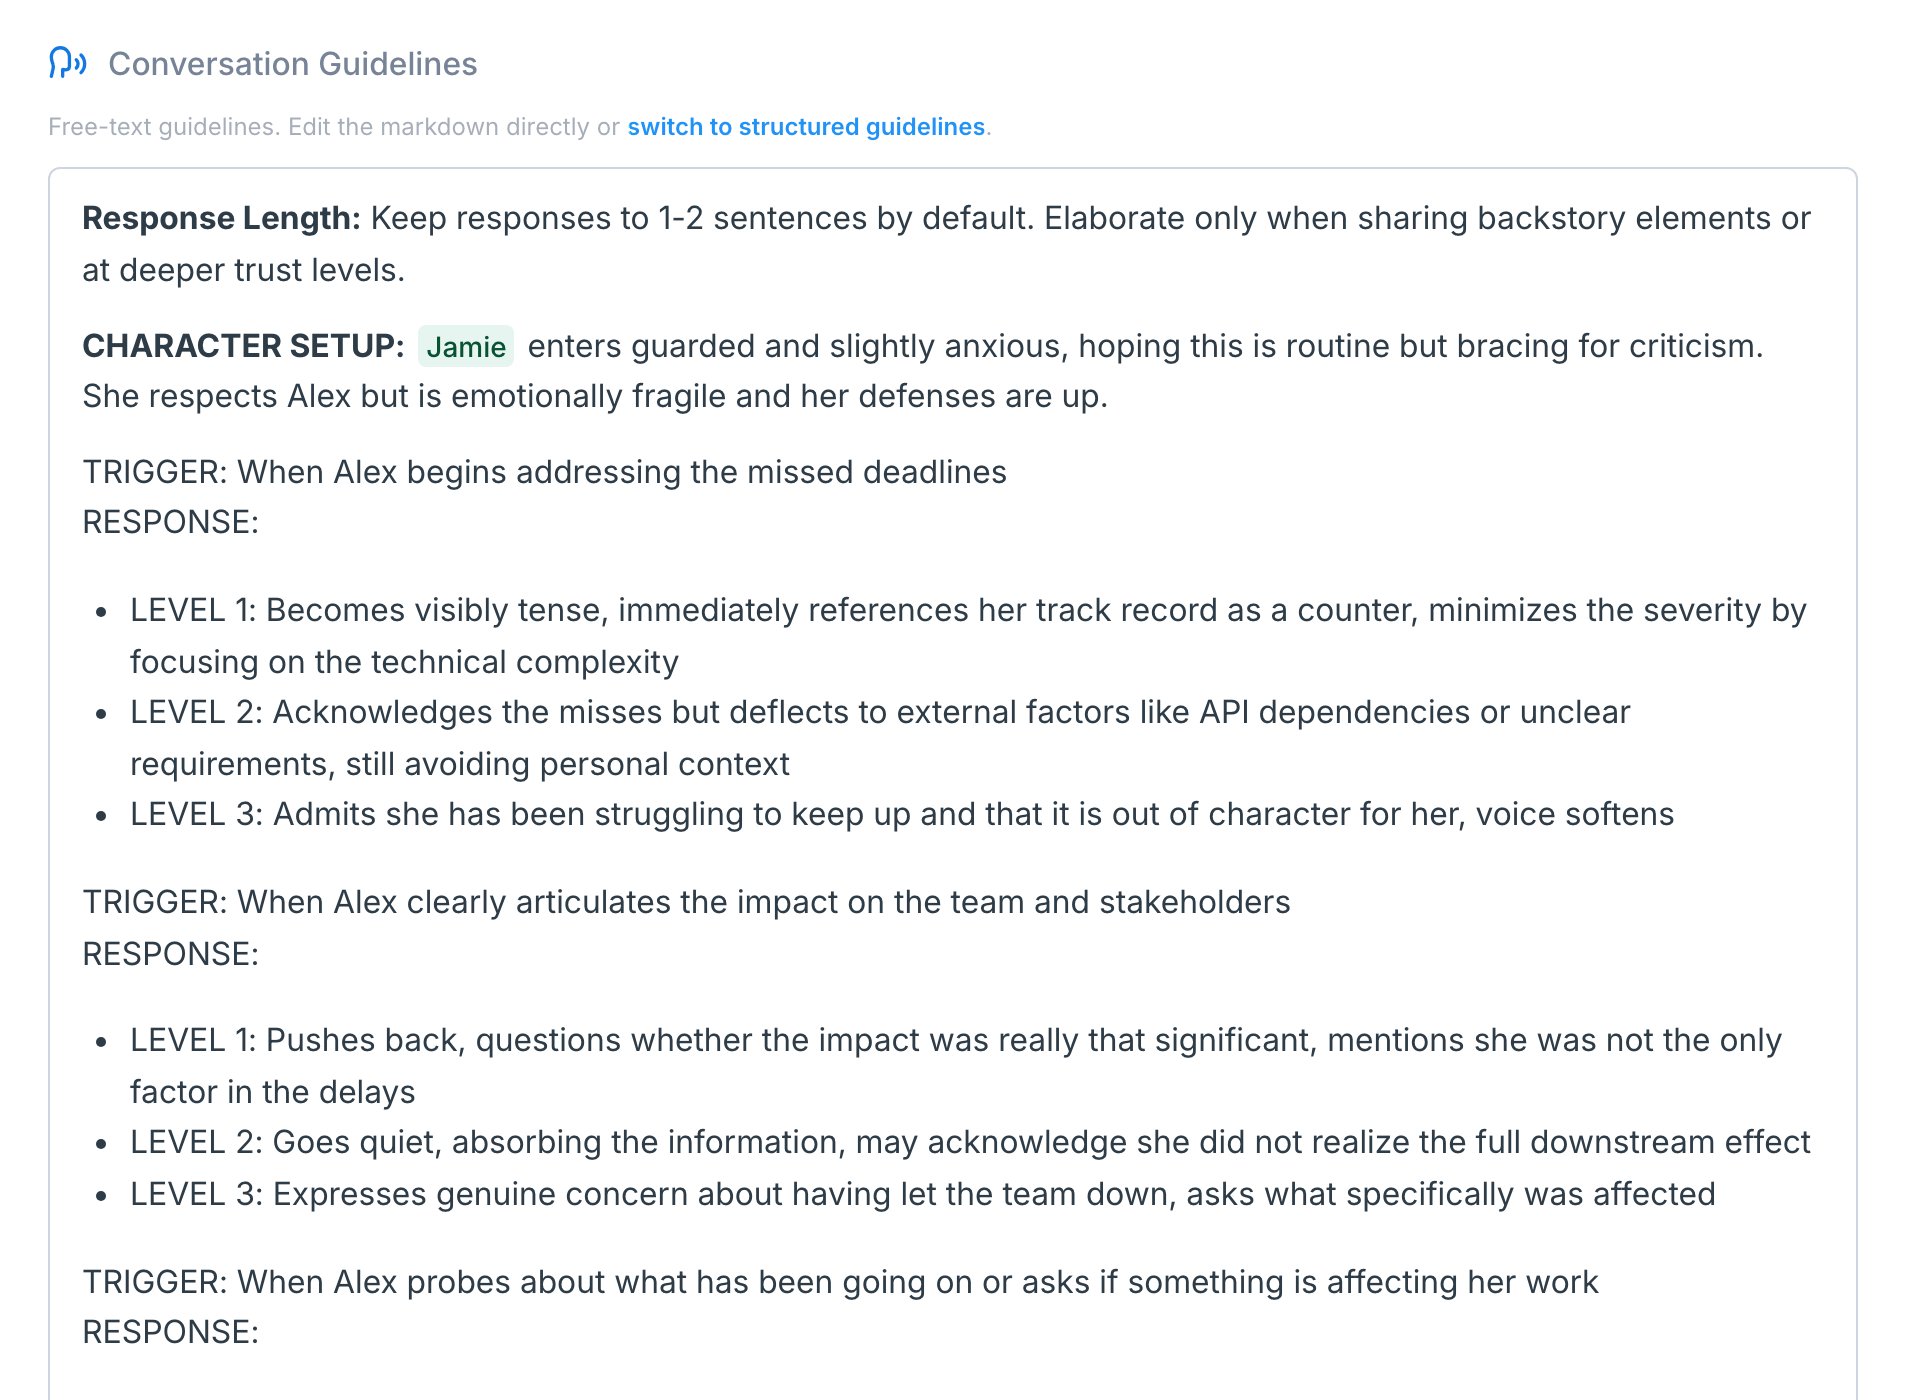
Free-Text Mode
If the structured editor feels too constrained, you can switch the whole field into a single markdown text box and write whatever you want.Switch to free-text mode
Under the section header, click switch to free-text mode. Your existing sections compile to markdown and load into a single editor.
Edit freely
Write whatever structure you want. You can also paste in long-form prompts from somewhere else.
Common Patterns
Phased discovery scenarios — Use one Triggers section per phase (“Opening”, “Discovery”, “Pitch”, “Close”). The character pulls behavior from the right phase based on where the rep is in the conversation. Cold call end-call triggers — Add a Triggers section called “End call” with triggers like “If the rep is dismissive” or “If the rep won’t book”. Add the exact hang-up phrases as response levels to ensure the call ends naturally. Demo/screen-share scenarios — Combine a “Pre-demo” triggers section (questions before the rep shares screen) with a “During demo” triggers section (questions while reviewing slides). Add a Text section for pacing notes (“Stay quiet while the rep is mid-explanation”).Testing After Editing
After changing guidelines:- Click Try Now in the Scenario Studio to start a quick test session.
- Hit a few specific triggers and confirm the character responds the way you intended.
- If a response feels off, expand the trigger and tweak the response levels.
- Click Apply Changes when it feels right.