Enrolling Participants
Open the Participants tab
Navigate to your program and click the Participants tab. You can also click Add Participants from the quick actions panel on the right side of the dashboard.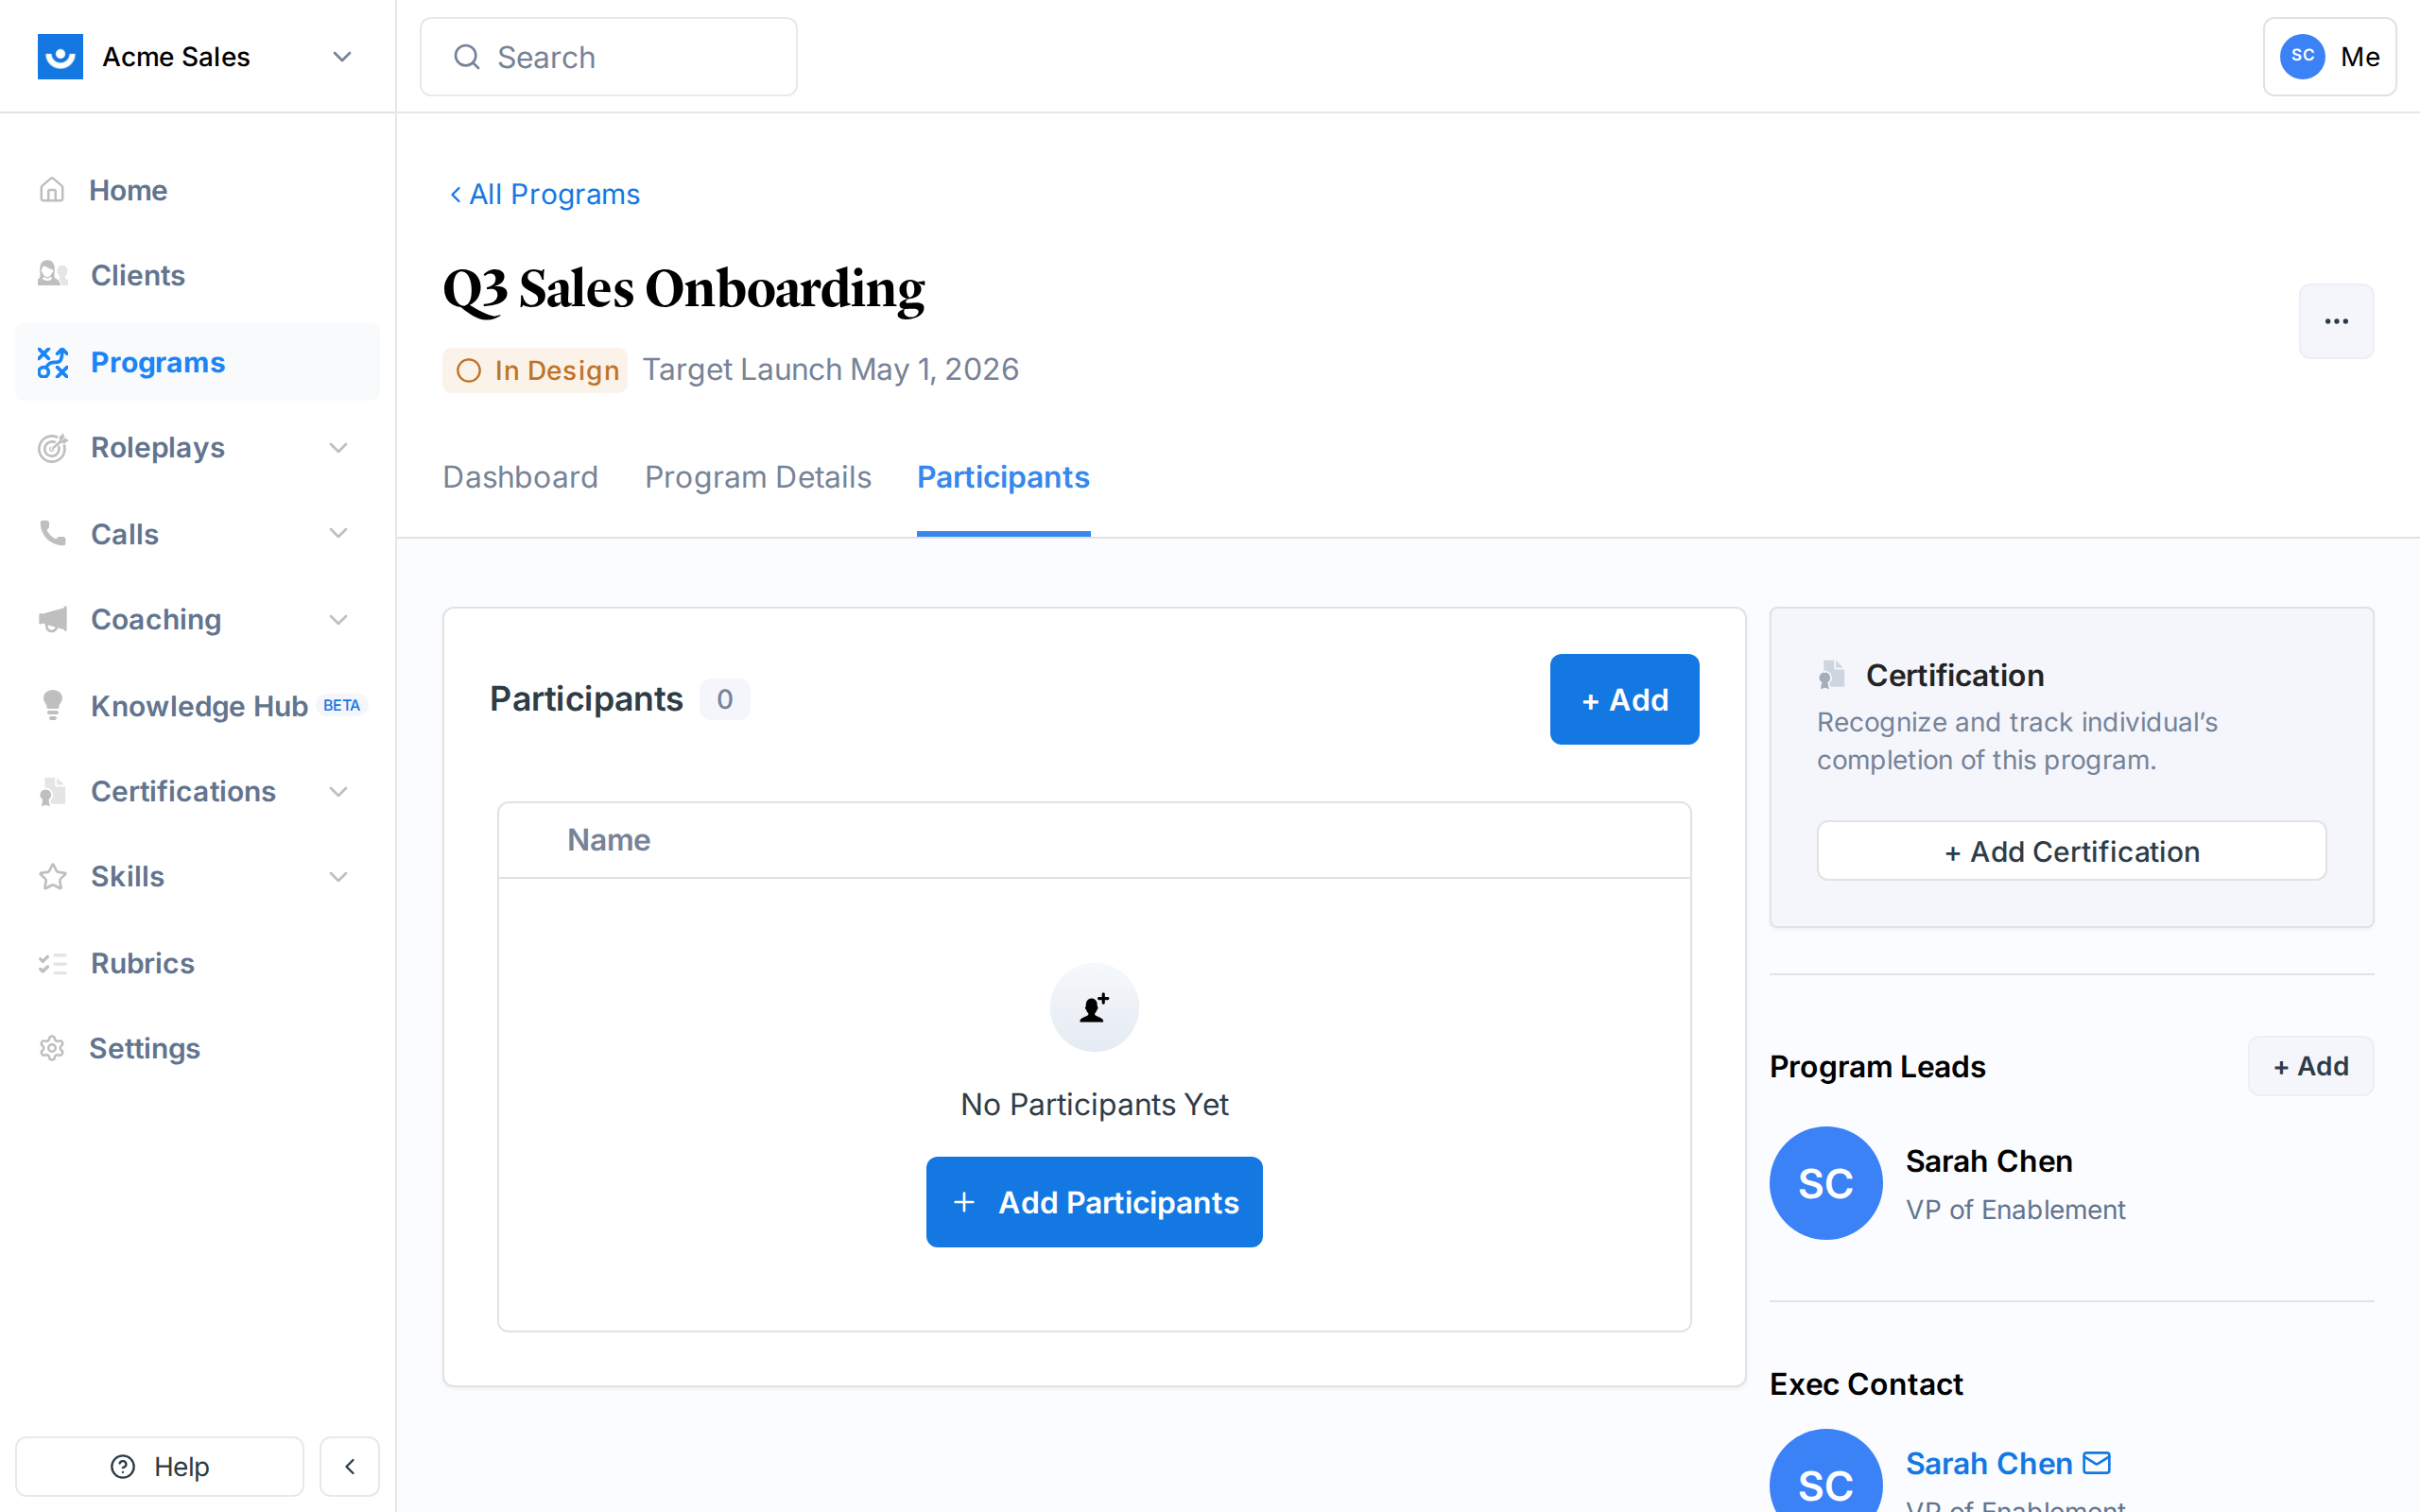
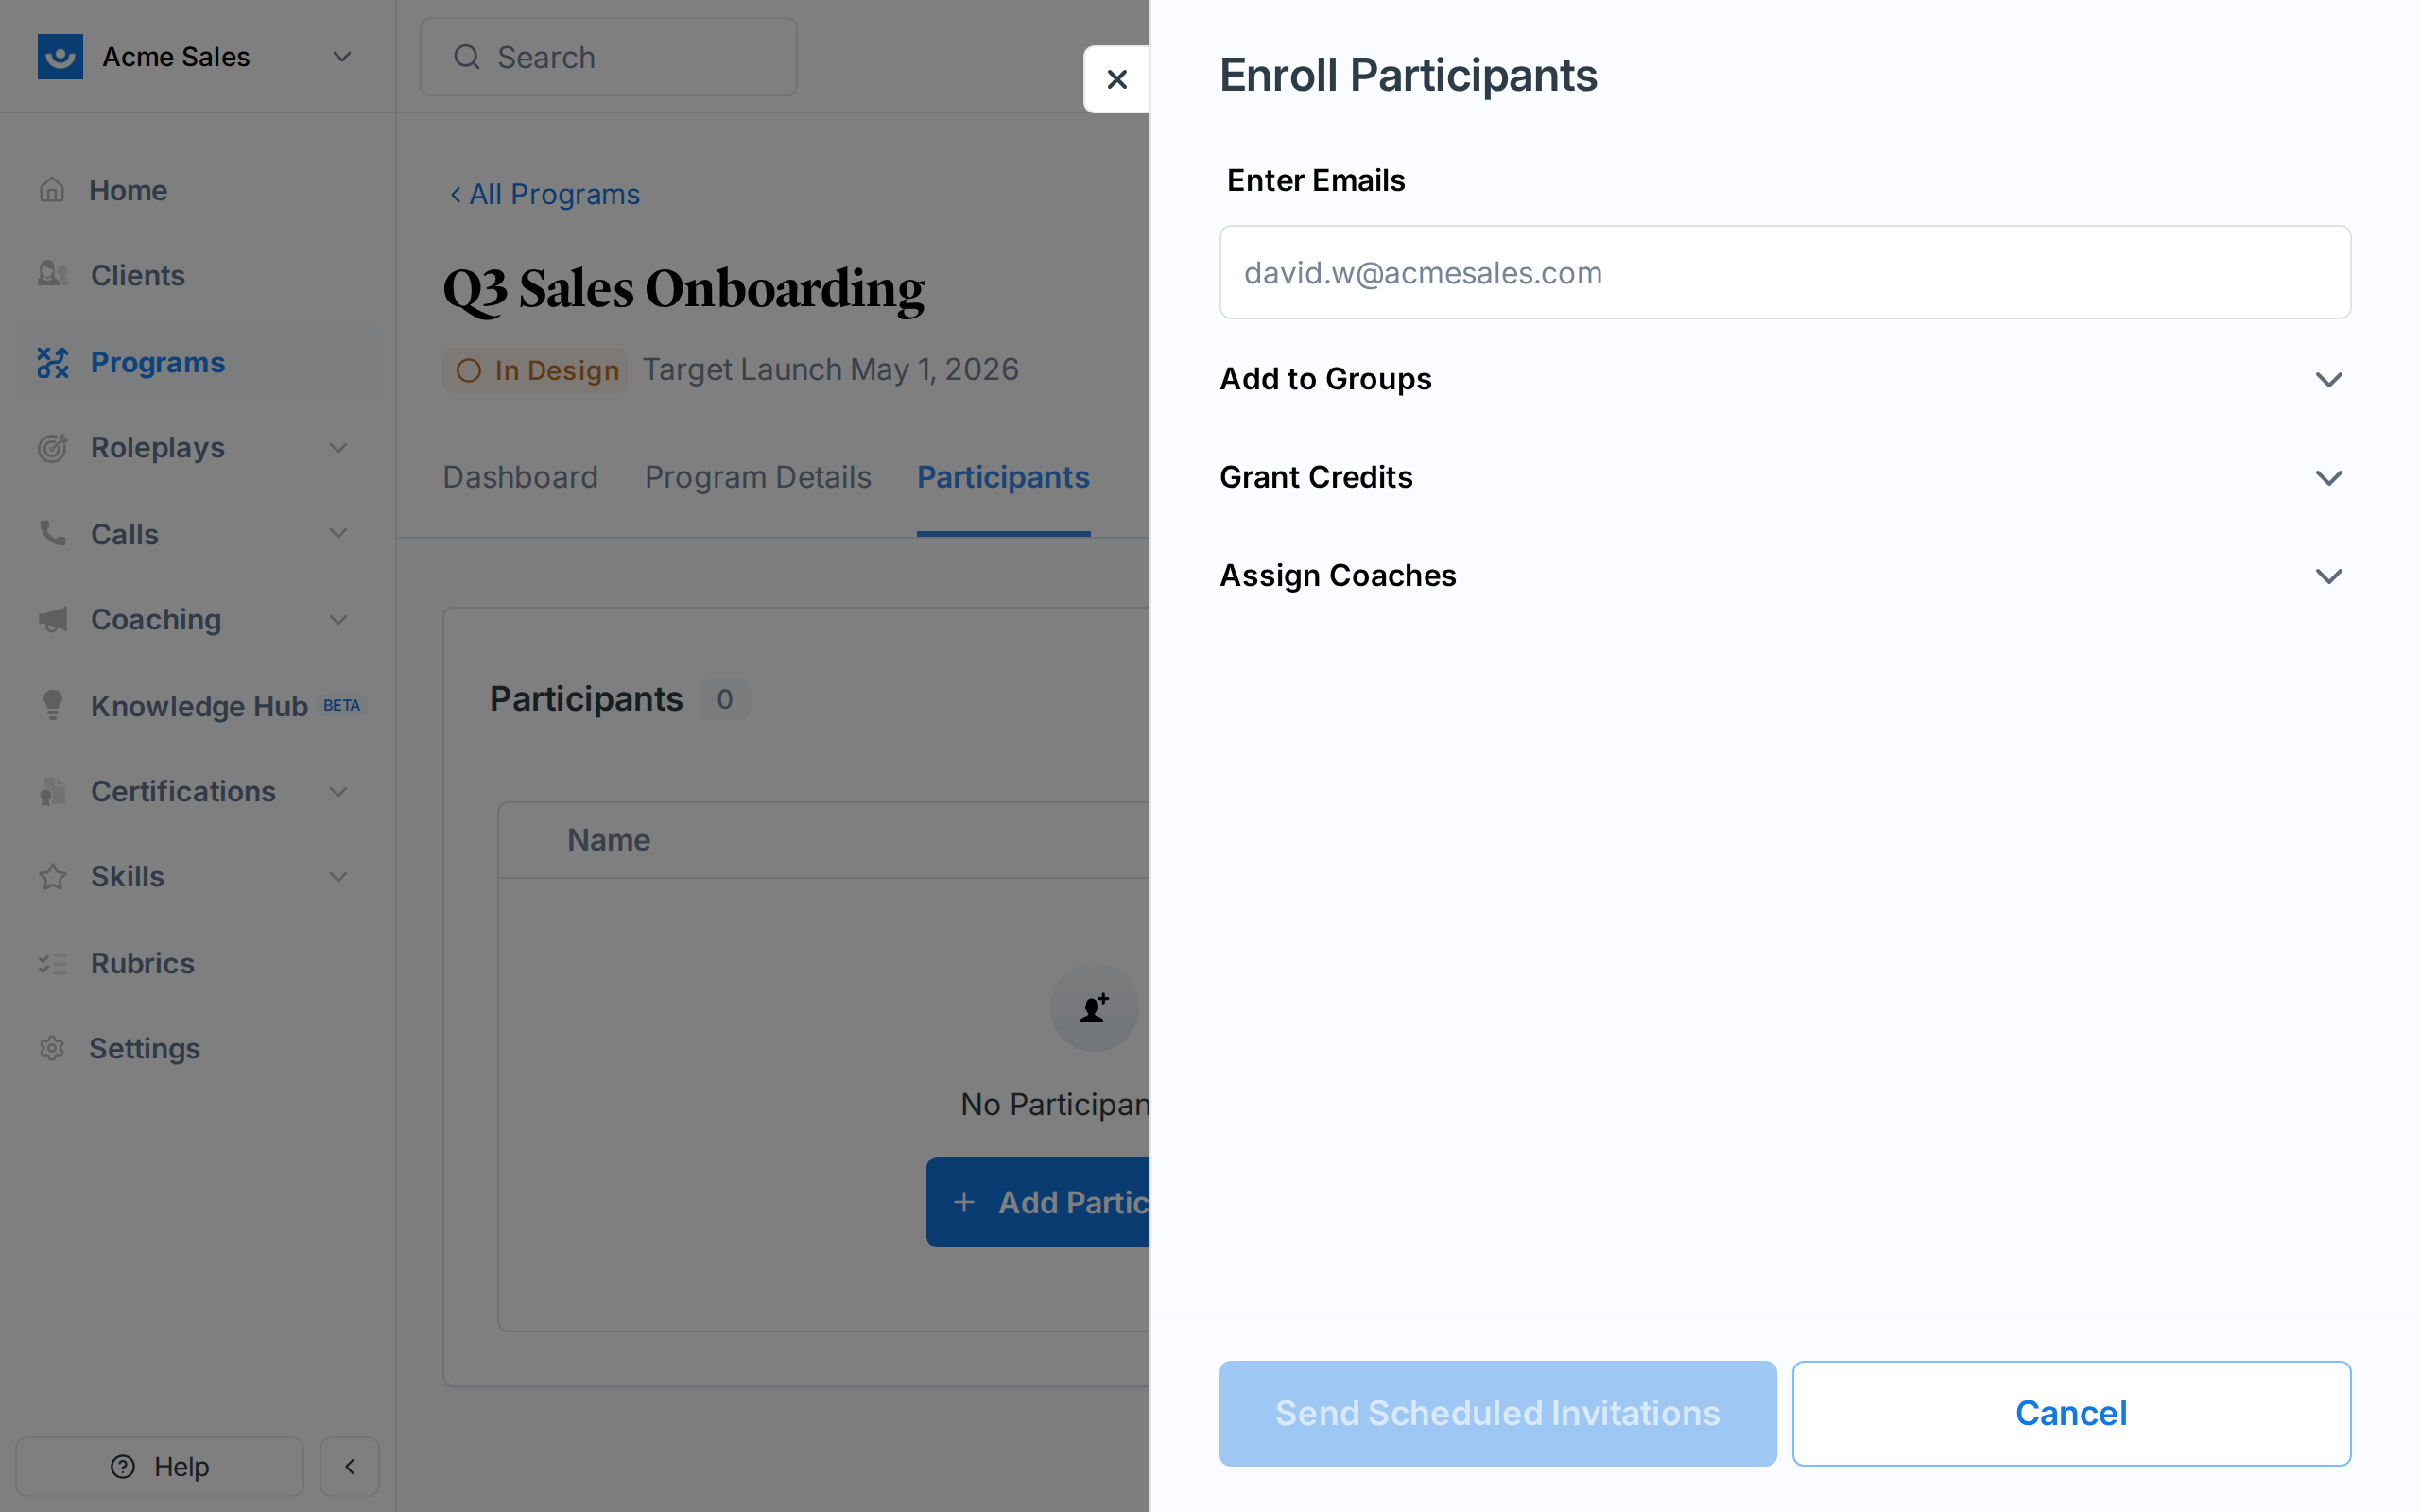
Enter email addresses
Type or paste email addresses. You can enter them:
- One at a time, pressing Enter after each
- As a comma-separated list (paste from a spreadsheet column or email list)
- New users: Will receive a workspace invitation along with program enrollment
- Existing workspace members: Already in your workspace, enrolled directly
- Already enrolled: Already in this program (skipped)
- Invalid: Not a valid email format
If you are enrolling people who are not yet in your workspace, they will receive a workspace invitation. Make sure you have enough seats available. Exec warns you if seats are insufficient.
Scheduling Enrollment Emails
Enrollment emails notify participants that they have been added to a program. These are sent on the program’s launch date by default. On the program dashboard, the Launch Panel shows the scheduled email date and subject line:Subject: “Please read: You’re enrolled in [Program Name]”You can mark the launch email scheduling step as complete from the launch checklist on the program dashboard.
Program Roles
Programs have two roles: Lead and Participant. Workspace admins can manage any program regardless of role.| Role | How it is assigned | What they can do |
|---|---|---|
| Program Lead | Added by workspace admins from the right panel on the program dashboard | Full management of their program (see permissions below) |
| Participant | Enrolled via the Participants tab | View assigned components, complete activities, track their own progress |
| Workspace Admin | Assigned at the workspace level | Everything a lead can do, across all programs in the workspace |
Lead Permissions
Program leads have full management access to their specific program:| Action | Program Lead | Participant | Workspace Admin |
|---|---|---|---|
| Add/edit/delete components | Yes | No | Yes (all programs) |
| Launch the program | Yes | No | Yes |
| Enroll/remove participants | Yes | No | Yes |
| Grant deadline extensions | Yes | No | Yes |
| Send nudge reminders | Yes | No | Yes |
| Close components early | Yes | No | Yes |
| End the program | Yes | No | Yes |
| View all participant progress | Yes | No | Yes |
| View analytics | Yes | No | Yes |
| Edit program details (name, dates) | Yes | No | Yes |
| Complete assigned components | No | Yes | No |
| View own progress | No | Yes | No |
Program lead permissions are scoped to the programs they lead. A lead on Program A cannot manage Program B unless they are also a lead on that program or a workspace admin.
Adding Program Leads
Program leads are added from the Program Leads section on the right panel of the program dashboard. Click + Add to invite a lead by email. A program can have multiple leads.Removing Program Leads
Click the remove button next to a lead’s name in the Program Leads section. A program must always have at least one lead.The Participants Table
The Participants tab shows all enrolled participants with their progress. The table includes:| Column | What it shows |
|---|---|
| Name | Participant name and avatar. Shows “(Removed)” if the participant has been removed. |
| Status | Completion status for the selected component (Completed, In Progress, Not Started, Past Due, etc.) |
| Due Date | Component due date. Shown in blue if an extension has been granted, with the extended date on hover. |
| Completion Date | When the participant completed the component |
| Last Reminded | When the participant was last sent a nudge |
| Actions | View responses, nudge, grant extension, or revoke extension |
For 1:1 Coaching components, the table shows different columns: coaching stage, assigned coach, intro session status, regular session status, and credits used.
Granting Deadline Extensions
When participants need more time, you can extend their due dates on a per-component basis.Open the extension panel
From the component’s participant table, click Grant Extension in the actions menu. Or select multiple participants and use the bulk action.
Select participants
Choose specific participants or select All Participants to extend the deadline for everyone.
Choose whether to notify
The Send email notifications checkbox is on by default. Toggle it off if you do not want participants to know about the extension.
Revoking Extensions
To revoke a previously granted extension, click Revoke Extension from the participant’s actions menu. Their due date reverts to the original.Sending Nudges
Nudges are reminder notifications sent to participants who have not completed a component. They are useful for keeping participants on track without manually following up.Open the nudge panel
From the component’s participant table, click the nudge icon or select Nudge from the actions menu.
Review eligible participants
The panel shows two groups:
- Nudgeable participants: People who can receive a reminder
- Cannot be nudged: People who are ineligible, with the reason shown (already completed, recently nudged, component not active, etc.)
There is a 15-minute cooldown between nudges for the same participant. If someone was nudged within the last 15 minutes, they appear in the “Cannot be nudged” group.
Removing Participants
To remove a participant from a program:- Find them in the participants table
- Click the actions menu and select Remove
- Confirm the removal