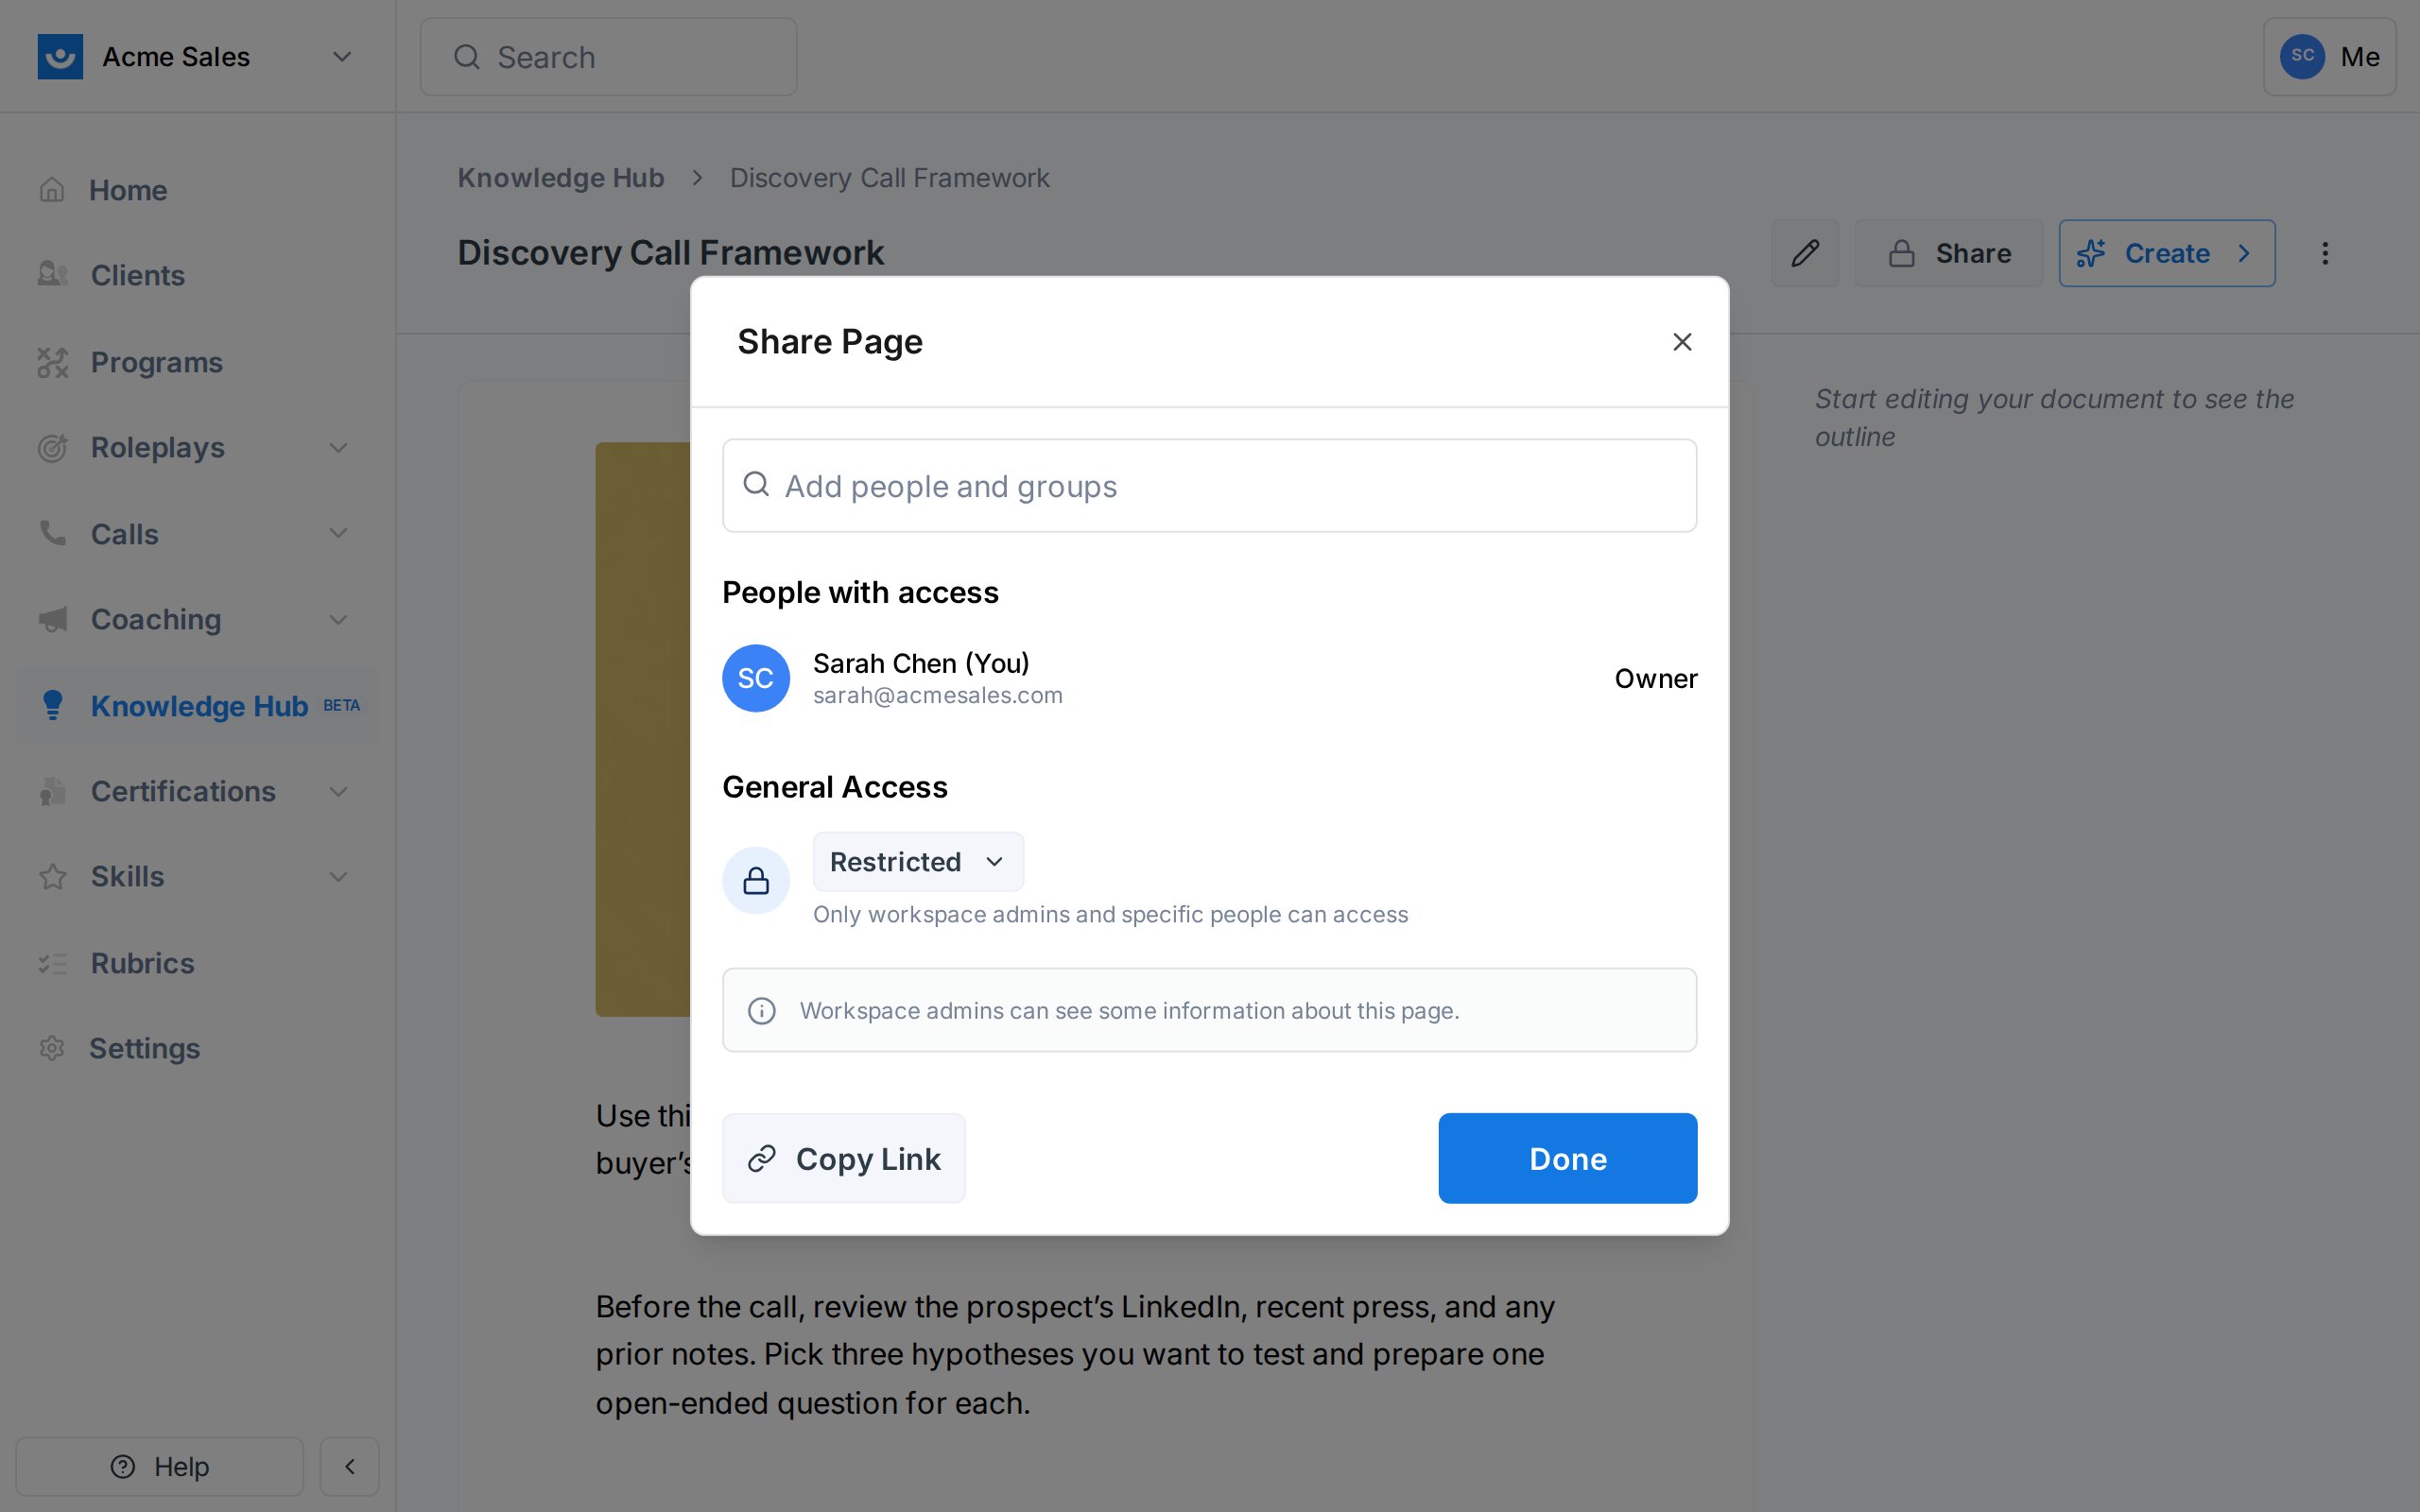
Every page and source in the Knowledge Hub has its own access settings. By default new content is restricted: only the creator and workspace admins can see it. You decide when to share it more broadly.
General Access levels
Open the Share dialog from a page or source to change who can see it.
Changing a page from Restricted to Workspace is the usual flow: work on a draft privately, publish it, then open it up to the team.
Per-person access
Inside the Share dialog you can add specific people or groups by email. Each person gets one of three roles:
Owners and contributors see the page in their Knowledge Hub regardless of its general access setting.
Changing visibility for several items at once
You can set one access level across a batch of pages and files instead of opening each one.
Select the items
In list view, tick the checkbox on each row, or hold Shift to take a range. In grid view, hold Cmd (Ctrl on Windows) and click each card, or drag a box across empty space. A bar appears at the bottom with the number selected. Click Visibility
The Change visibility dialog opens and shows how many of the selected items are currently Workspace and how many are Personal (the dialog’s word for Restricted). Pick a level and click Apply
Choose Restricted or Workspace, then click Apply. A confirmation reports the result, for example “8 items updated” or “6 items updated, 2 skipped”. Skipped items are the ones you do not have rights to change, and the rest still go through.
Setting a selection to Workspace requires workspace admin. If you are not an admin the whole change is rejected and nothing is updated, so either choose Restricted or ask an admin to run it.
Seeing and filtering by visibility
List view has a Visibility column, and grid cards carry the same sharing icon, so you can scan what is restricted without opening anything.
To narrow the list to one level, open Filters and choose Visibility: View All, Personal, or Workspace.
Filtering to Personal is a quick audit for content that was drafted privately and never opened up to the team. Select what should be shared and change it in one pass.
Copy Link
The Copy Link button at the bottom of the Share dialog copies a direct URL to the page. Anyone who already has access can open it; people who do not will hit a permissions screen when they click.
Admin override
Workspace admins can see the contents of any page in their workspace, even Restricted ones. This is intentional - admins may need to edit or take over content from team members who have left. If you need truly private content, consider using your own notes app instead.
What the AI agent can see
The AI agent respects the same permissions. When you chat with the agent and it searches your Knowledge Hub, it only returns results from pages and sources you can see. You cannot use the agent to read around a restriction.
Getting Help
Questions about permissions? Contact us at [email protected].