Remix vs. Edit: Remix creates a brand-new scenario. If you just want to update the current scenario (including character behavior, response guidelines, voice, or evaluation criteria), use Edit instead — there’s no longer a category of change that requires remixing.
When to Use Remix
- Reuse a scenario’s structure or learning objective for a different audience
- Create a variation for a different company size, role, or industry
- Change character behavior, tone, or background without disrupting the original
- Experiment with a new approach without impacting the version your team is using
How to Remix a Scenario
Open the three-dot menu
Navigate to the scenario you want to remix and click the three-dot menu (⋯) in the top-right corner, then select Remix Scenario.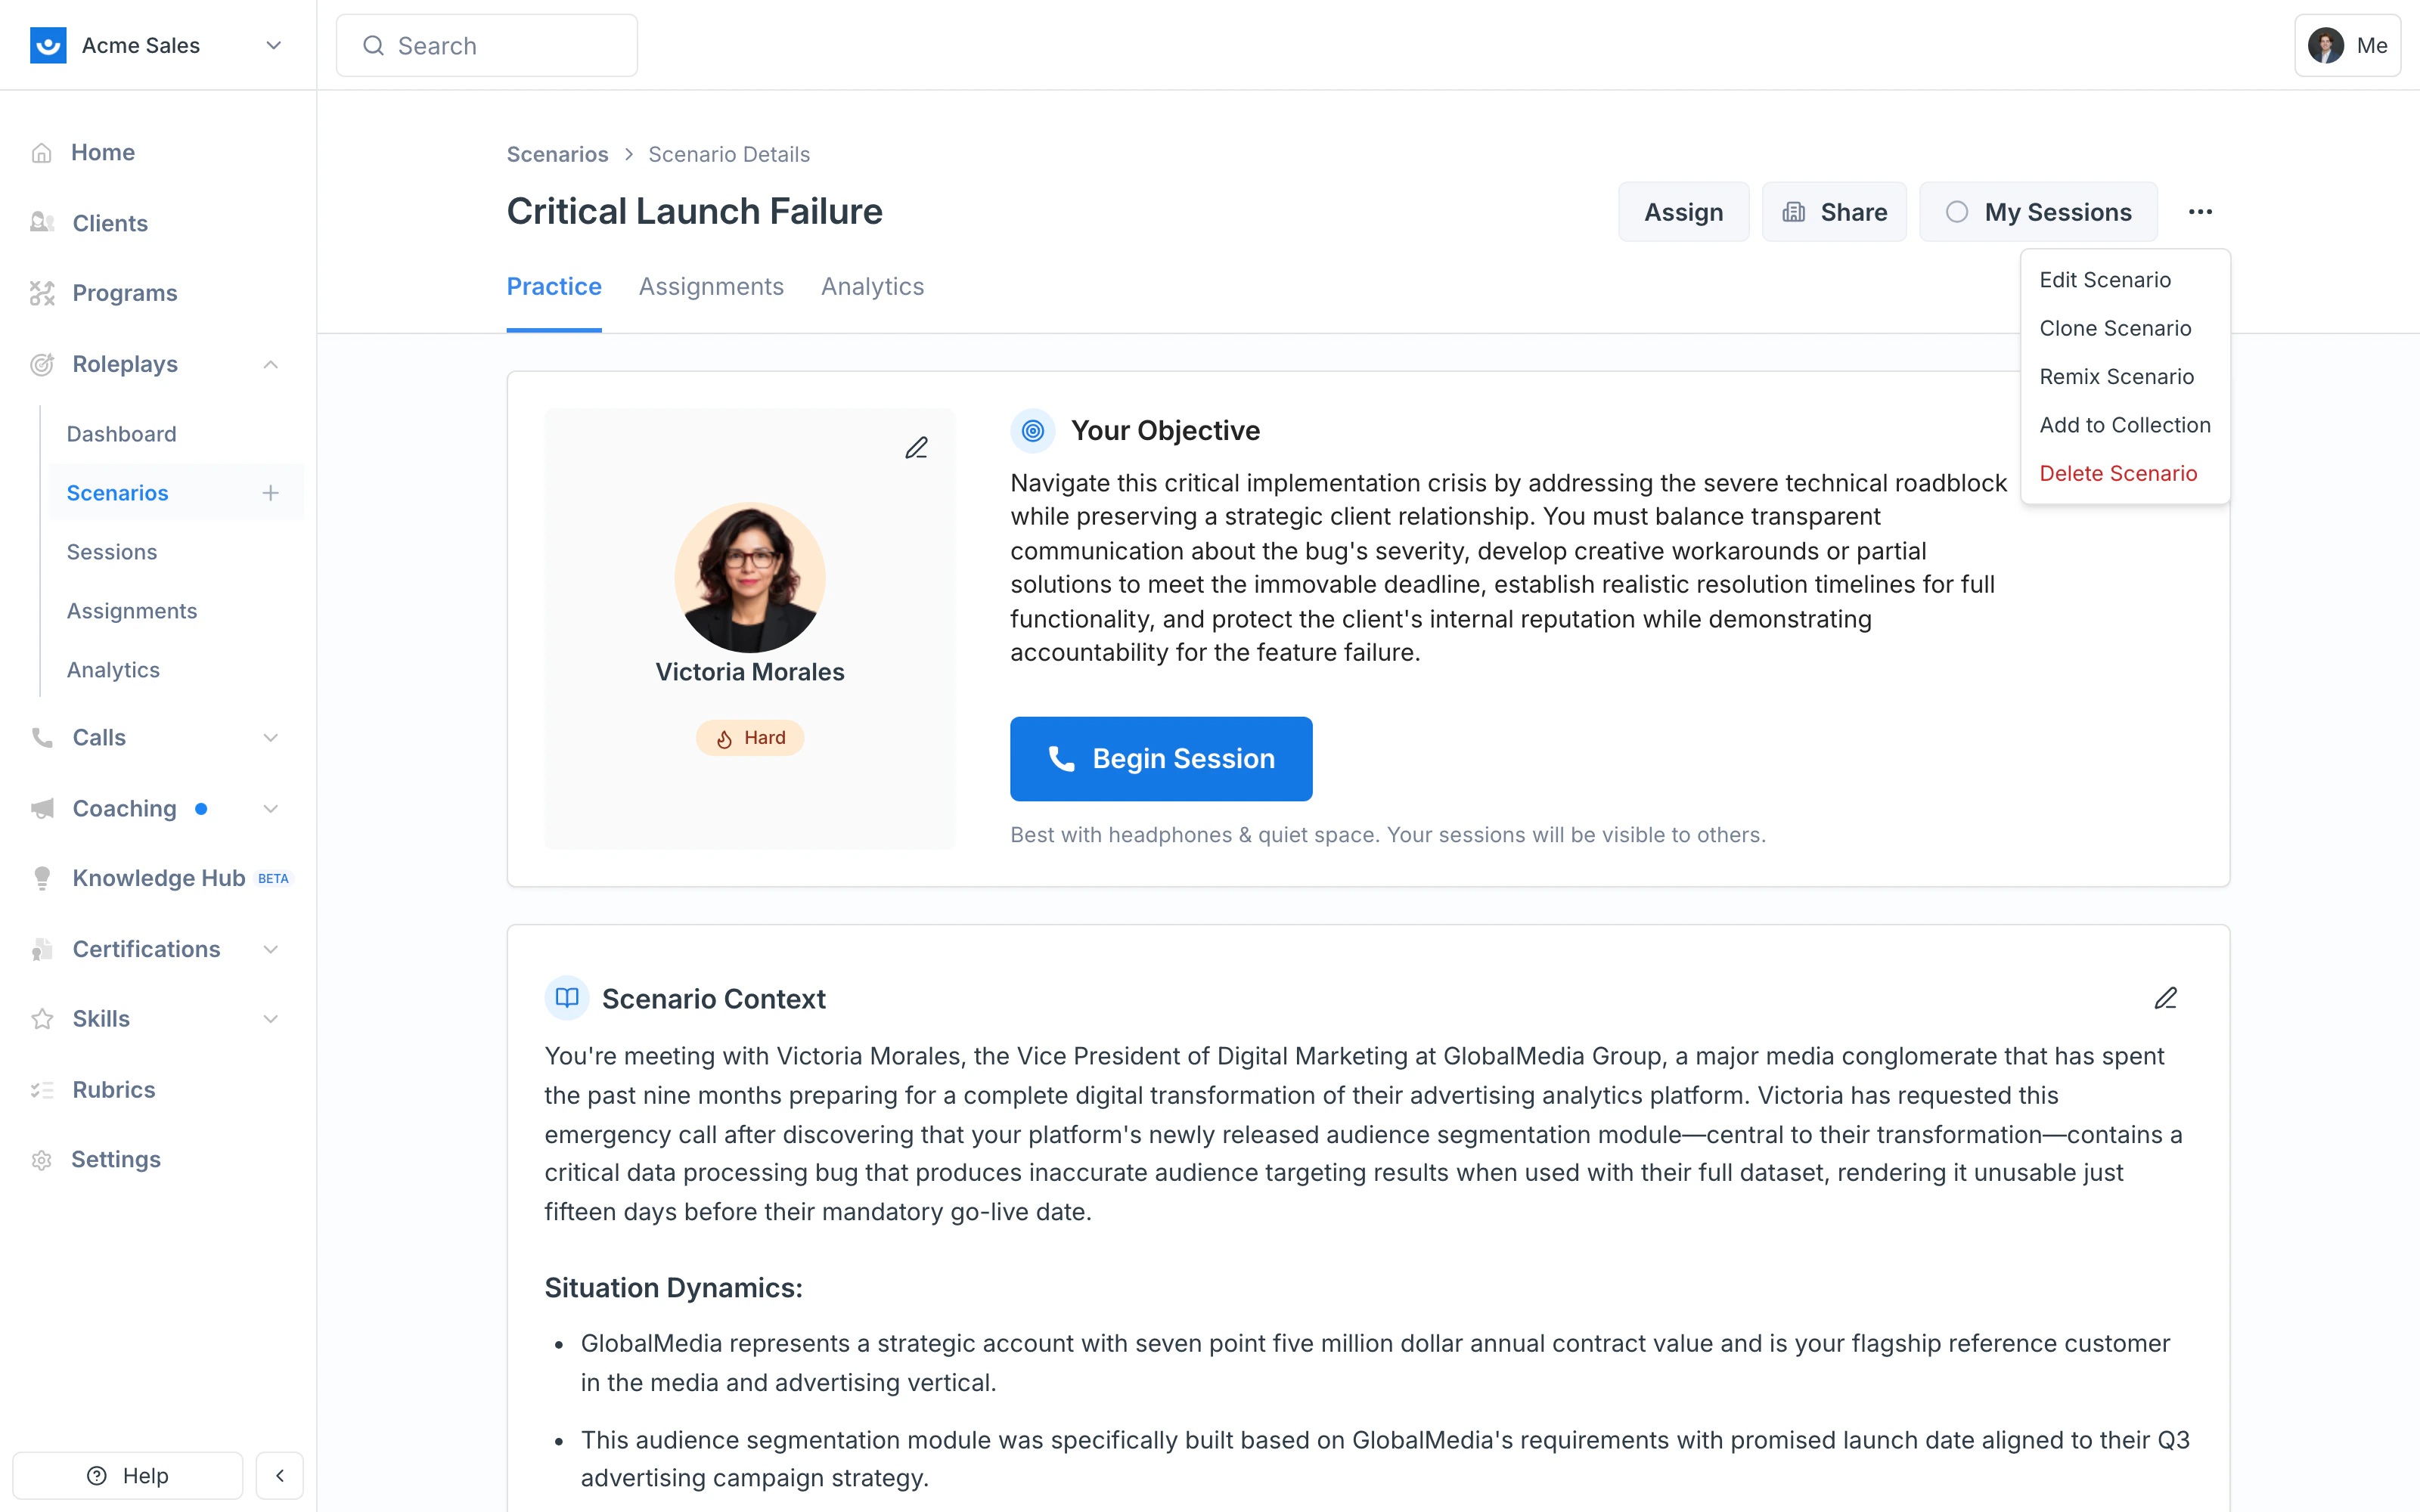
Confirm the remix
A confirmation appears letting you know a new scenario will be created from the original. Click Start Remixing.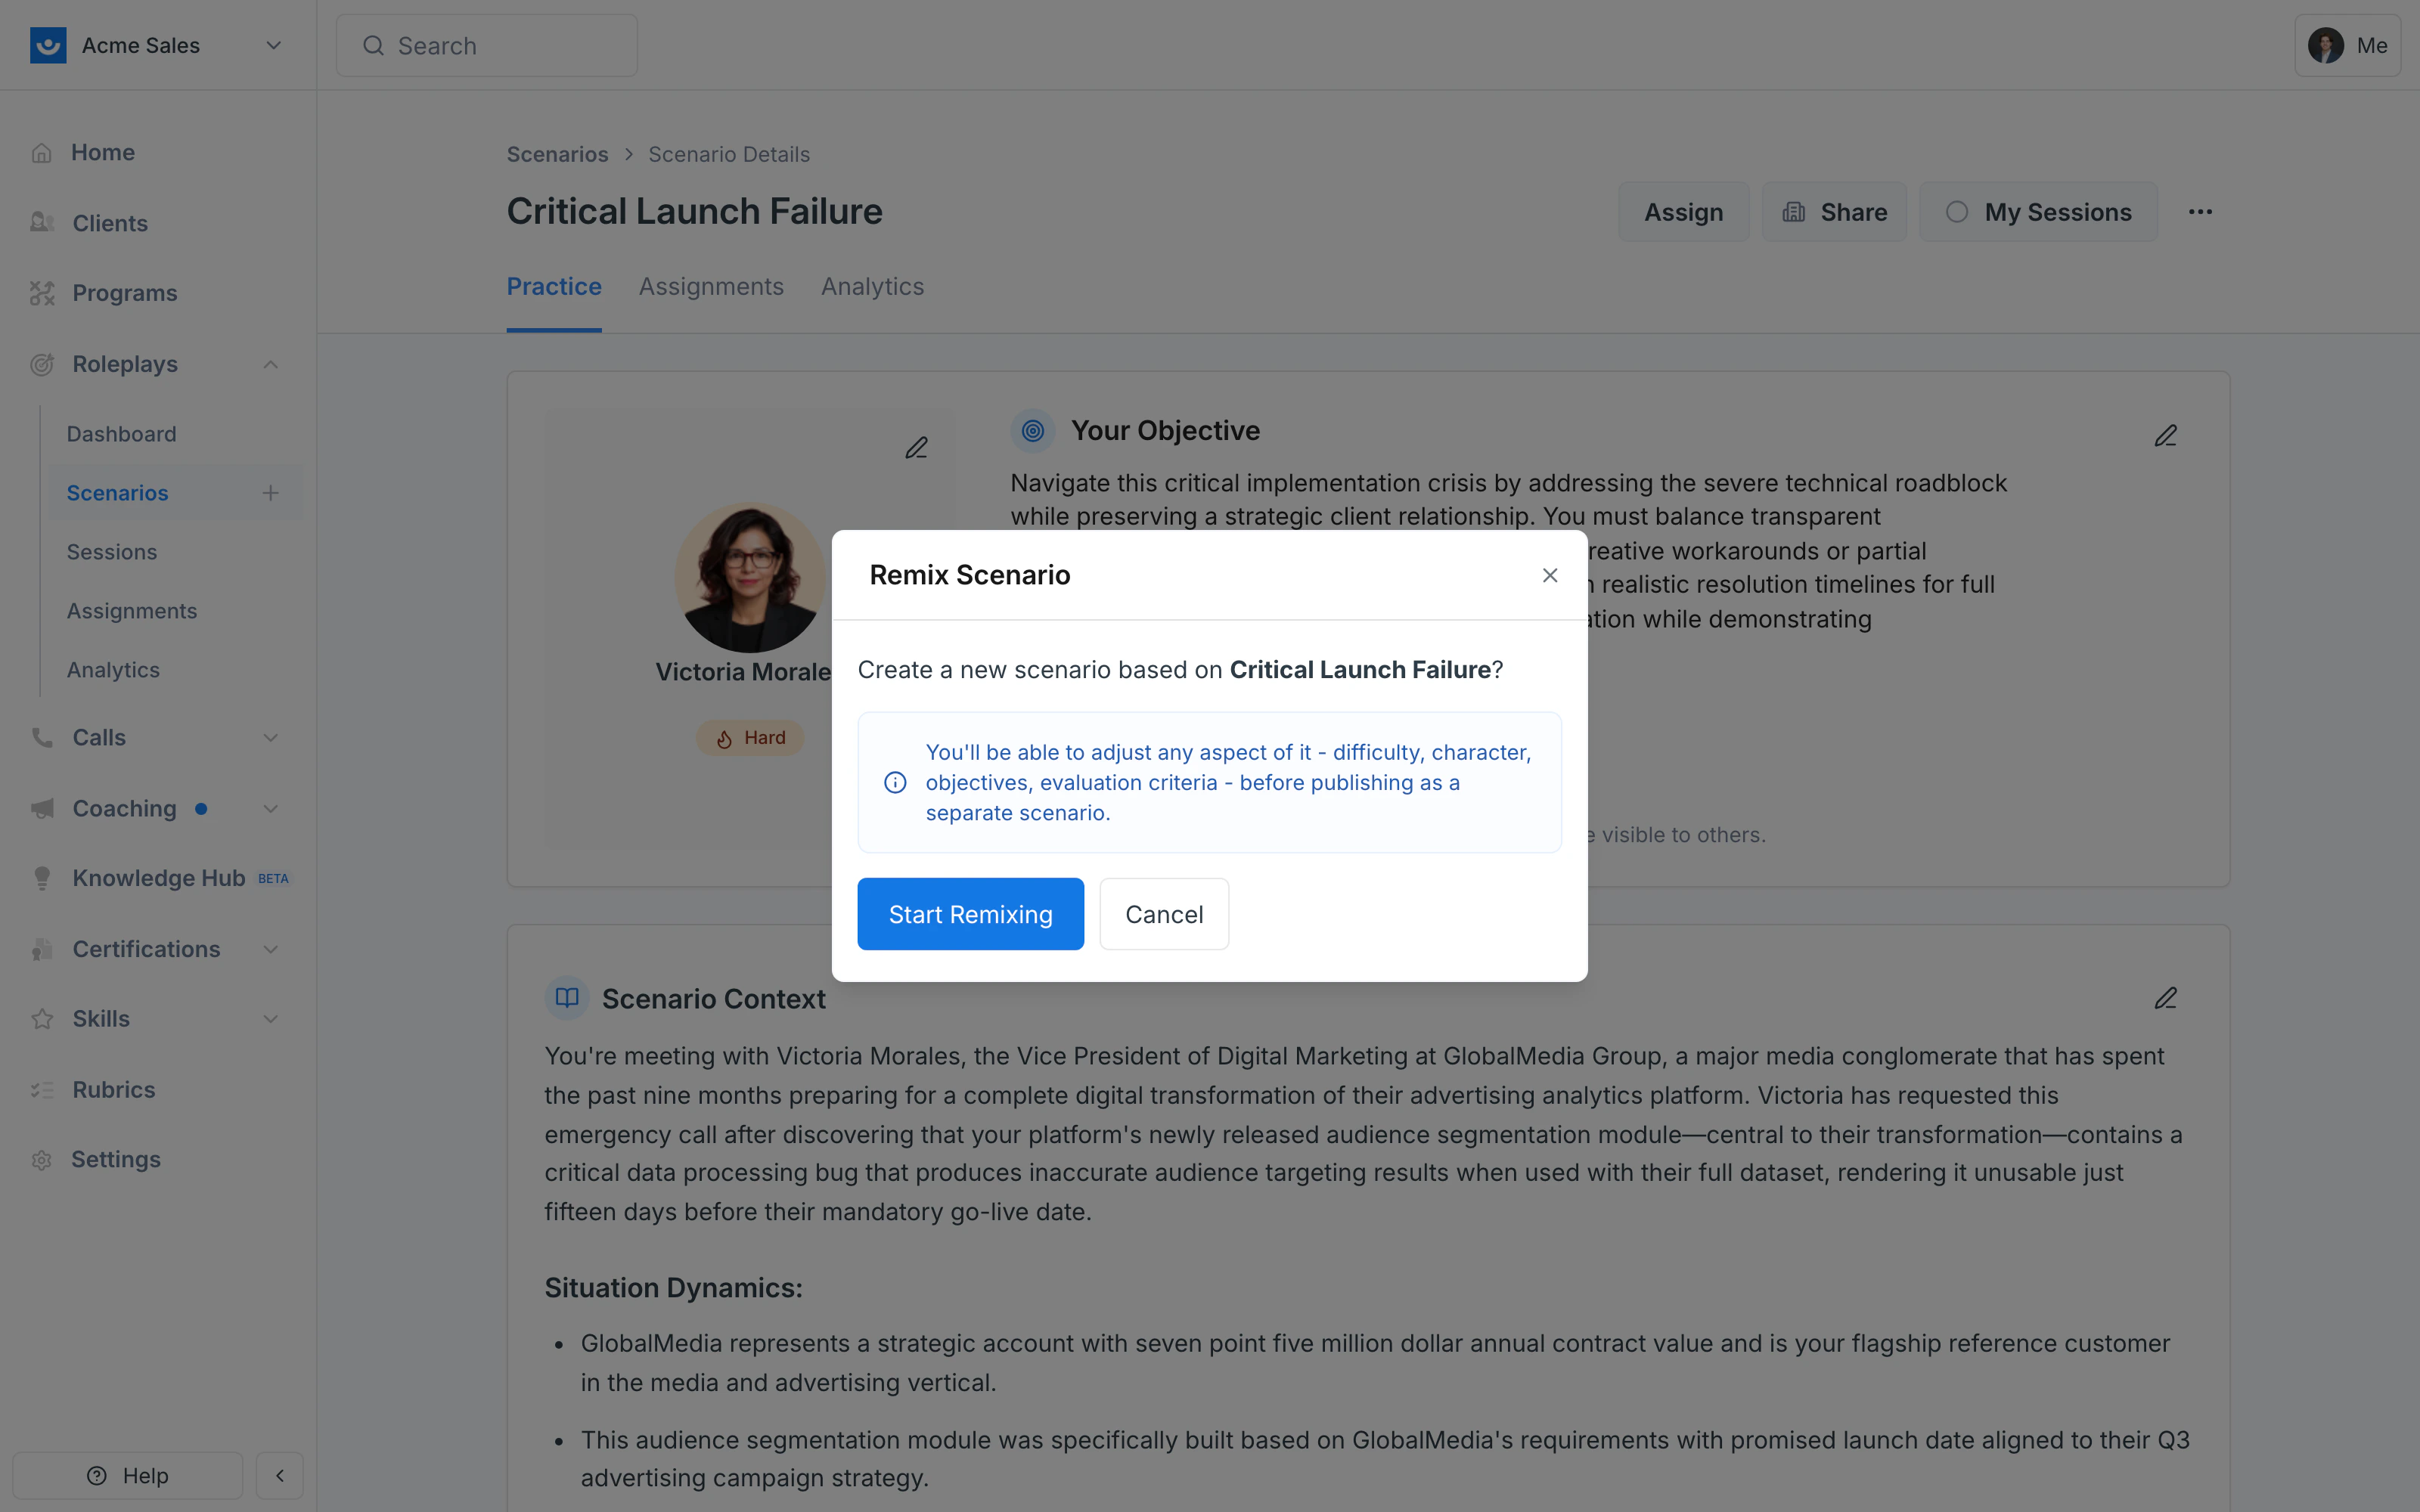
Describe your changes
The Scenario Studio opens with the original scenario loaded as your starting point — note the Remix: prefix in the header and the Publish button in the top-right. Tell the AI Agent what you want to keep or change: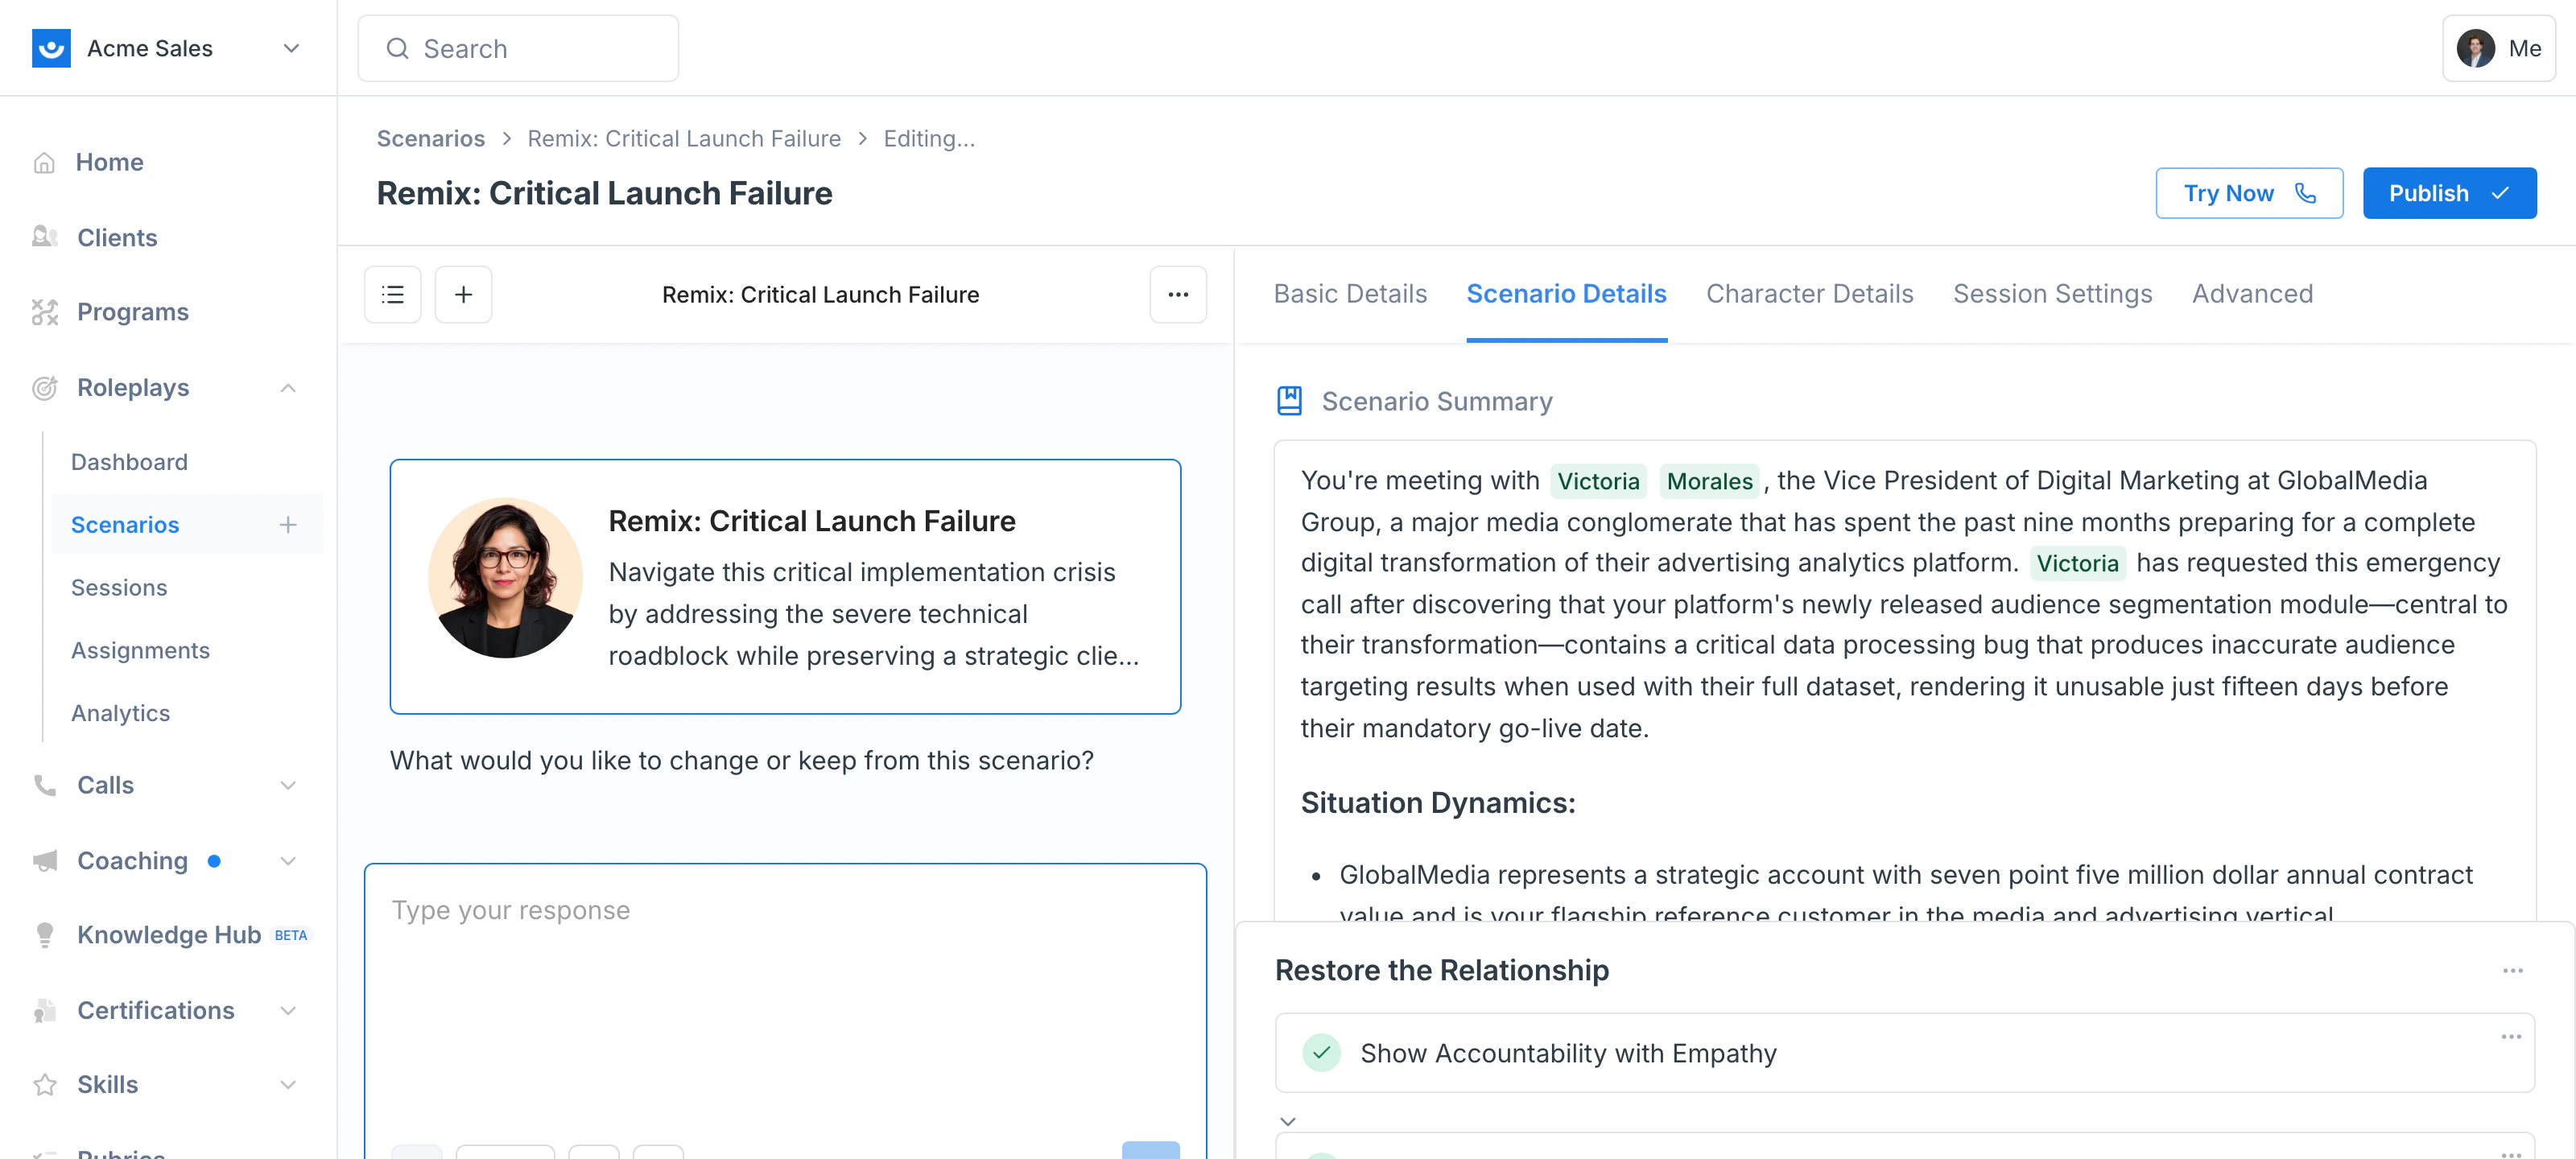
- “Make the character more friendly and engaging instead of defensive and skeptical.”
- “Change the company context to an enterprise-sized organization.”
- “Adjust the stakes and tone for a senior leader audience.”
Tips
- Clearly describe what you want to keep vs. what you want to change — the more specific, the better
- Name your remixed scenario clearly so it’s easy to distinguish from the original
- If you’re building variations for multiple audiences (e.g., sales, HR, engineering), remix once per variation rather than repeatedly overwriting drafts