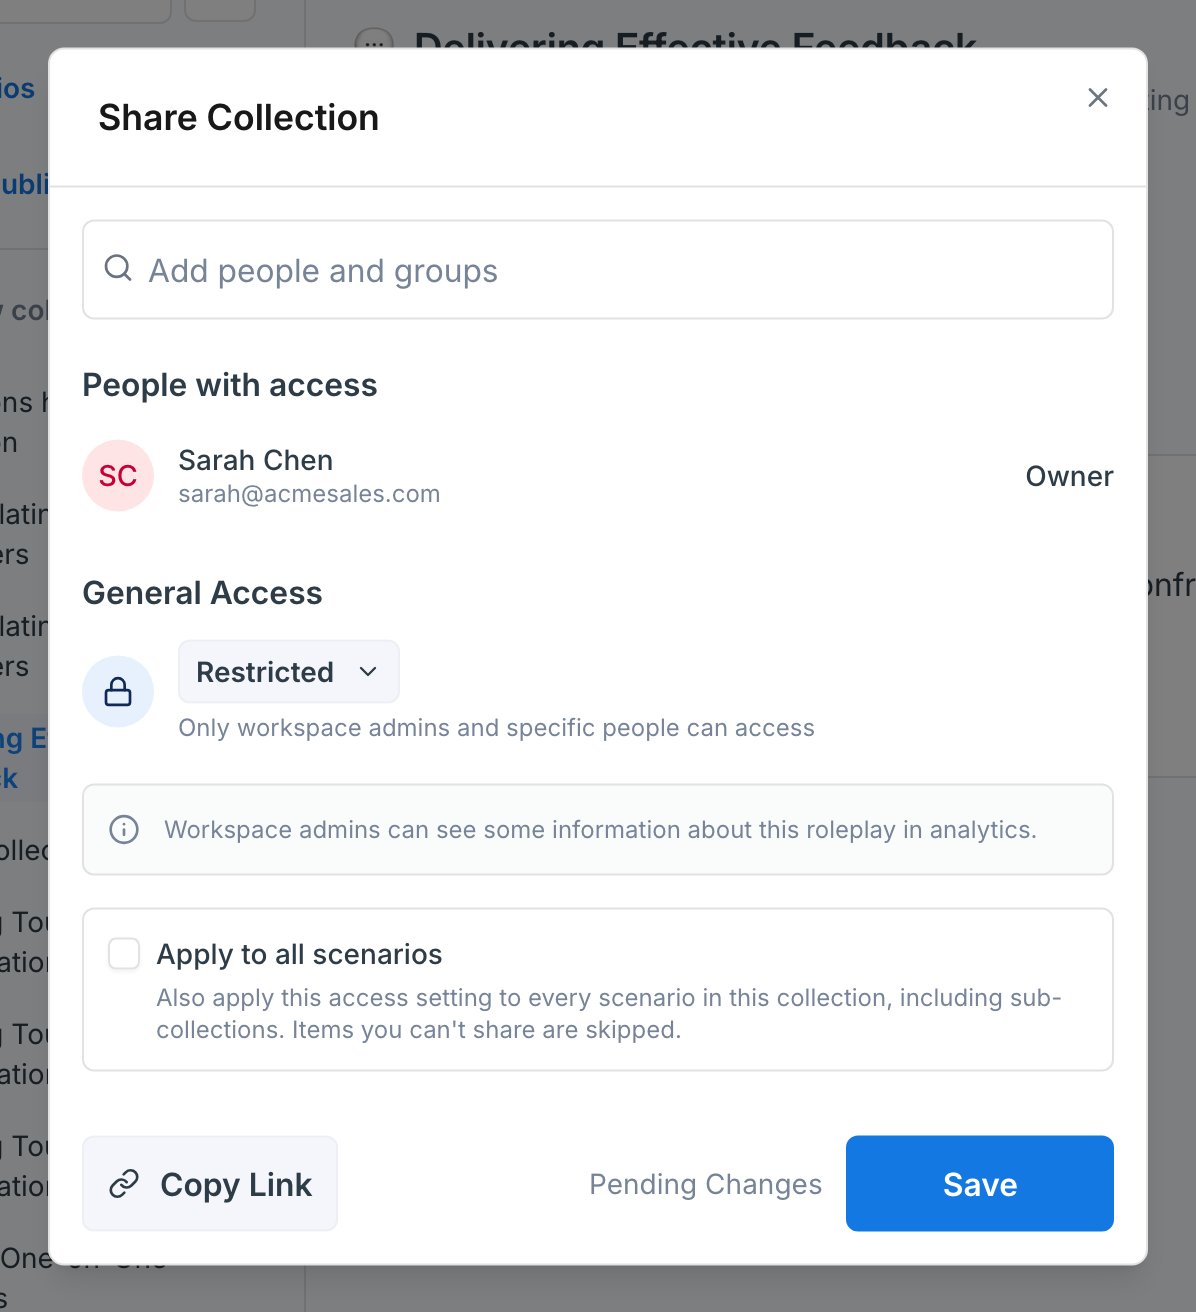
Sharing grants access without a deadline. To require people to complete a scenario by a due date, assign it instead.
General Access
Separately from the individual people you share with, every roleplay has a General Access level that decides who can find it in the workspace. Open a scenario or a collection and click Share to see it.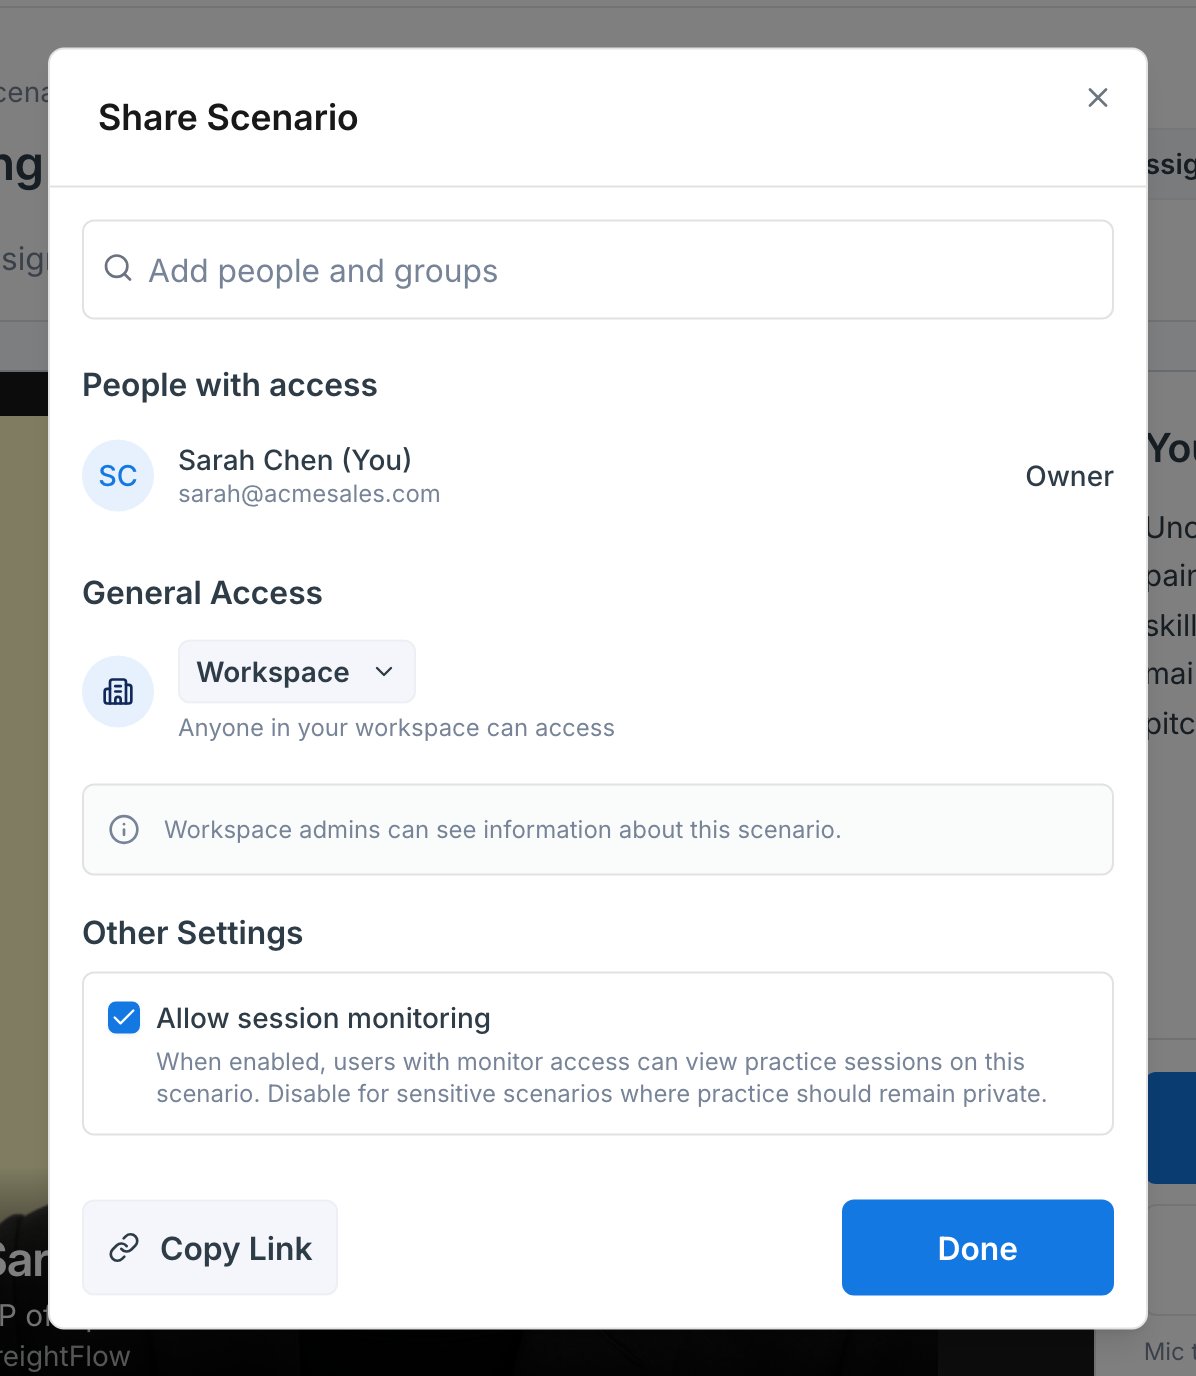
Two rules worth knowing before you change it:
- Only workspace admins can set General Access to Workspace. Owning the roleplay is not enough on its own. If you are not an admin you can still keep a roleplay restricted and share it person by person.
- Restricting a roleplay needs share rights, which means you are the owner or you have Can Share or Can Edit on it.
Permission Levels
Can View
Can View
The person can view and practice the roleplay.This is the default permission assigned when you use the Assign button.Best for: Learners and individual contributors who don’t need management or sharing access.
Can Monitor
Can Monitor
The person can view assignment activity and track learner progress through the Assignments tab.Important: If the roleplay is set to Private or Restricted, users with Can Monitor access won’t see it directly in their workspace. They’ll still be able to see assigned learners, activity status, and completion progress, and can access full roleplay details by clicking into an assignment from the Assignments tab. If the roleplay is set to Workspace visibility, they can see activity directly.Best for: Managers, HR, or L&D leaders who need progress visibility without editing access.
Can Edit
Can Edit
The person can view, practice, share, and edit the roleplay. This is the highest level of access.Best for: Roleplay creators, program owners, and admins responsible for maintaining or iterating on content.
Permission Summary
*Visibility depends on whether the roleplay is set to Private/Restricted or Workspace visibility.
How to Share a Roleplay
1
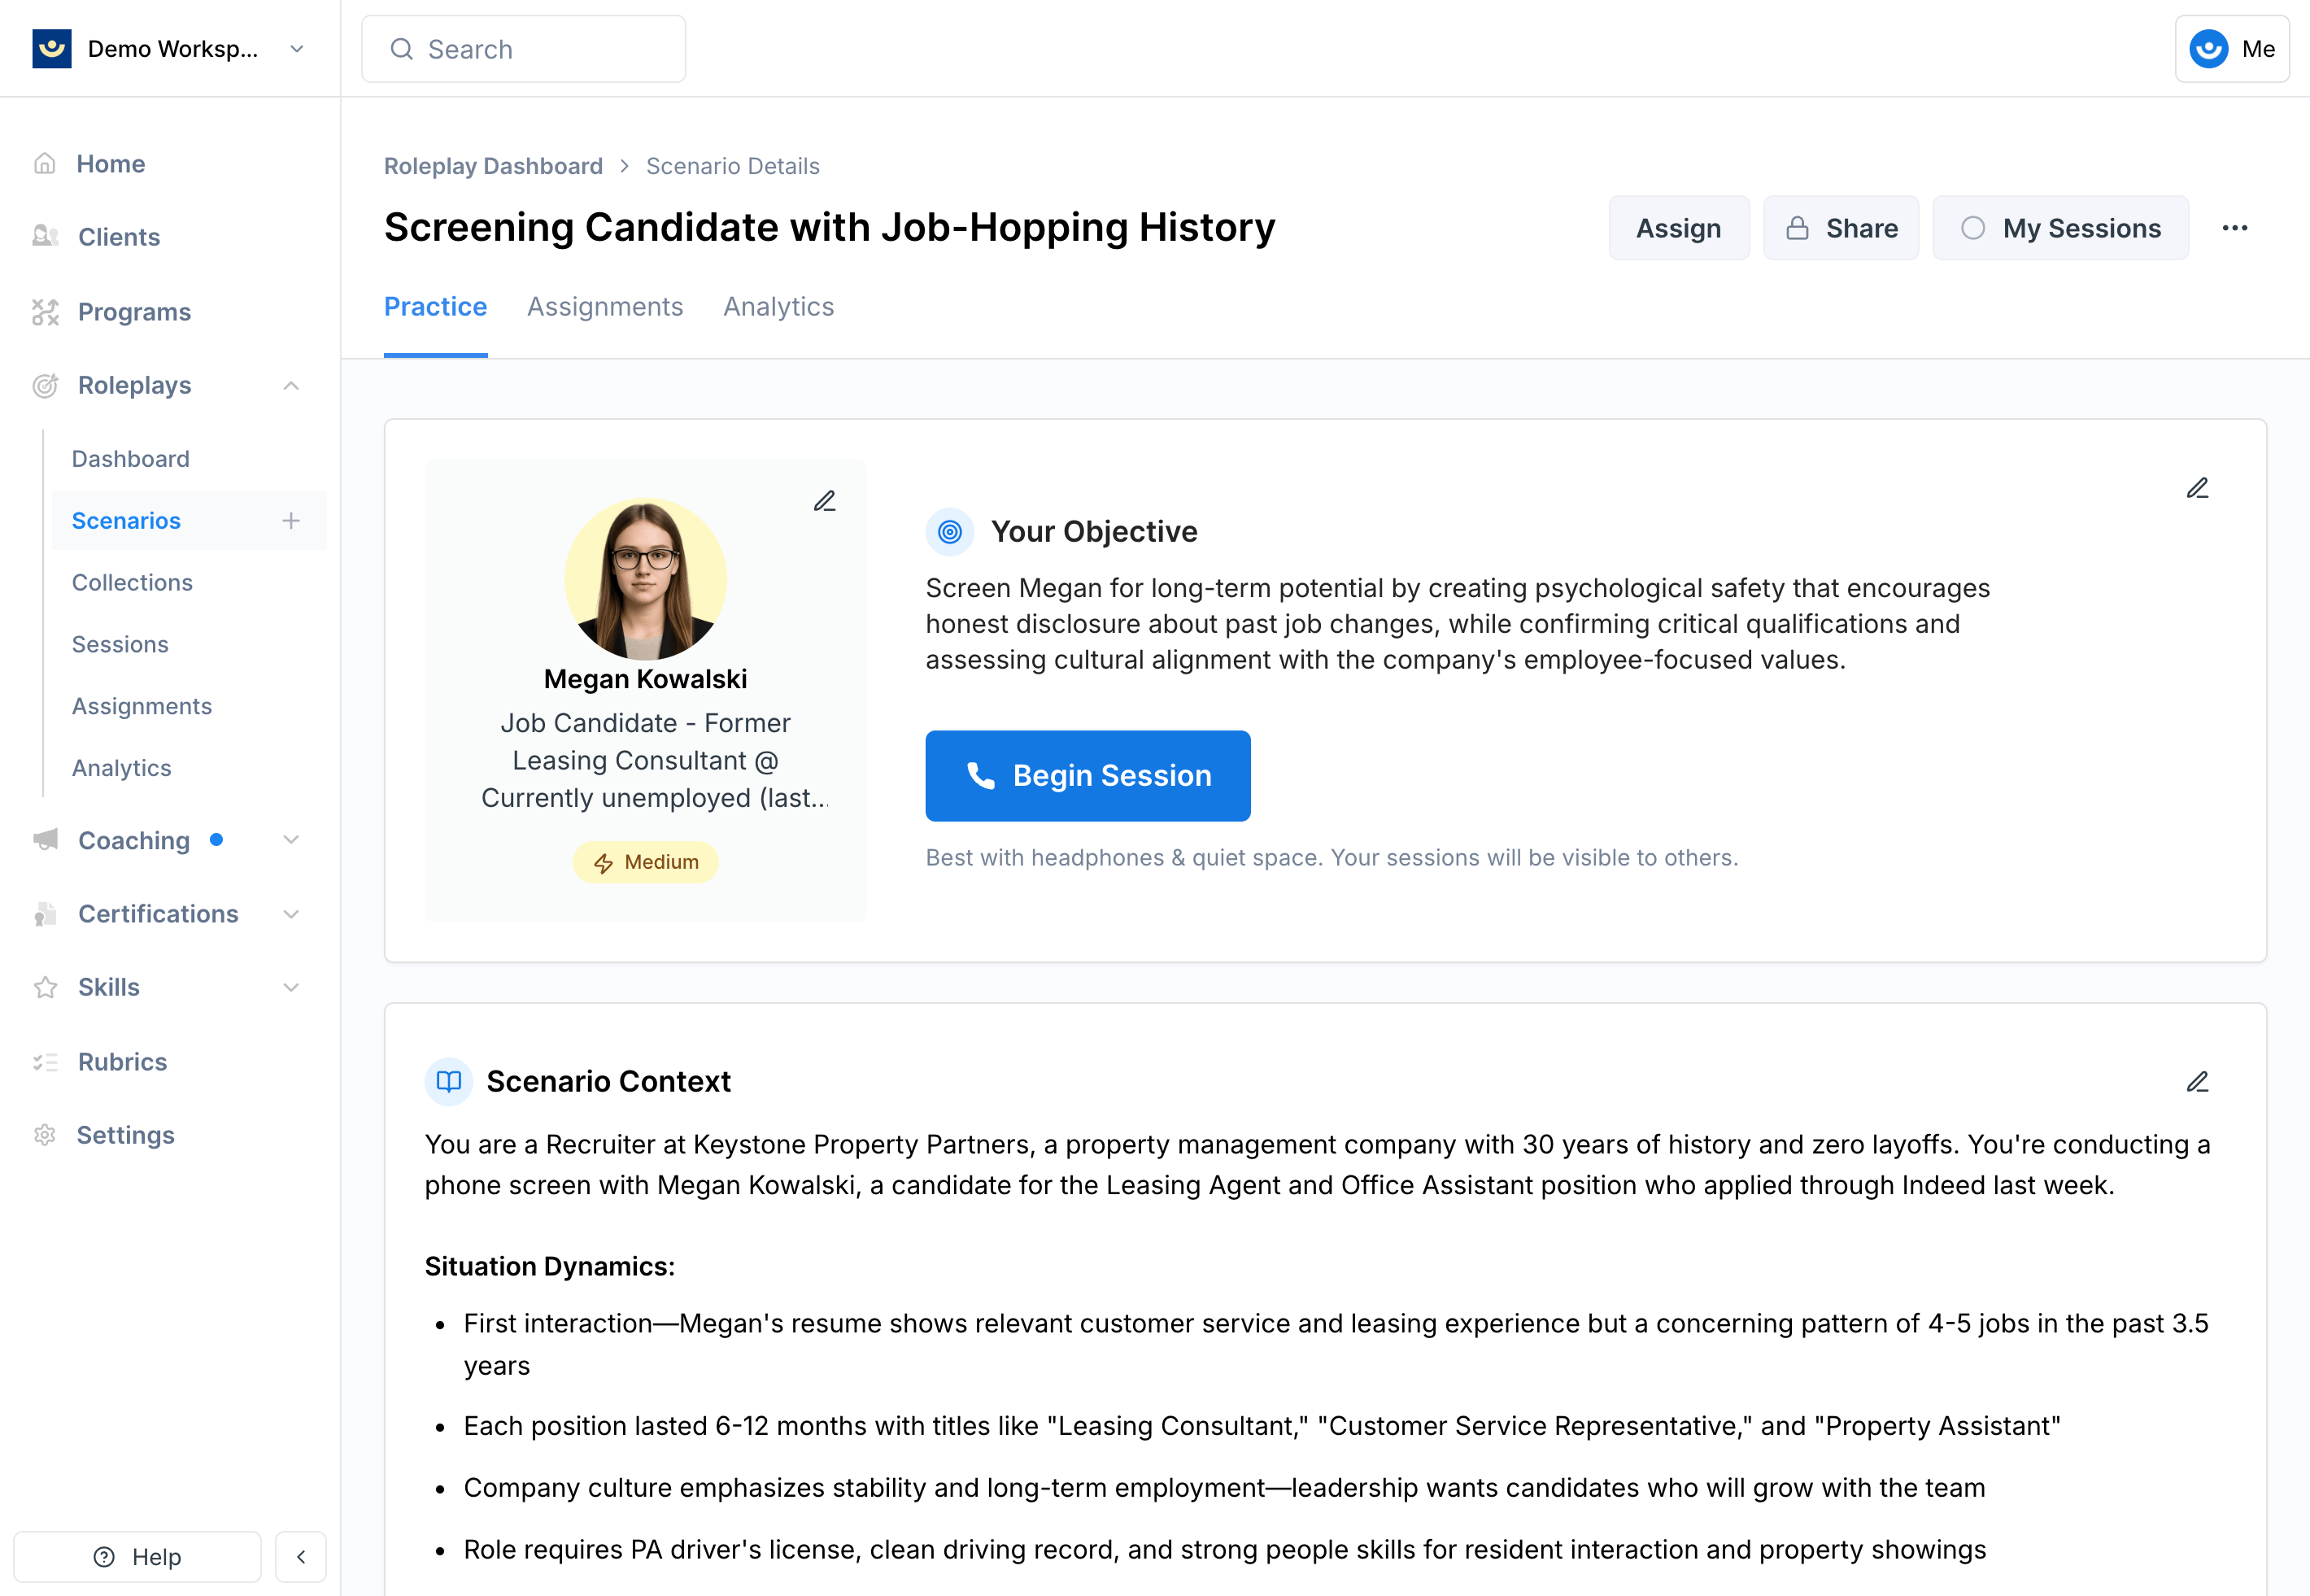
Open the roleplay and click Share
2
Search for the person you want to share with
Type their name or email address. They must already be a member of your workspace.
3
Select a permission level
Choose the appropriate access level from the dropdown.
Changing Visibility for Several Roleplays at Once
You do not have to open each scenario one at a time. On the Scenarios page you can select a group of scenarios and set a single General Access level for all of them.1
Select the scenarios
Hold Cmd (Ctrl on Windows) and click each scenario card. Shift-click to take a range, or drag a box across empty space to sweep up everything inside it. A bar appears at the bottom of the page with the number selected.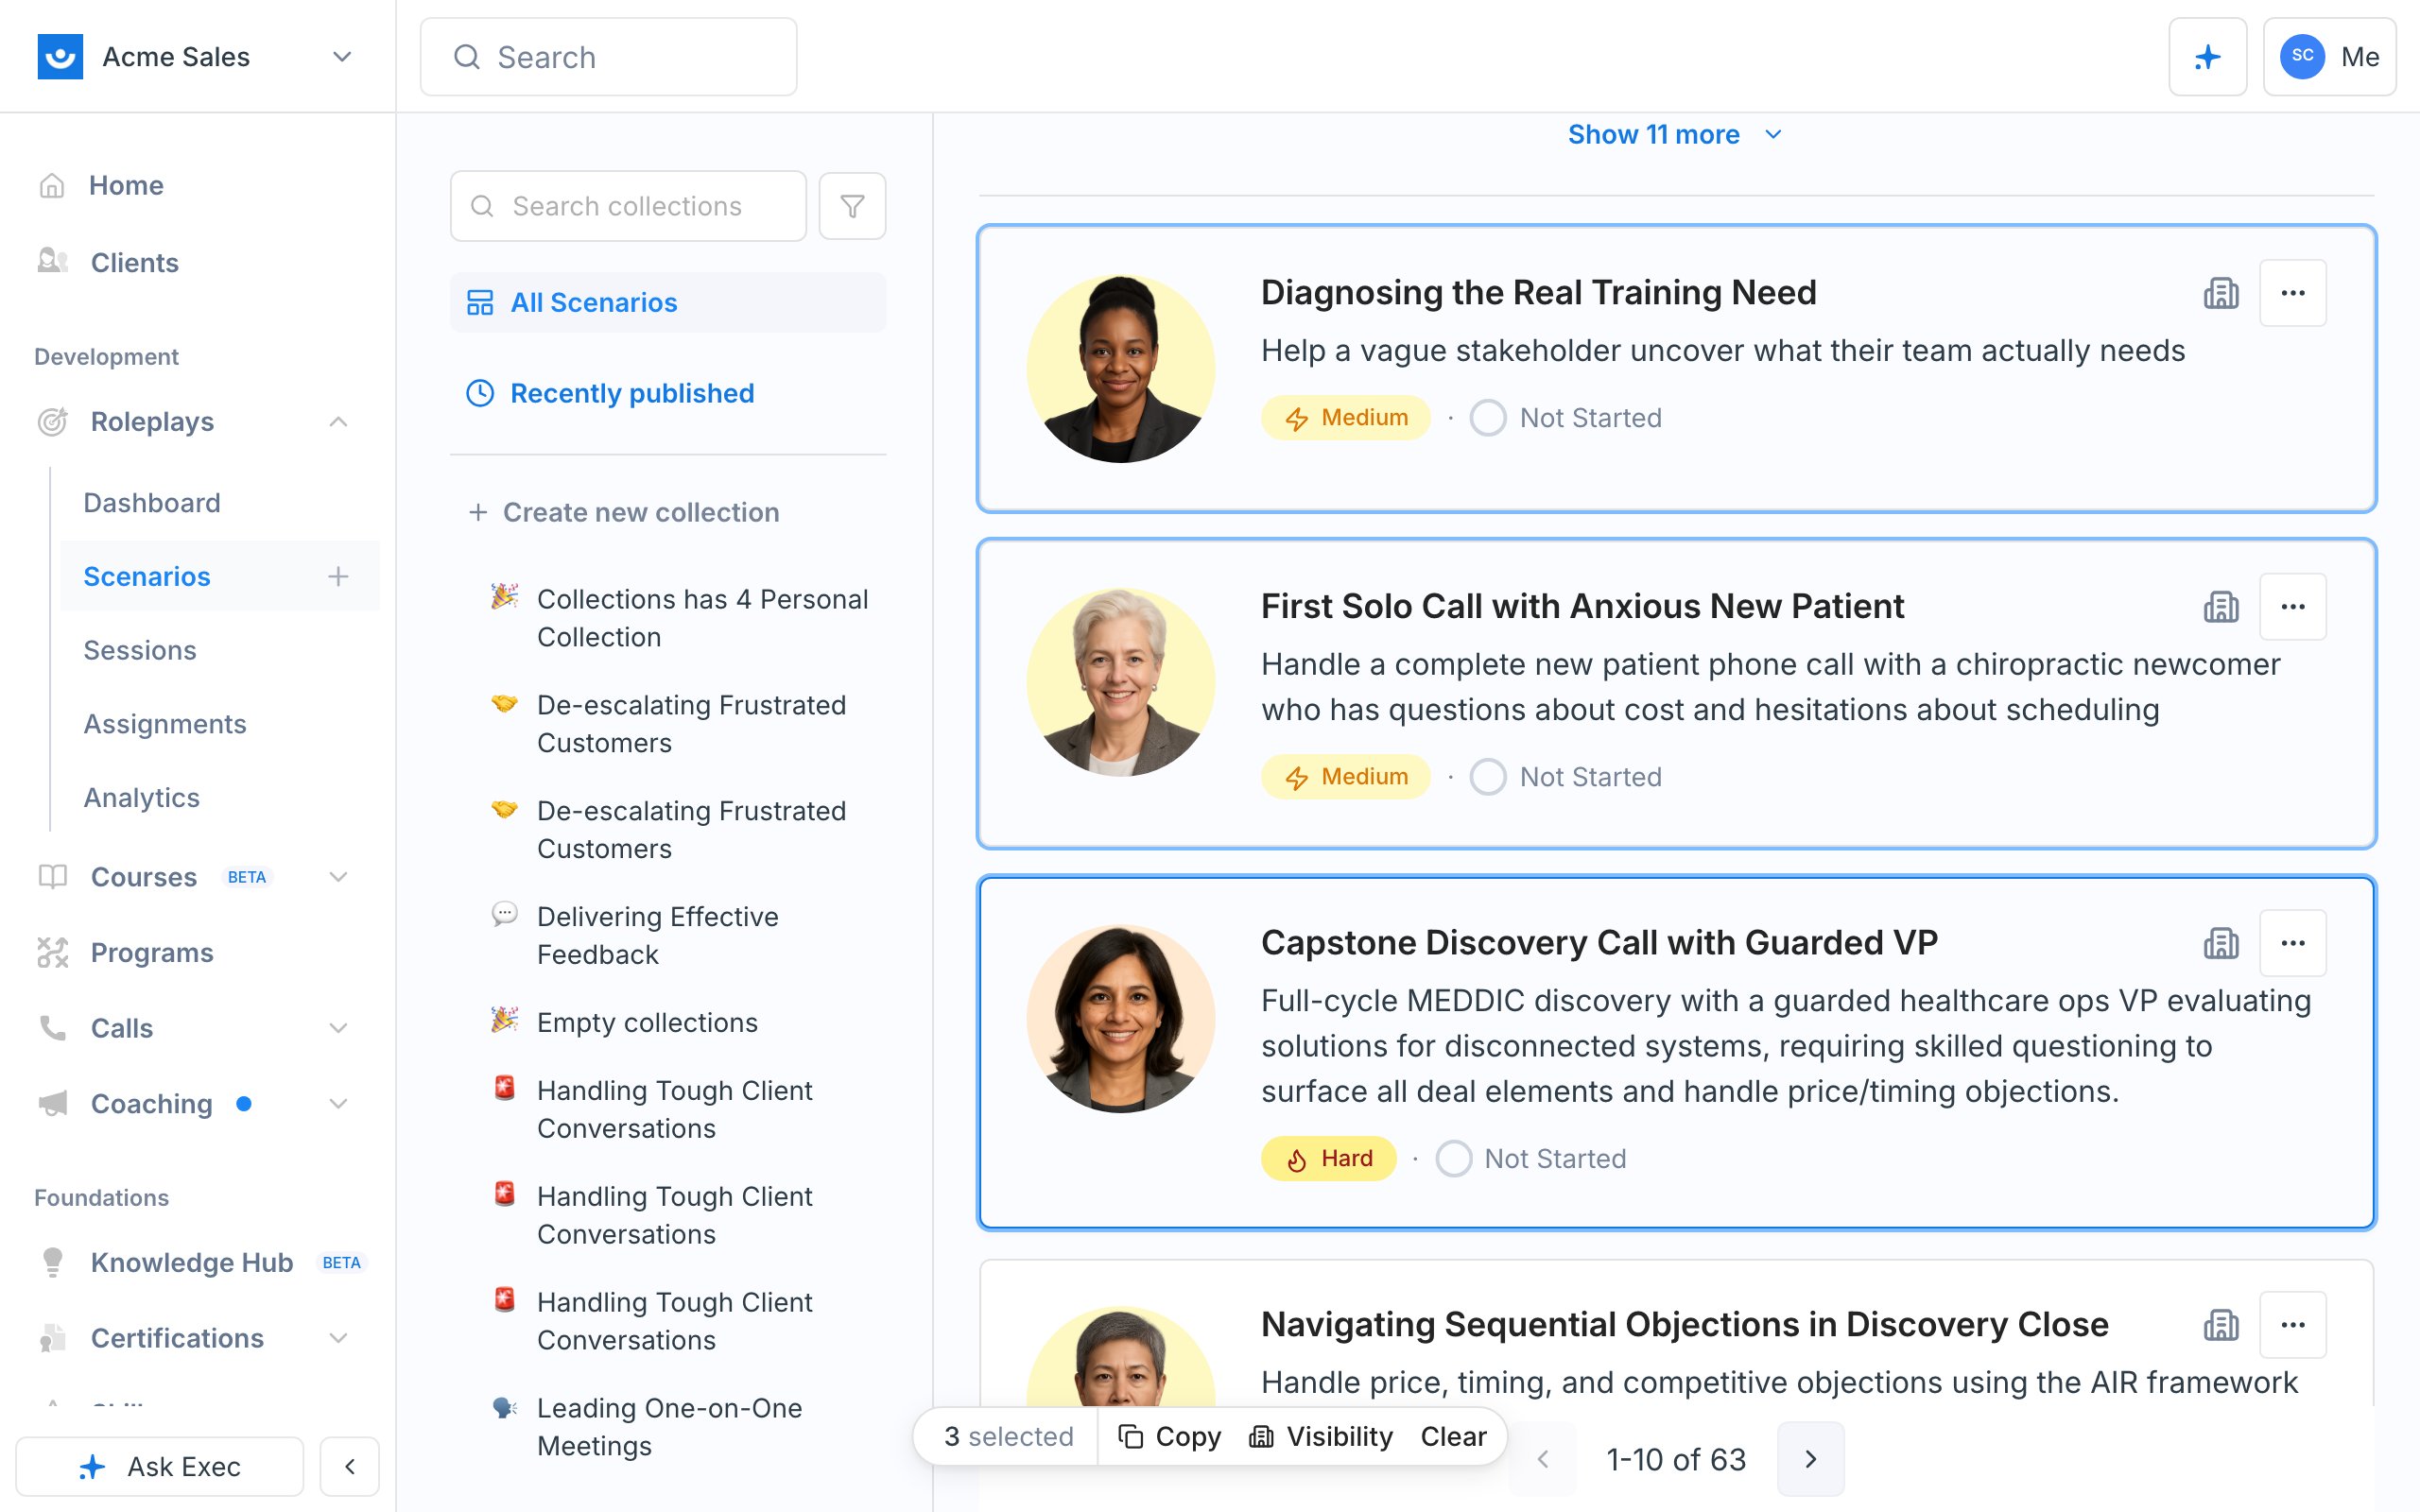
2
Click Visibility
The Change visibility dialog opens. It shows how many of the selected scenarios are currently Workspace and how many are Personal (the dialog’s word for Restricted), and it warns you when some of them will be skipped because you cannot change them.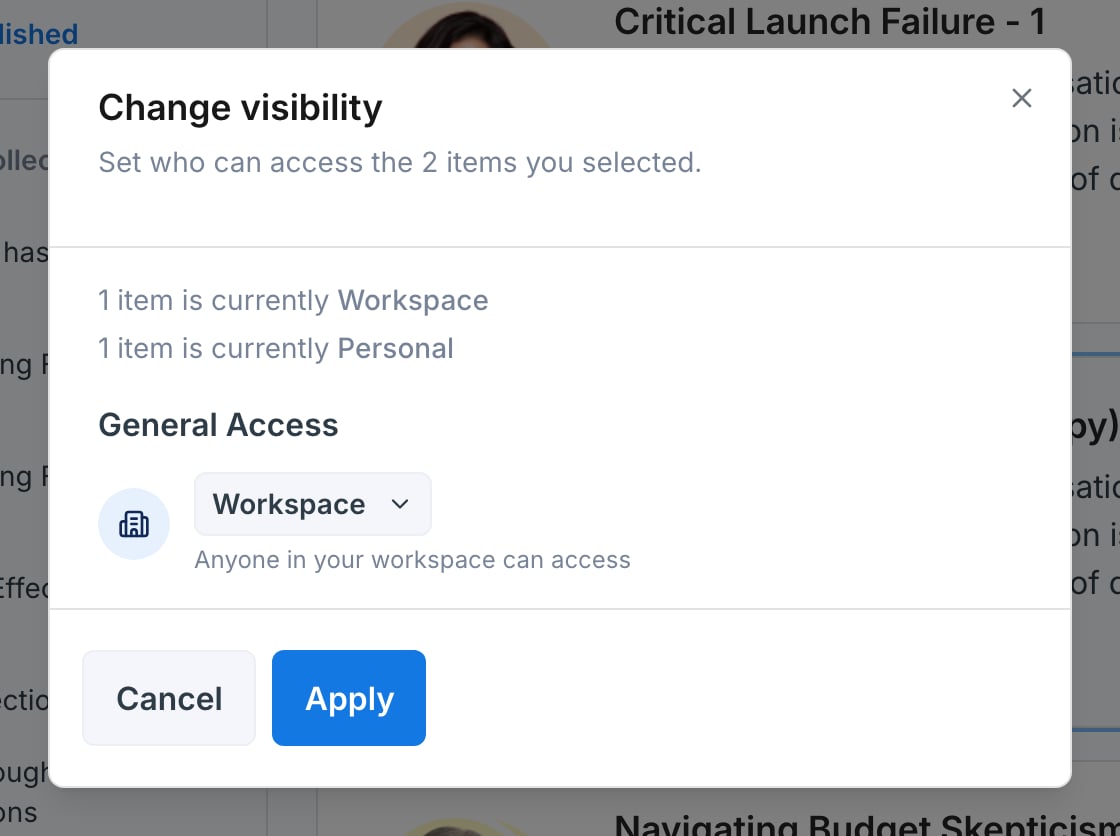
3
Pick a level and click Apply
Choose Restricted or Workspace from the General Access dropdown, then click Apply.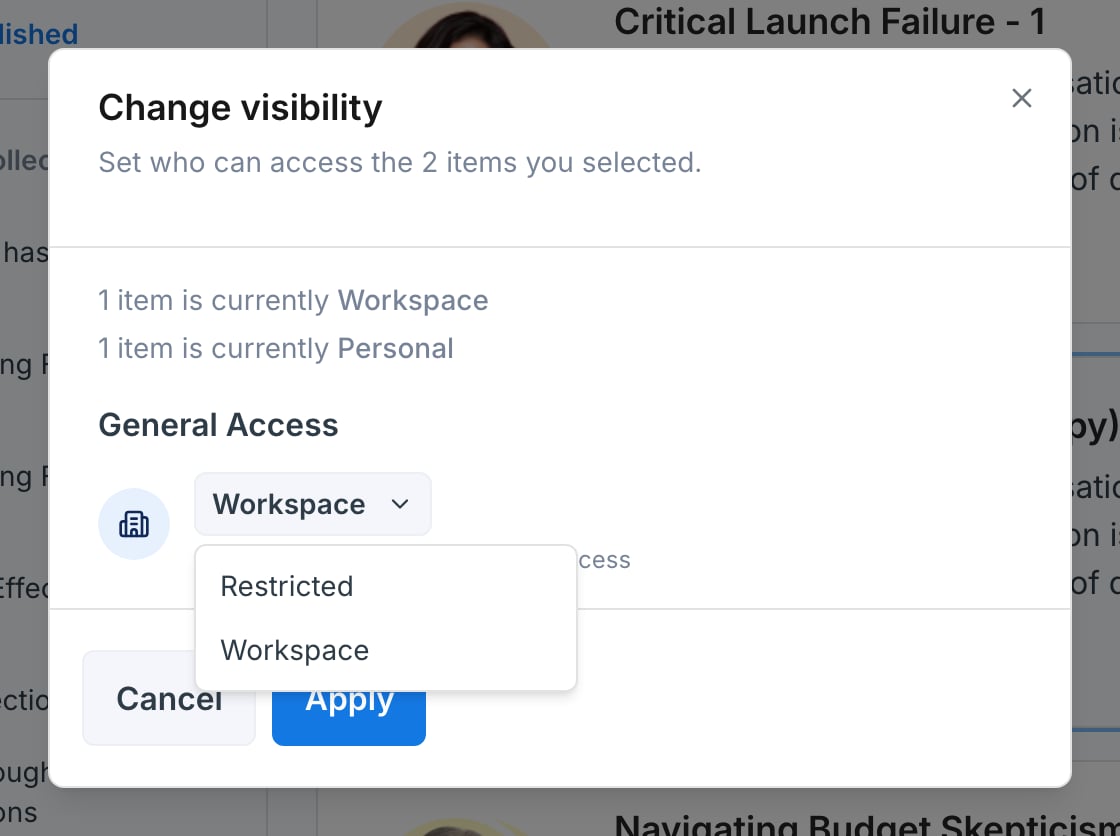
Applying a Collection’s Visibility to Its Scenarios
Changing a collection’s General Access does not by itself change the scenarios inside it. When you pick a different level in a collection’s Share dialog, an Apply to all scenarios checkbox appears. Tick it before saving to push the same level to every scenario in the collection, including the ones in its sub-collections.