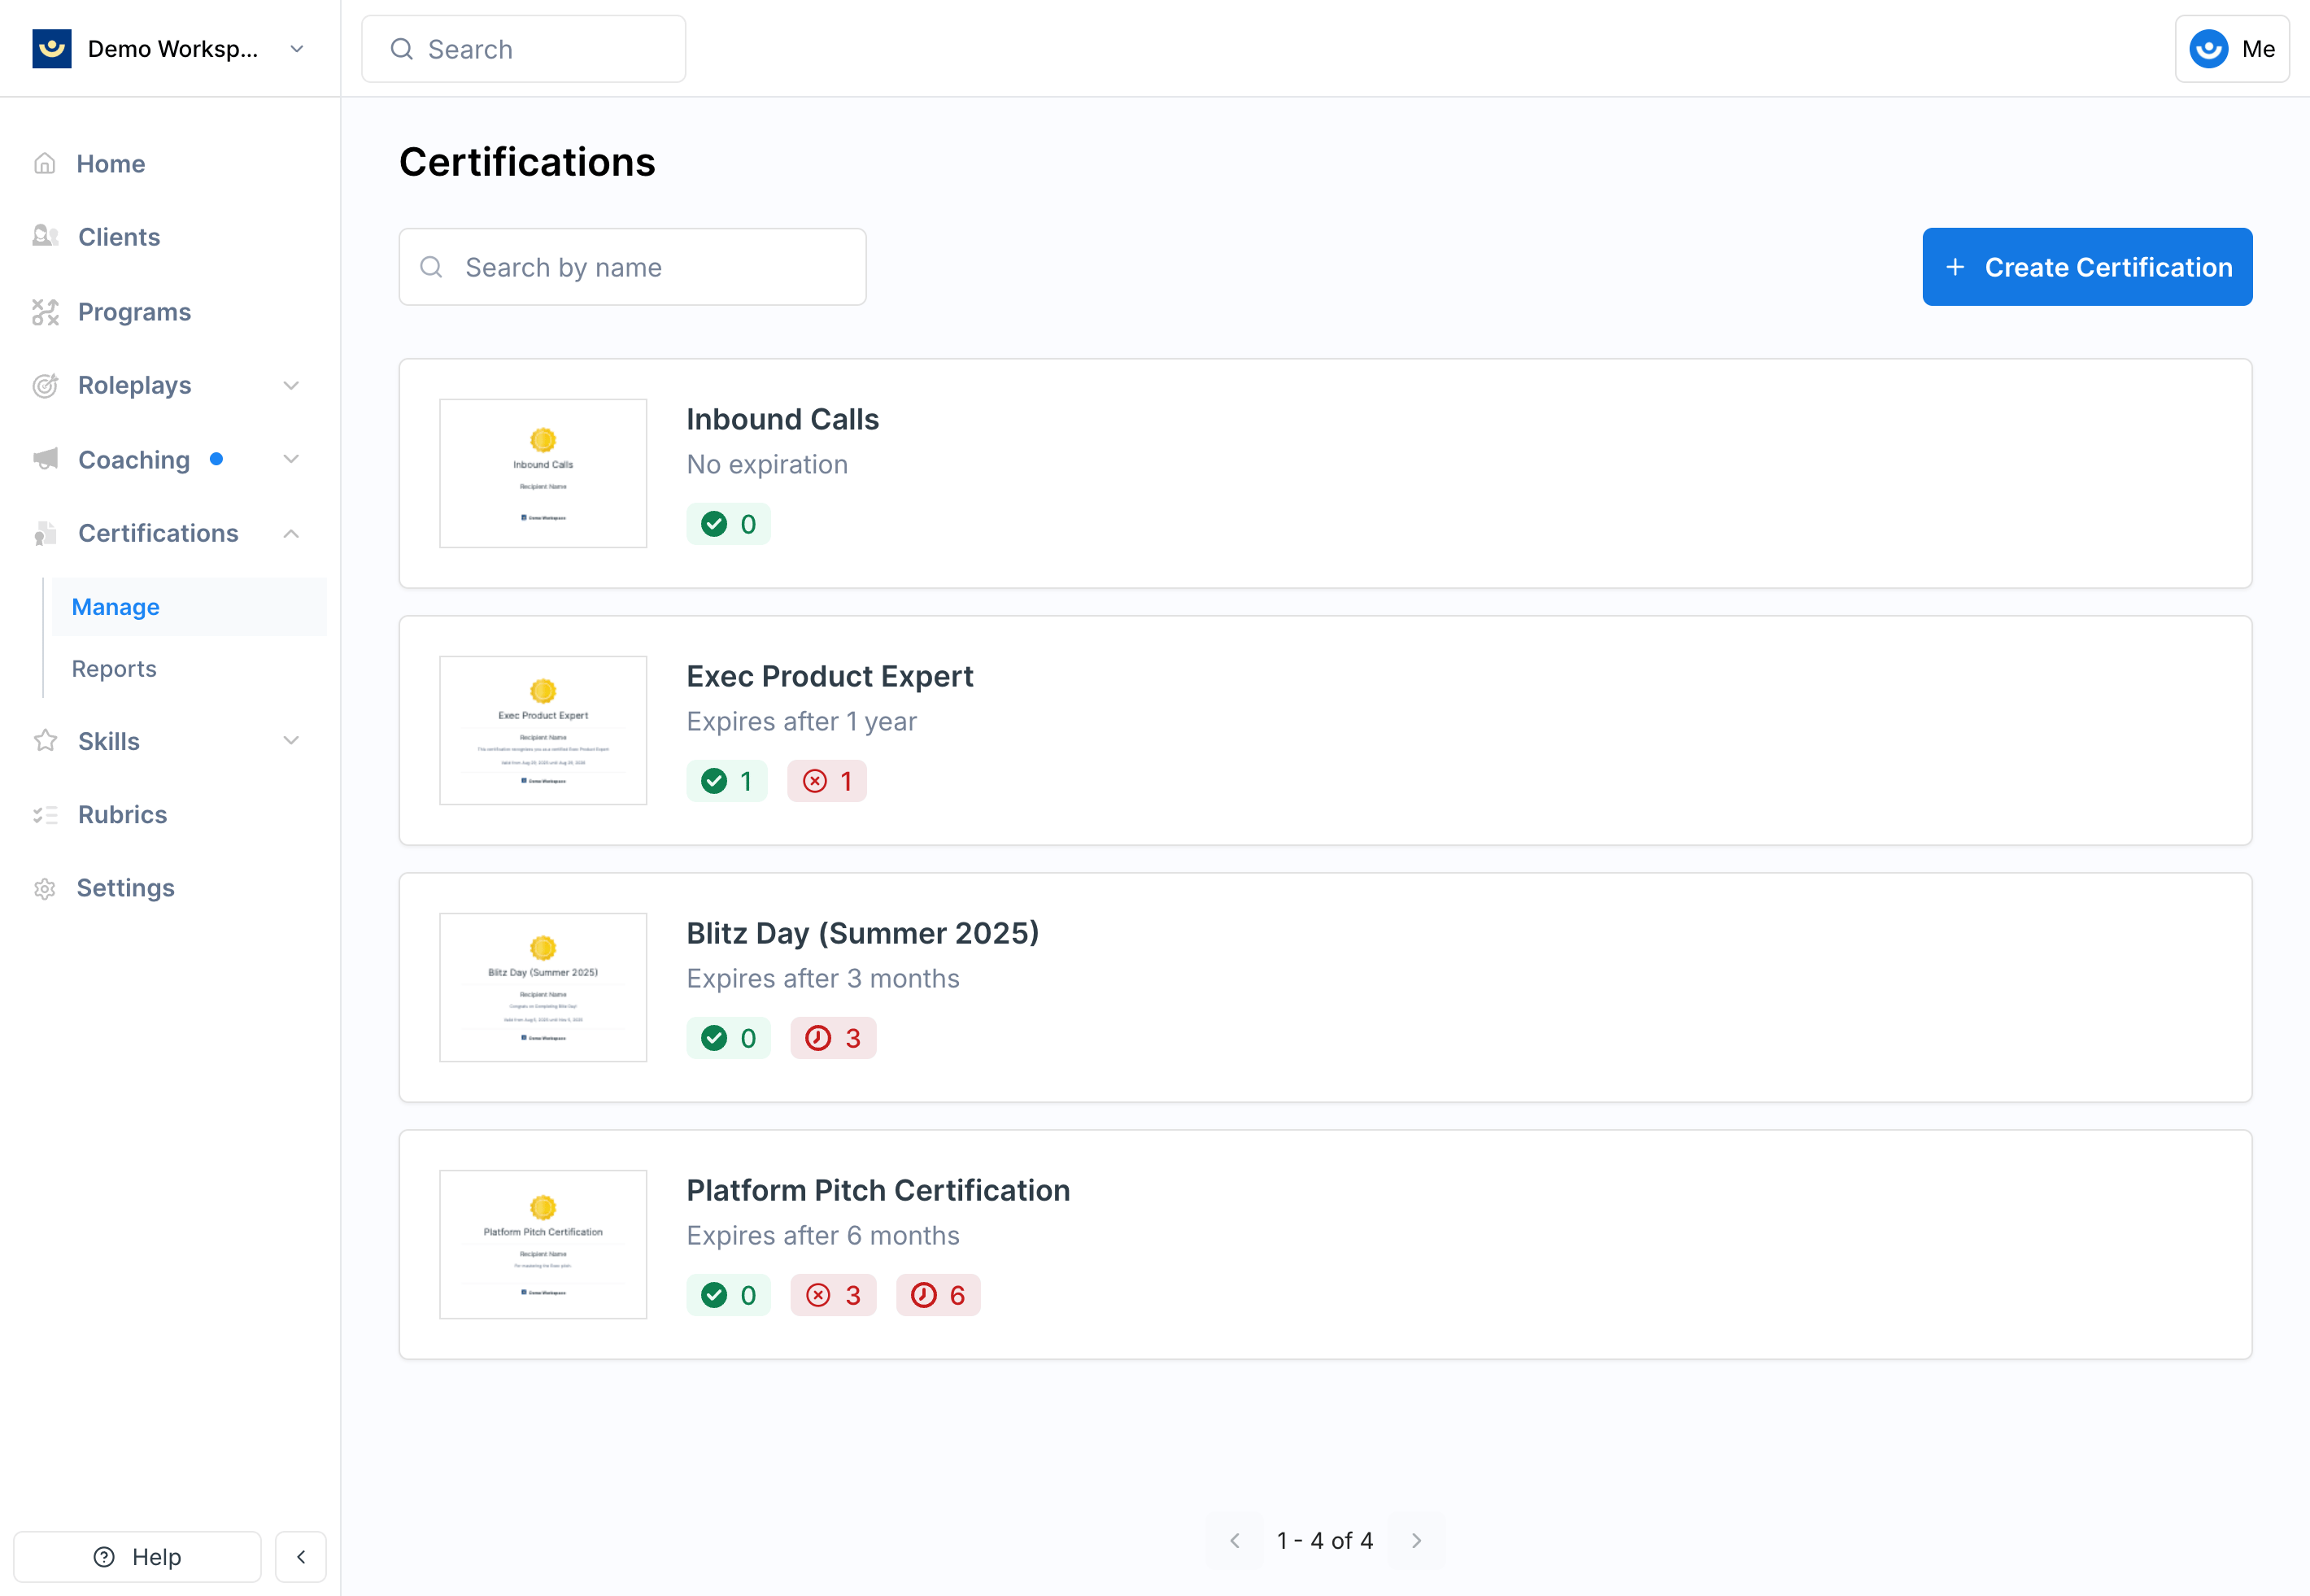
How to Issue a Certification
Click Issue Manually and find the learner
Search for and select the learner who should receive the certification.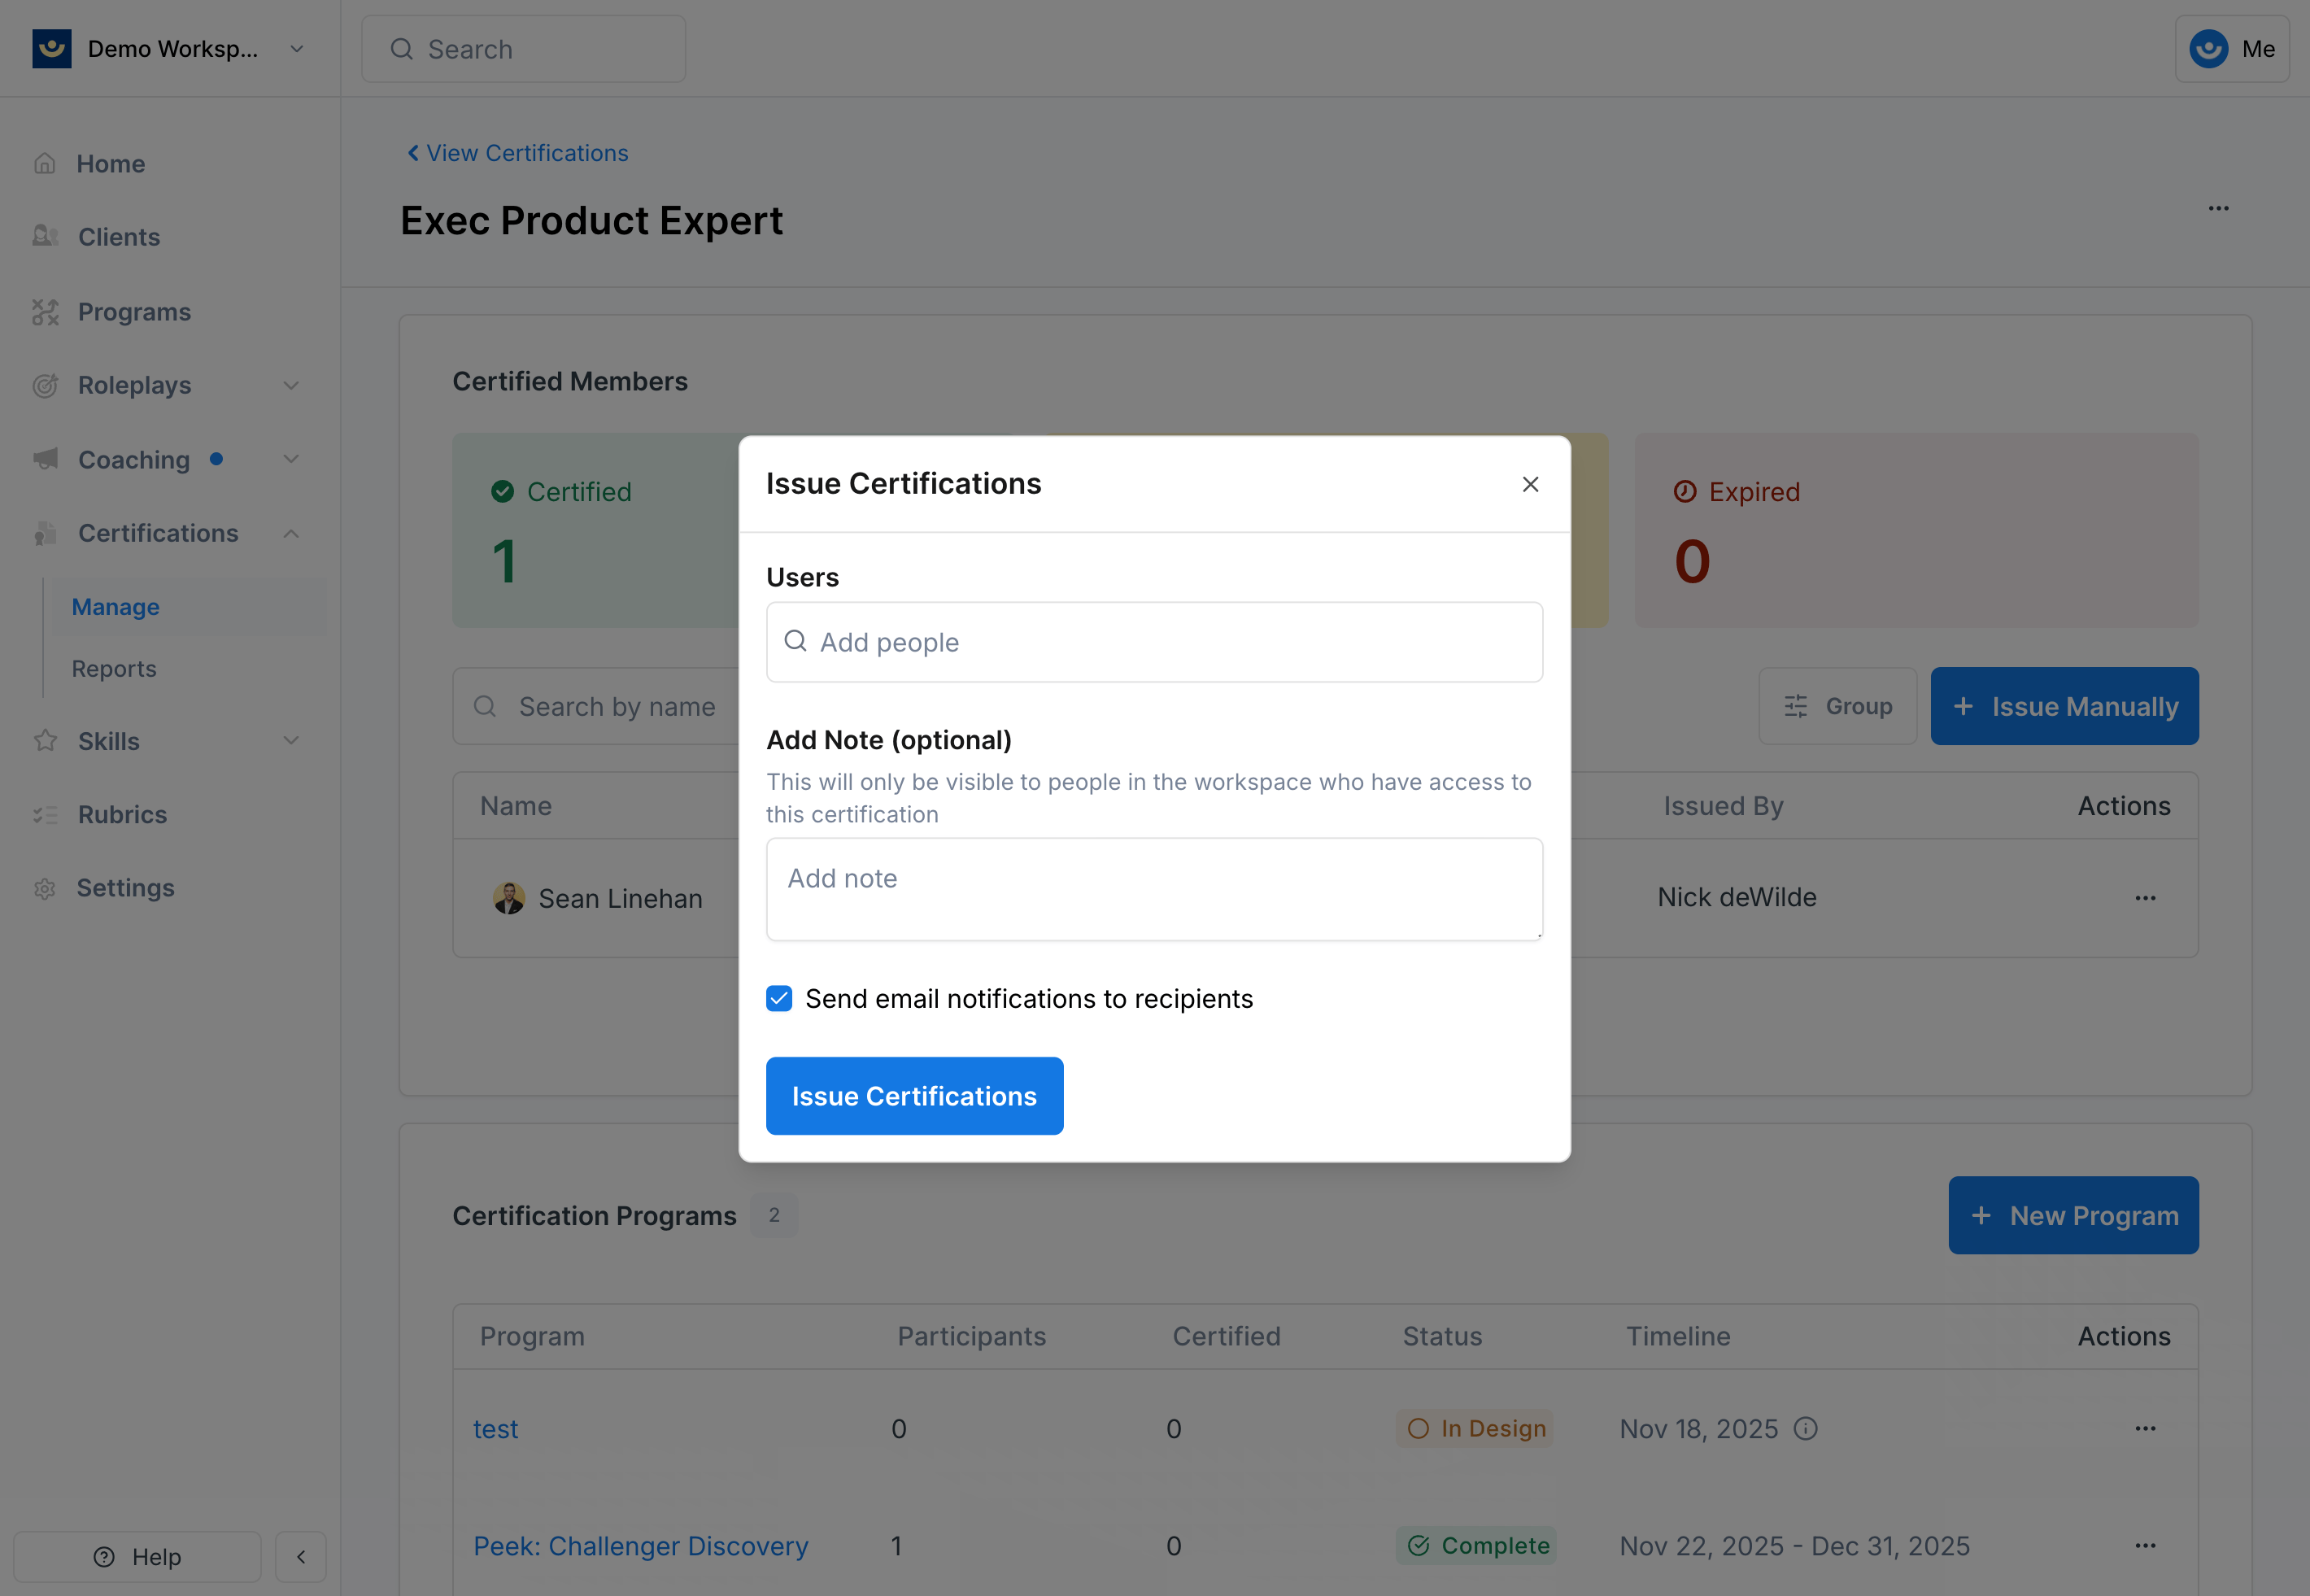
Add an internal note (optional)
Use this field to record why the certification was issued. These notes are internal only — learners won’t see them.
Choose notification settings
Decide whether to notify the learner by email. If notified, they’ll receive an email confirming the certification along with a link to their PDF.
Viewing a Certification PDF
After issuing, click the three-dot menu next to the learner’s name and select View PDF to view or download their certification. The PDF includes the certification title, description, workspace logo, and learner details.Revoking a Certification
To revoke, click the three-dot menu next to the learner’s name and select Revoke.Tips
- Use the internal note field when issuing manually — it creates a record of why the certification was granted
- Notify learners unless there’s a specific reason not to — it keeps them engaged and provides immediate recognition
- Revoke sparingly — only if a certification was issued by mistake, not for performance reasons