Video walkthrough
Build From Your Own Materials
Instead of building from a prompt alone, you can point the agent at real material so the scenario reflects how your team actually sells, coaches, or supports. Click Source > Browse Knowledge Hub and pick the resources to build from, for example call transcripts, a framework guide, and a scenario outline.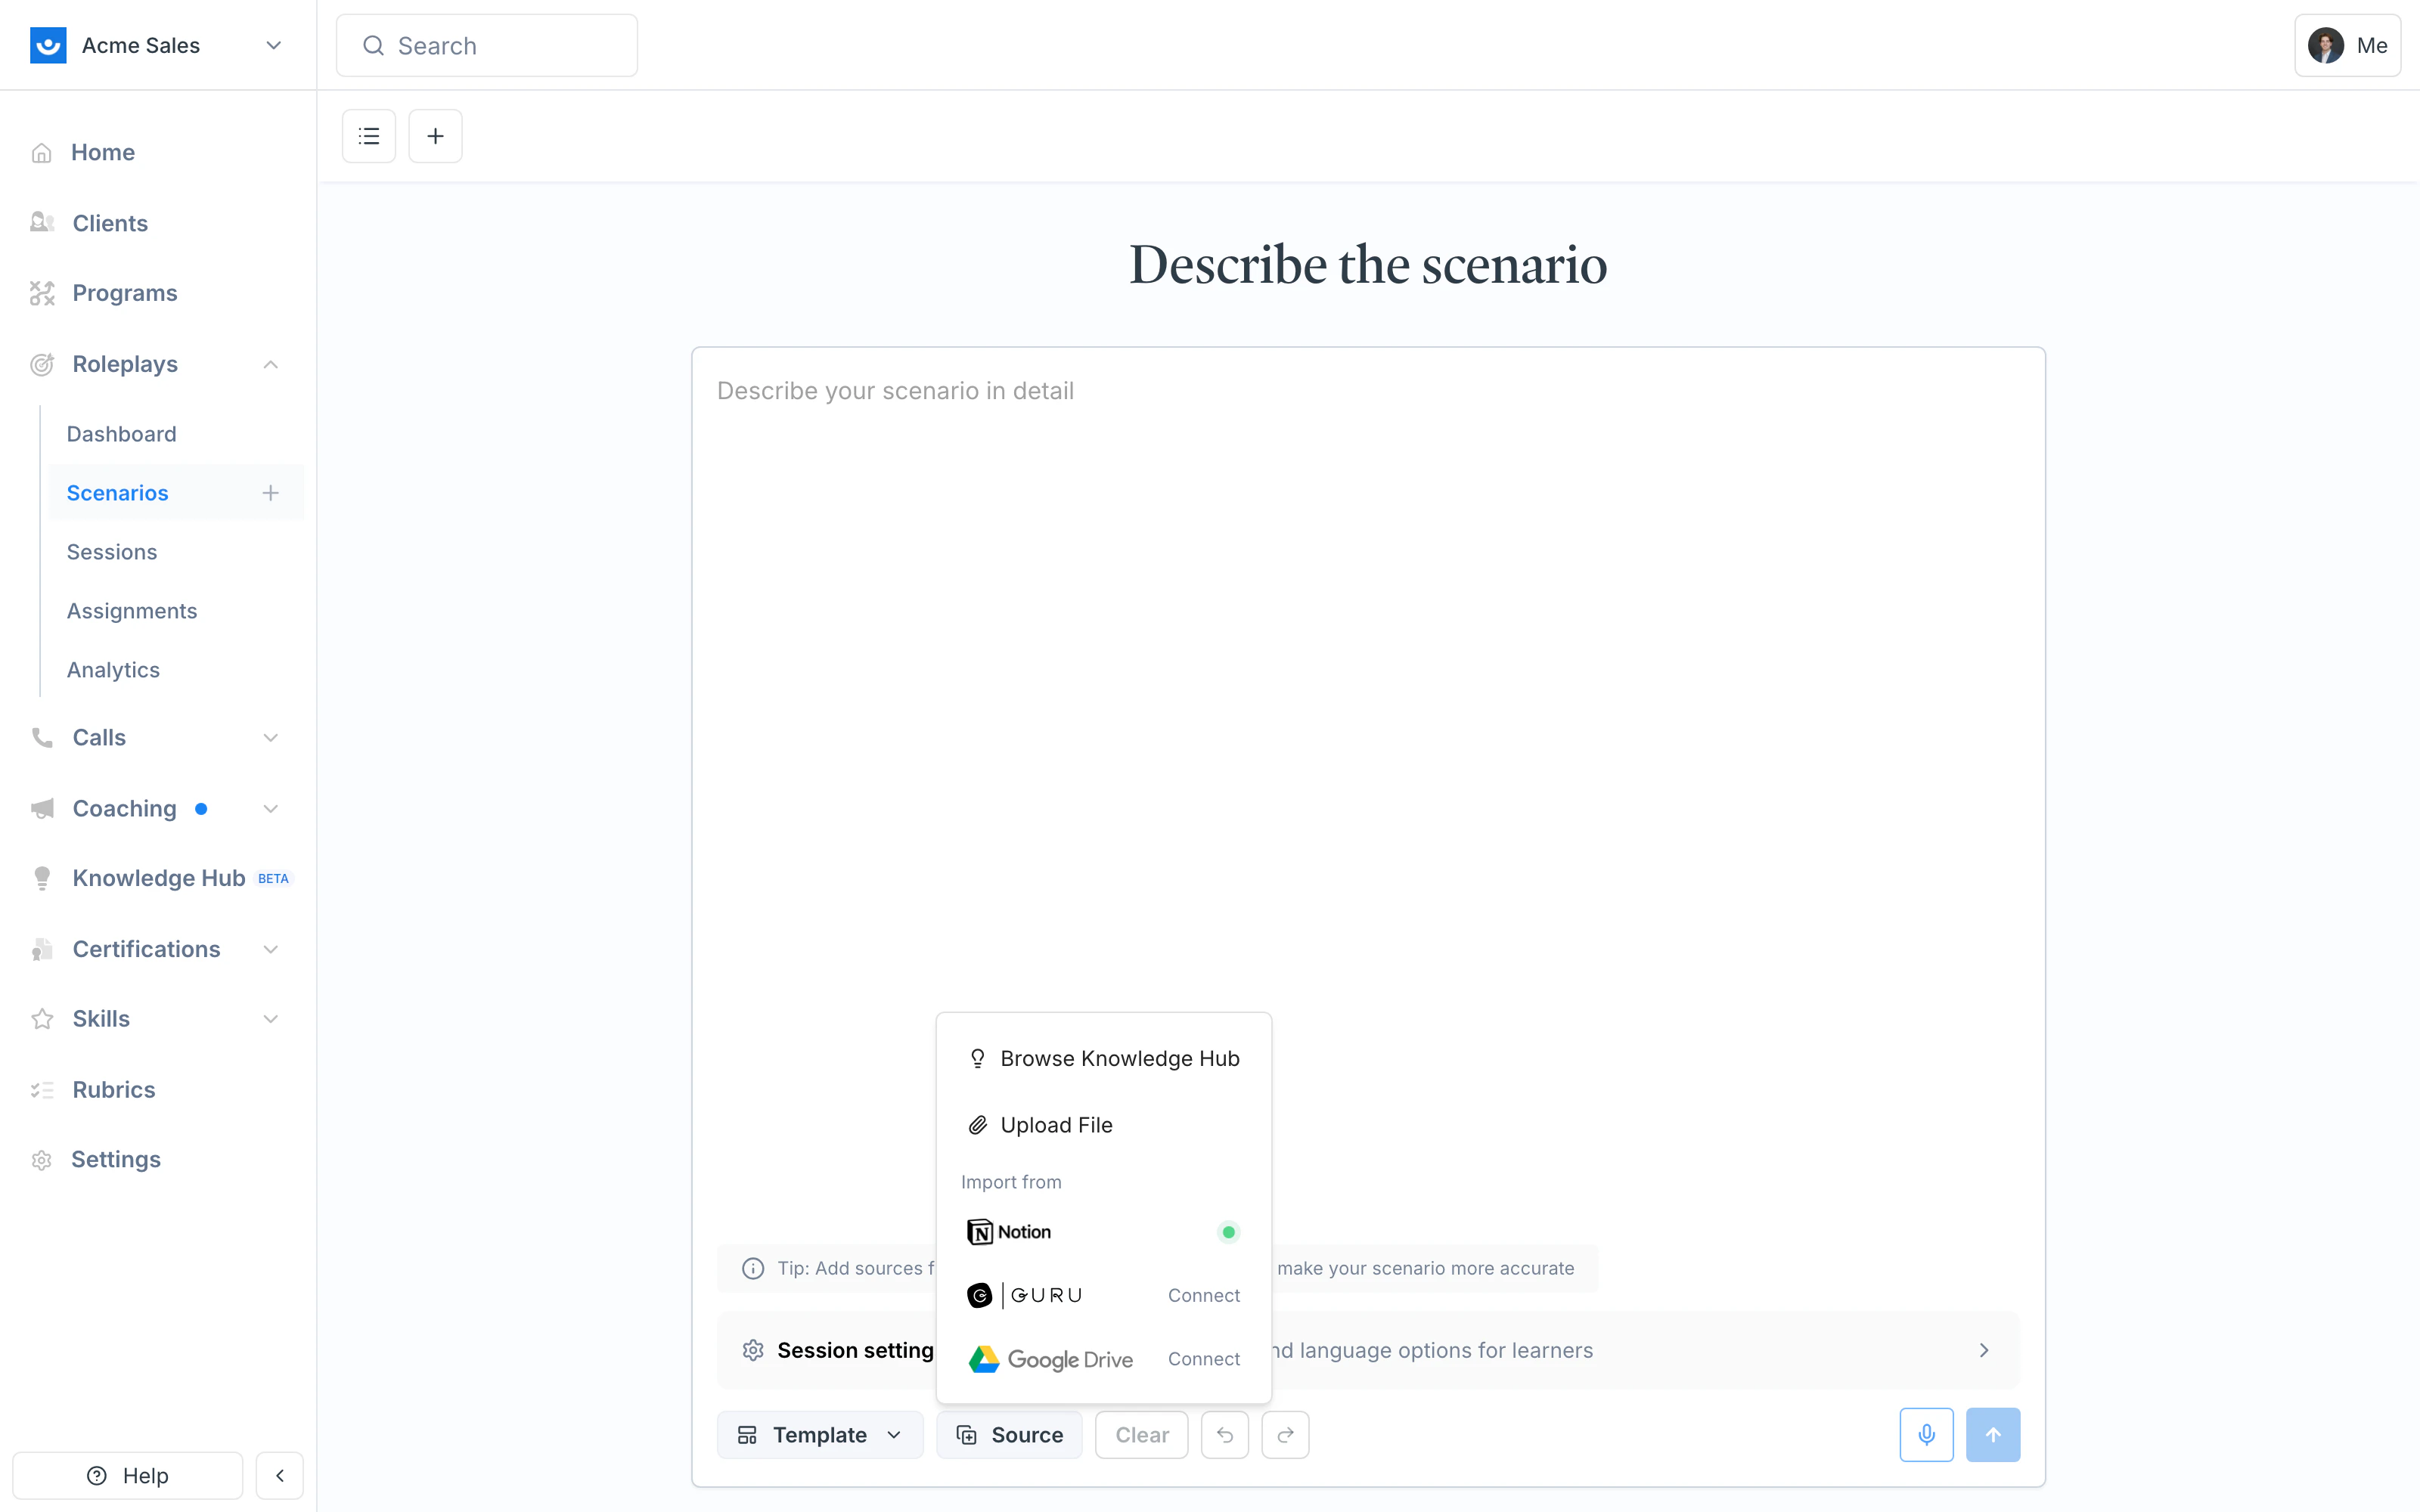
Fine-Tune the Evaluation Criteria
Open the ”…” menu > Edit on any criterion to control exactly how it’s graded:- Descriptions of what Good, Fair, and Poor look like
- A not relevant for grading description, so the criterion is skipped when it doesn’t apply
- Scenario-specific instructions for special grading cases or particular phrasing
- The skills associated with the criterion, which feed your analytics
| Difficulty | Recommended criteria |
|---|---|
| Easy | 6-7 |
| Medium | 8-9 |
| Hard | 10-12 |
Shape the Character
On the Character Details tab you can edit the name, job title, opening line, and backstory, plus two deeper sections.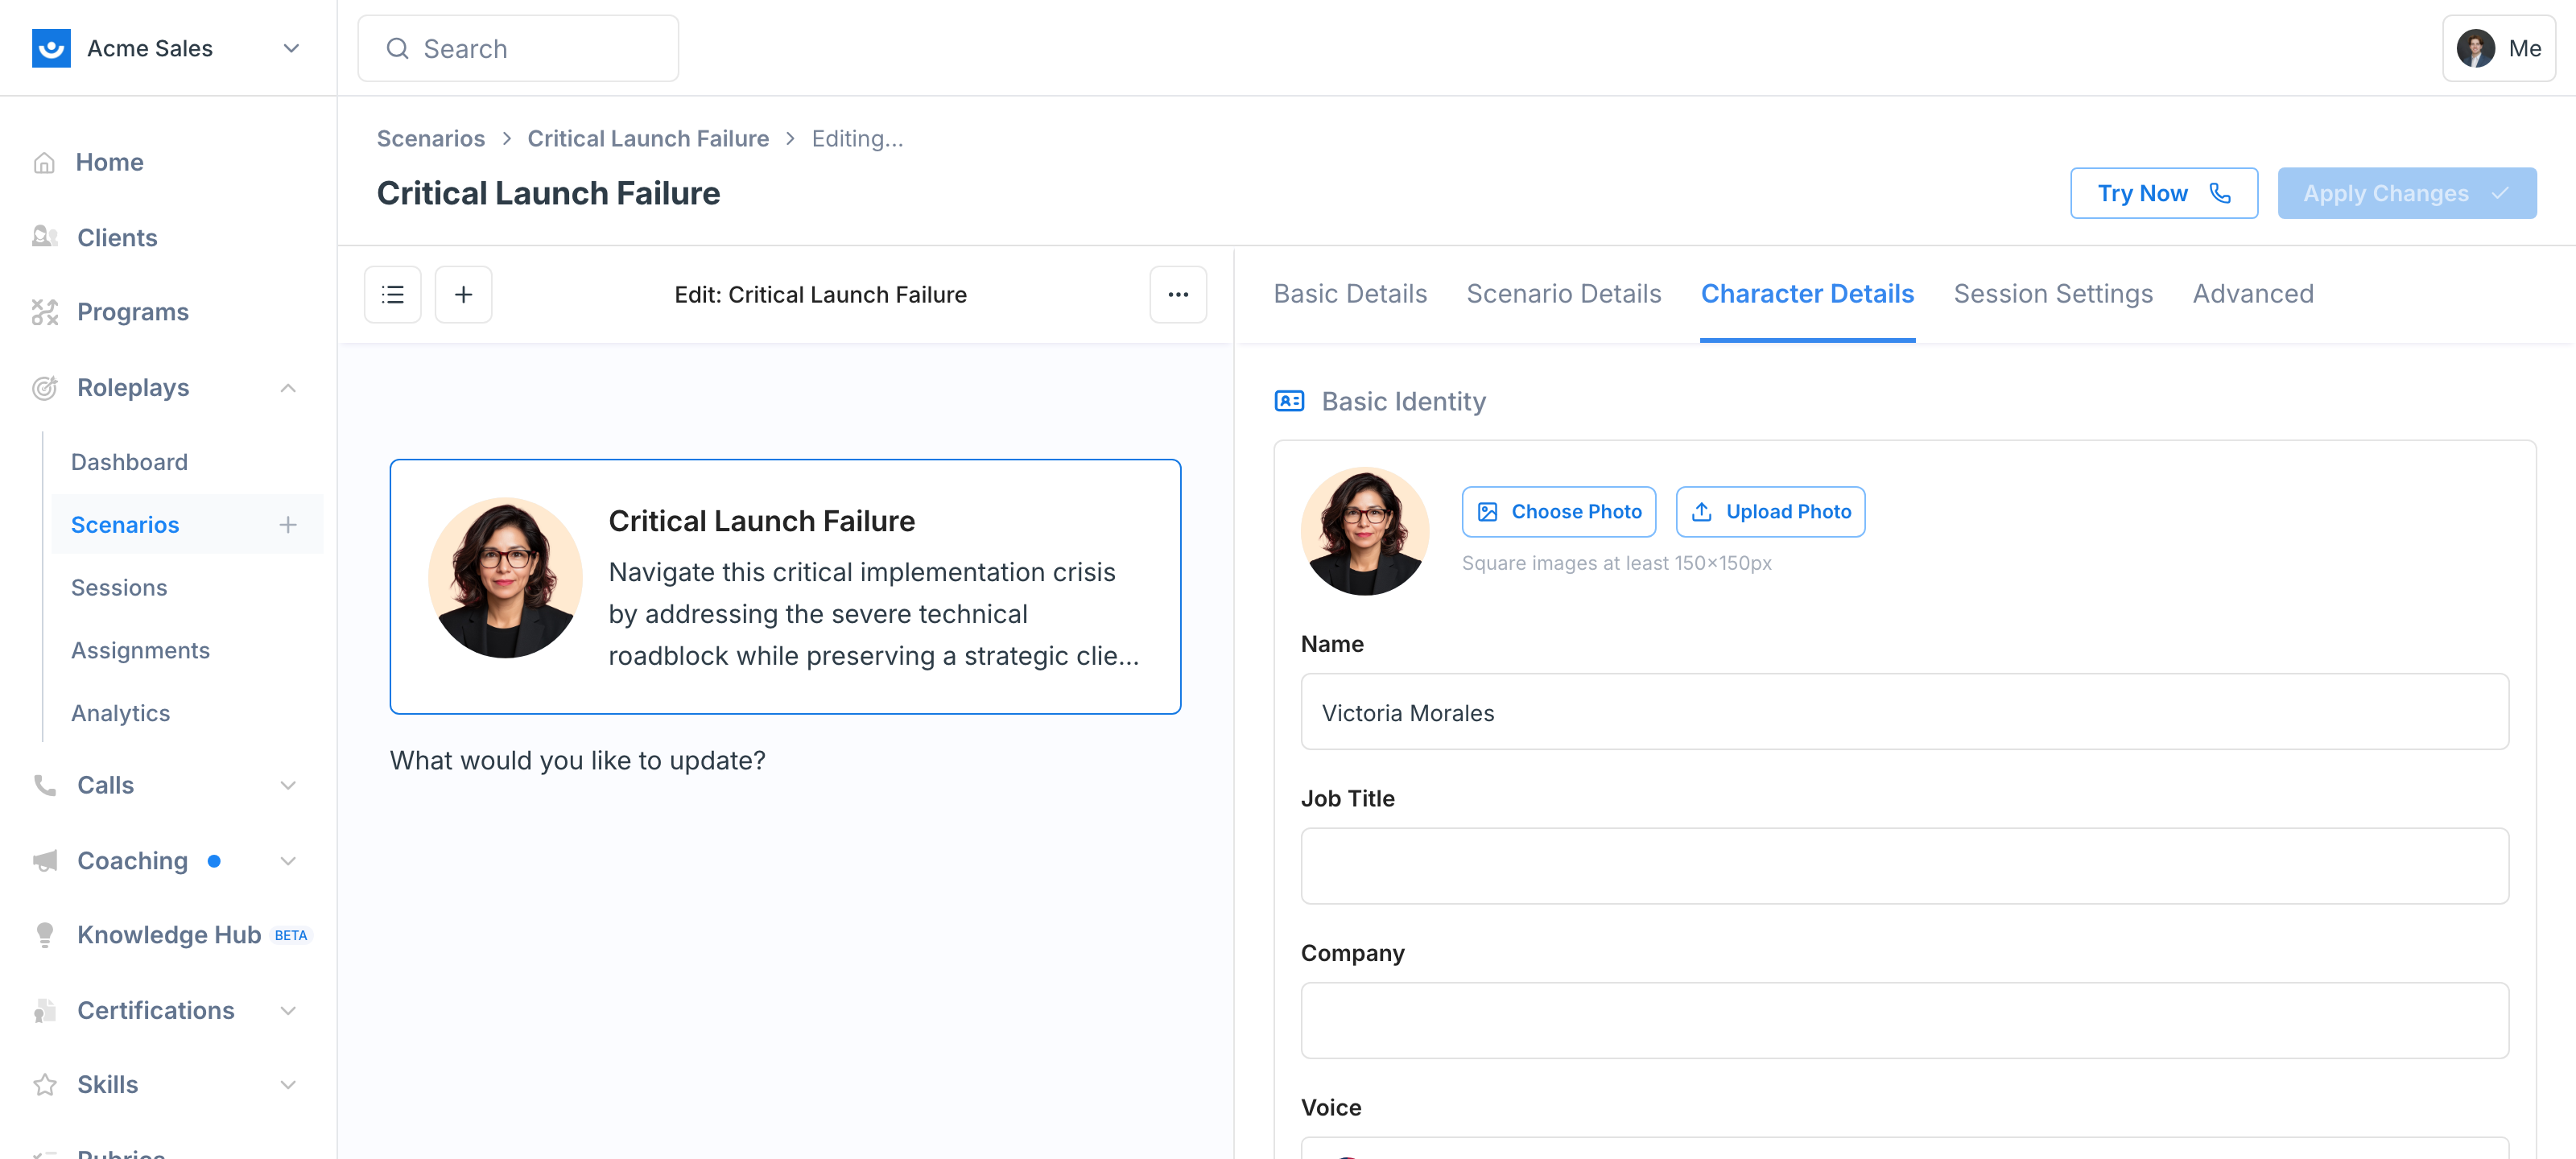
- Custom description - free-form bullet points. More customizable, and the default for most builders.
- Structured traits - toggle switch to structured traits to set dimensions like assertiveness, emotional intelligence, interaction style, stress response, and reasoning style.
Conversation Guidelines (the Director’s Notes)
The Conversation Guidelines are the foundation of how the character behaves in the conversation. There are two building blocks:- Text sections - free-form notes such as response length, character setup, natural speech patterns, or pronunciation rules.
- Trigger sections - a trigger paired with leveled responses (“when X is asked, respond like this; if pressed, go a level deeper”). You can add your own triggers and as many response levels as a moment needs.
If the trigger/text format feels clunky, toggle to structured guidelines to write everything as free text. You’ll get a warning that switching can lose formatting if it isn’t set up correctly.
Voice and Face
Pick a voice from the library (preview each one before choosing) and a photo for the character. Choosing a voice and face that match the character makes the roleplay feel more real. For building or managing your own voices, see the Voice Library.Session Settings
- Language - build in another language, or translate an existing scenario when you remix it. See Multilingual Scenarios.
- Webcam and Screen Share - enable either for the session.
- Cold call settings - add a ringing dial tone at the start and define end-call phrases.
- Allow Presentation - let the learner present an uploaded PDF inside Exec instead of sharing their own screen. See Attachments.
- Basic Details - a short description, plus an introduction audio that’s generated on publish.
Conditional Context
Conditional context makes the character behave differently depending on the learner’s profile field (for example, their segment). A sales character’s pain points might differ for Enterprise vs. SMB vs. mid-market, so you can write per-segment rules and the learner is asked to pick their segment before starting.Conditional context lives on the Advanced tab and requires an admin to first create profile fields in workspace settings. See Profile Fields and Conditional Context. Many teams instead just build separate copies of a scenario per segment, which is often simpler.
Create Variations with Remix
Use Remix when you want a new variation of a scenario while keeping the original intact (and its session data preserved). From the ”…” menu, choose Remix to copy the scenario and reopen it in Studio, then prompt the change you want:- A part two: “I just spoke with Daniel; now we’re meeting again to follow up on what we discussed.”
- A harder version: “Keep the same character and context, but make Daniel ruder and more difficult, and make the grading stricter.”
Remix is for creating a separate variation, not for changing a live scenario. To update an existing published scenario, use Edit instead (the pencil icon or ”…” menu > Edit Scenario), which reopens it in Studio and saves back to the same scenario with Apply Changes. See Edit a Scenario and Remix a Scenario.
Improve a Scenario From a Transcript
After running a full session, copy the transcript and paste it into the agent chat (when editing or remixing) and tell it what didn’t feel right. Showing the agent the actual conversation is far more effective than describing the issue from memory.Troubleshooting
| Issue | What to do |
|---|---|
| Character reveals too much | Edit the scenario and add response-length limits or more discovery depth |
| Character is too difficult | Edit to tone it down, or remix for an easier variation |
| Conversation feels unnatural | Add natural speech patterns, then test and iterate |
| Info from a source isn’t showing | Explicitly tell the agent to pull in that specific information |
| First version didn’t feel right | Paste the session transcript into the agent chat and show it what to fix |
| Need a version for another audience | Remix it instead of editing the original |