Video walkthrough
This page covers the basics of building a scenario. When you’re ready to go deeper, see Advanced Roleplay Building.
Before You Build: The Four Pillars
Whichever build method you use, think through these four things first. They are all the agent really needs to build something effective.1. The Situation
1. The Situation
Who is involved and what kind of conversation is this?
- What role does the learner play (SDR, AE, manager, support rep)?
- Who is the AI character (their role and company)?
- What type of conversation is it (cold call, scheduled meeting, coaching session)?
2. The Conversation Goal
2. The Conversation Goal
What is this conversation meant to achieve? A clear goal tells the agent where the conversation starts and where it should end.
- Sales discovery: book a follow-up or formal demo, or practice effective discovery
- Coaching: agree on next steps or a new habit
- Customer service: resolve the caller’s issue
3. The Definition of Good
3. The Definition of Good
What does a strong rep do here? For example, asking questions that quantify business impact, or guiding the character to their own conclusions rather than telling them what to do.
4. The Challenge
4. The Challenge
What makes this hard for the learner? A difficult character, a complicated situation, or simply a new concept they’re practicing for the first time (like an onboarding scenario).
Open Scenario Studio
From your dashboard, click Roleplays, then + Create in the top right. (The + shortcut opens Scenario Studio directly.)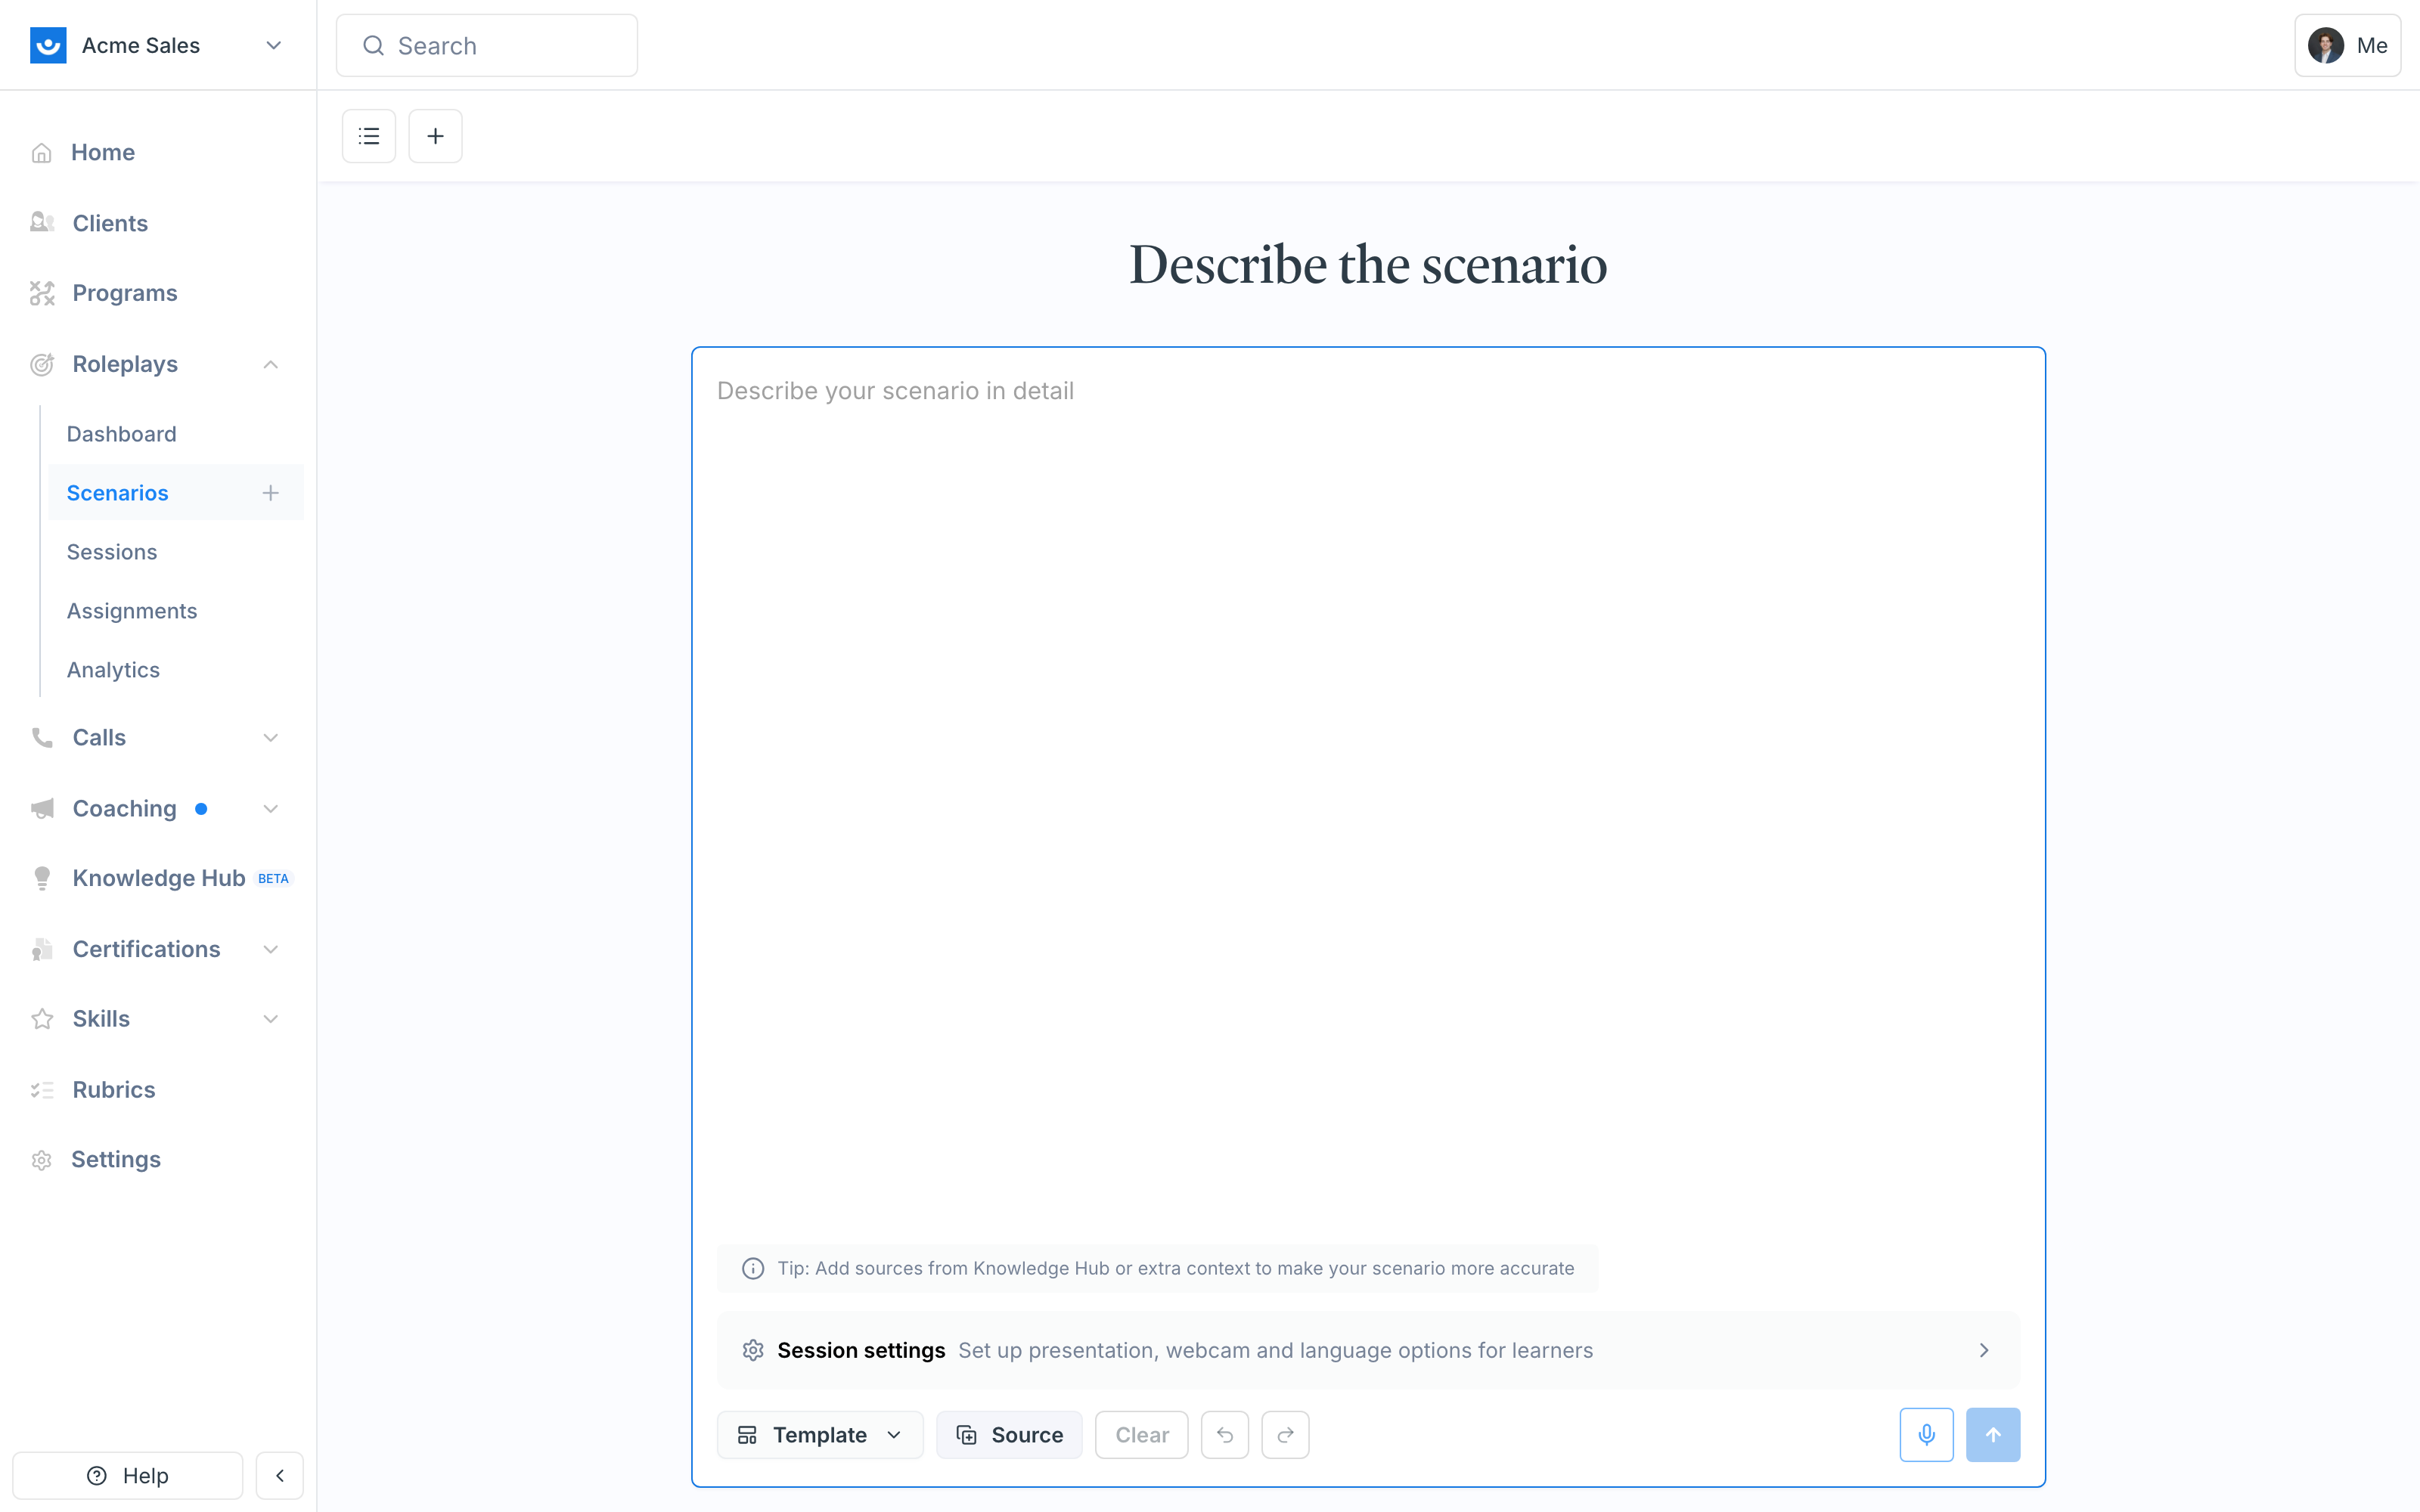
Three Ways to Build
Below the prompt box you’ll find the controls for three build methods. Pick whichever suits you.- Voice Setup - talk back and forth with the agent over voice (the mic icon by the send button). The most beginner-friendly option: brainstorm out loud and the agent suggests ideas.
- Chat / Text - type your scenario into the prompt box. The most common method. You can attach resources to speed things up or teach the agent your methodology (see Advanced Roleplay Building).
- Templates - start from a conversation template (for example, a feedback conversation) and fill in the fields. A few are built in, and you can build and import your own.
How the Agent Builds
After you describe your scenario, the agent asks clarifying questions to make sure it builds something relevant (for example, which challenge to focus on, or how to describe the character’s personality). Answer them in plain language, or just tell it to build the whole thing now to skip ahead.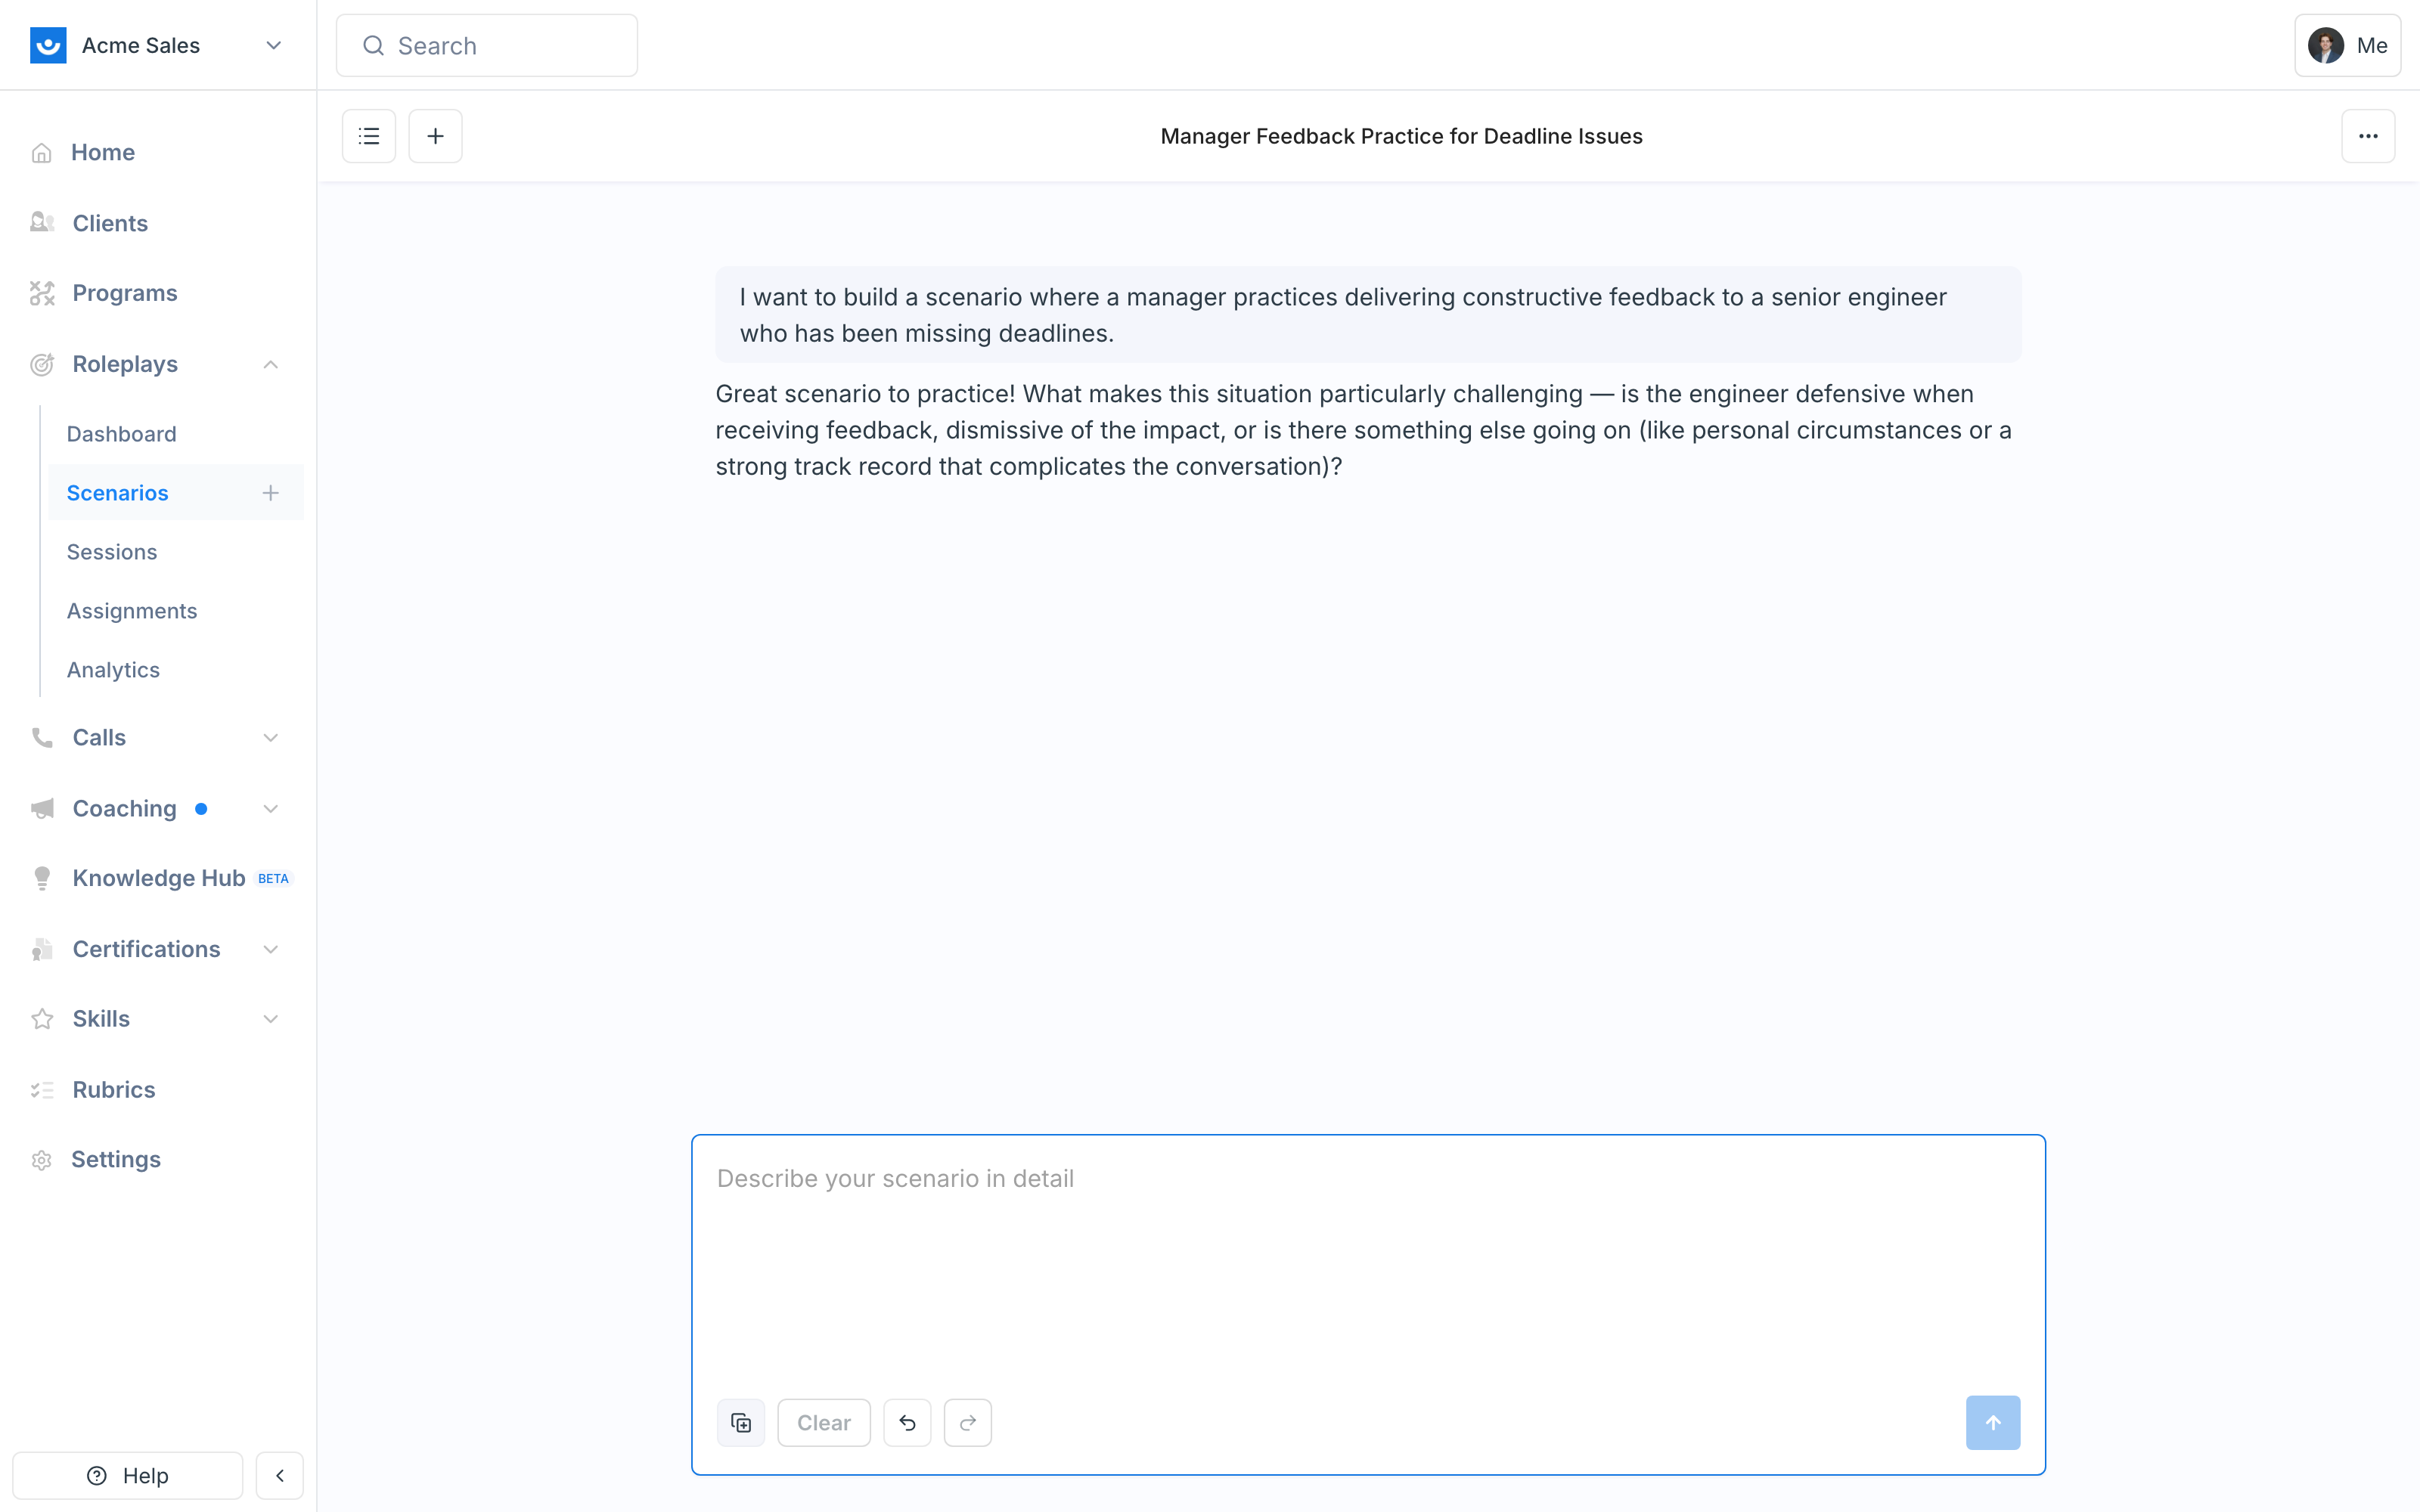
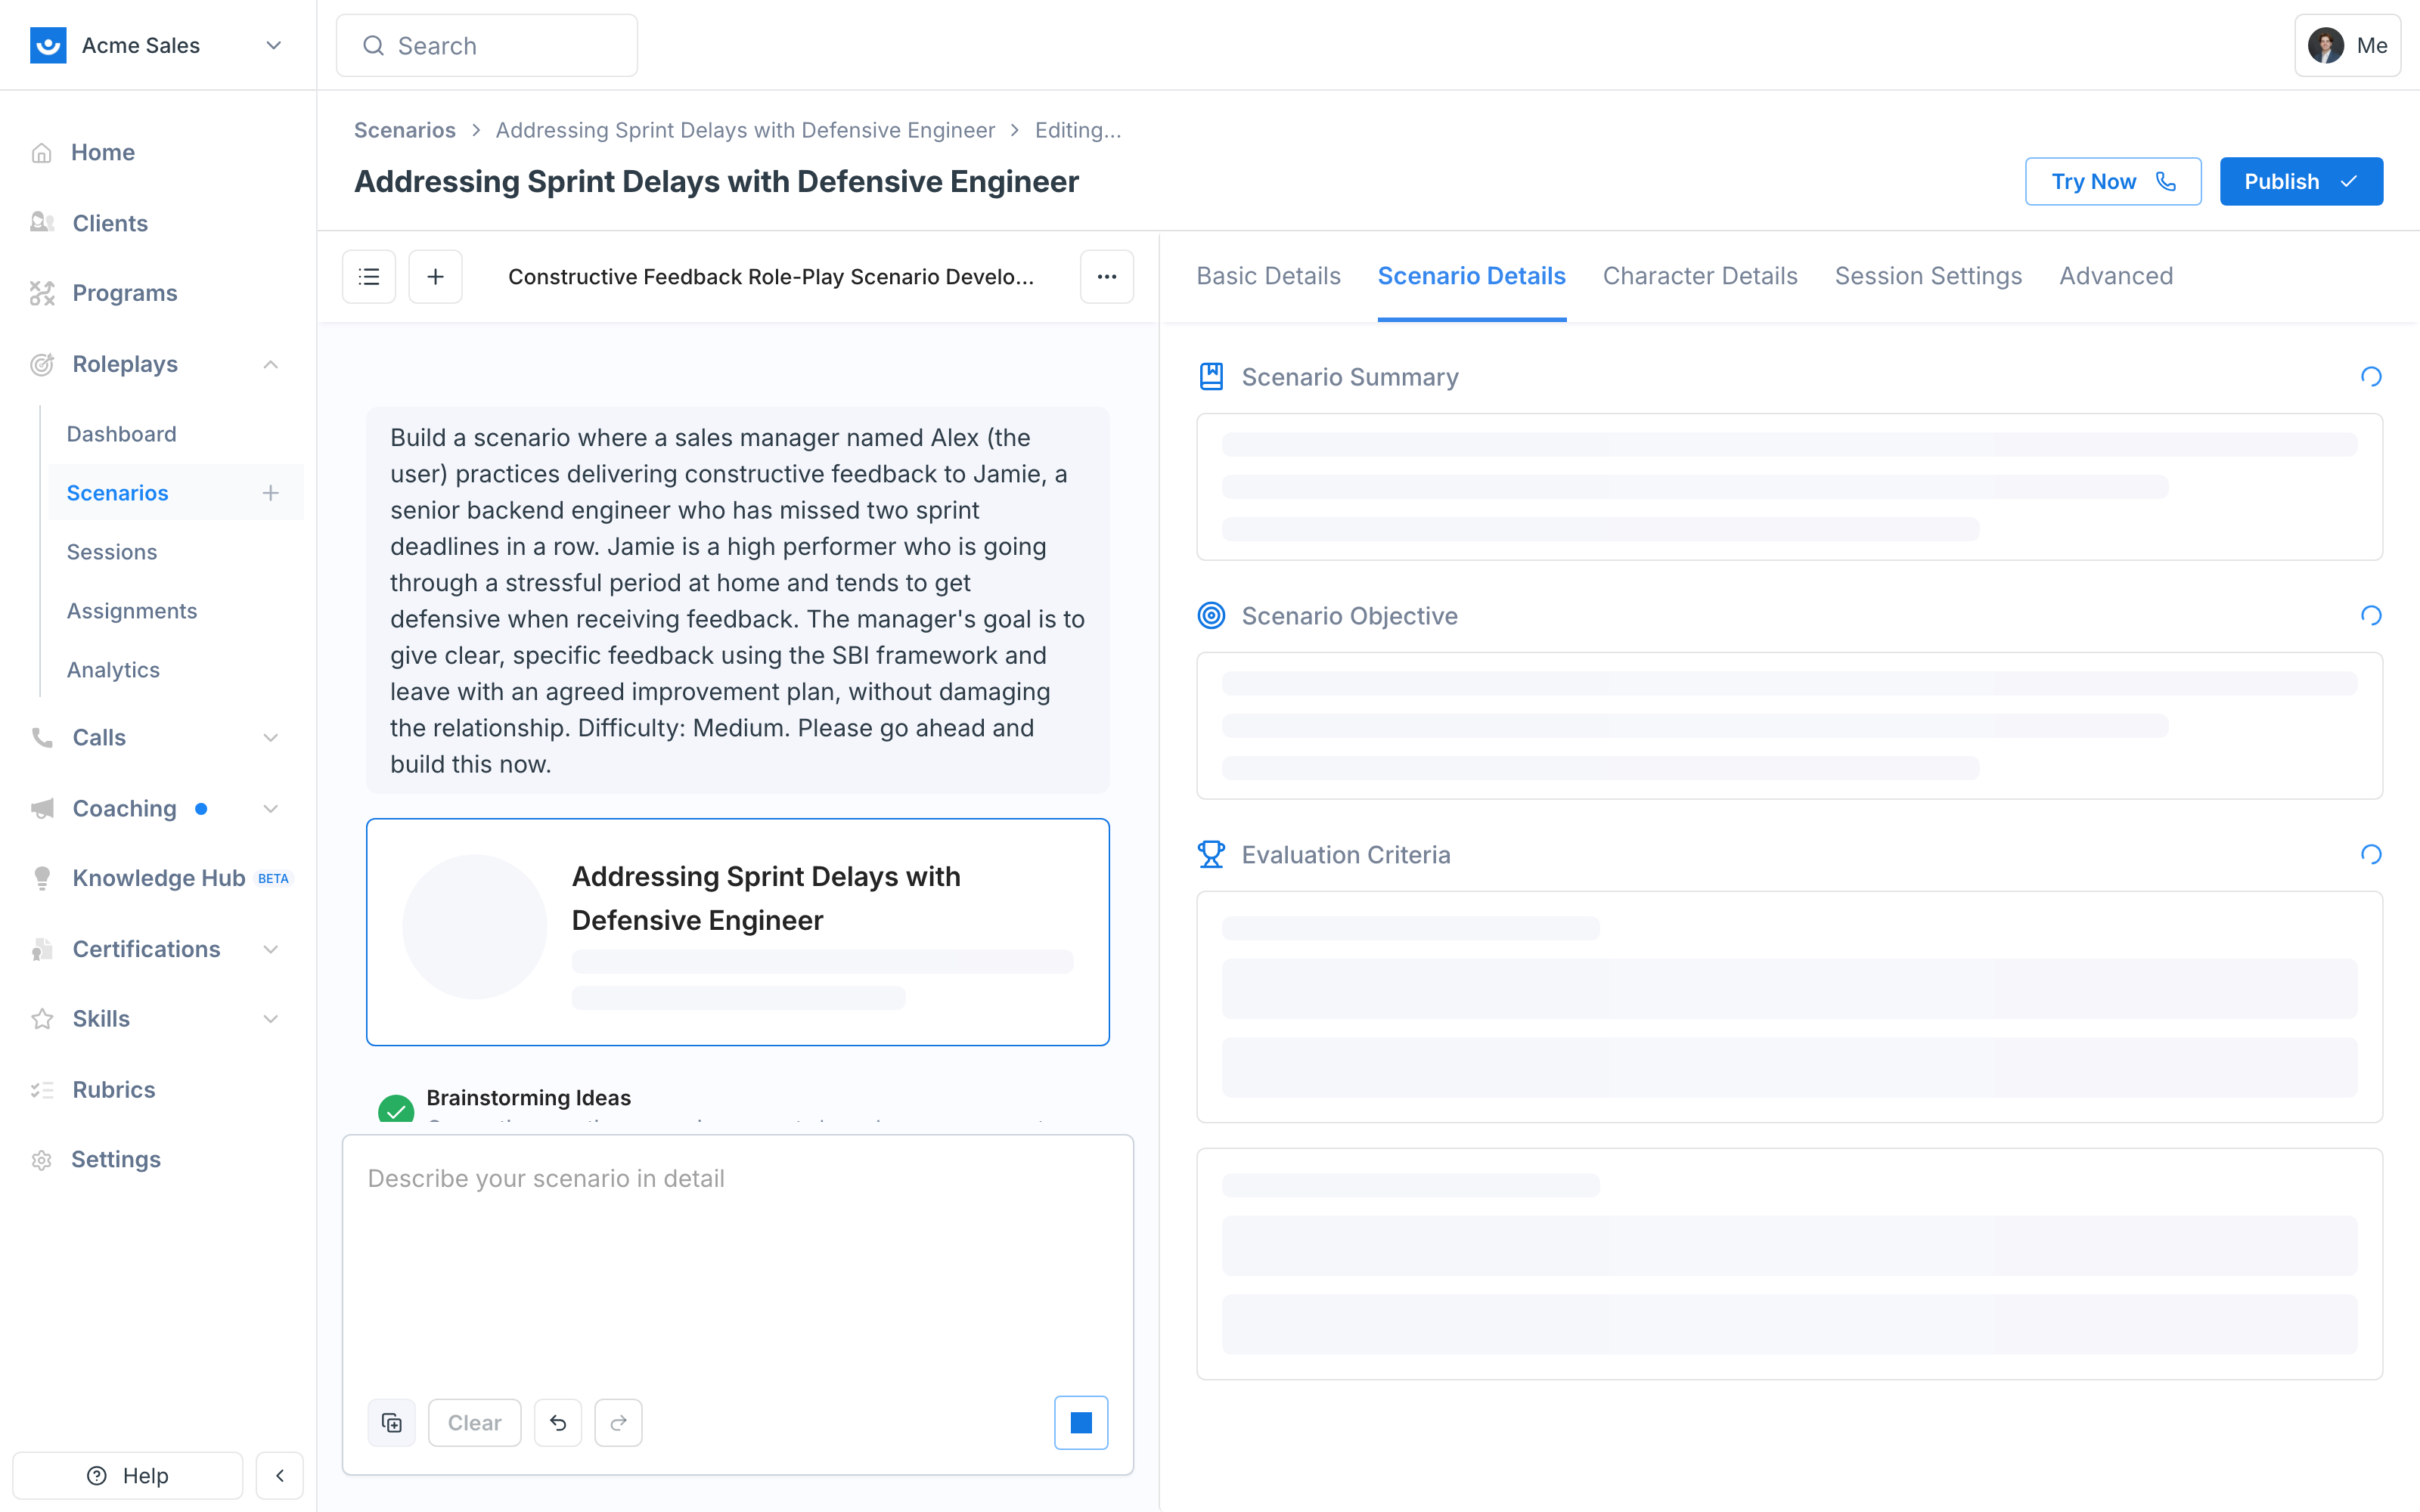
Review Your Draft
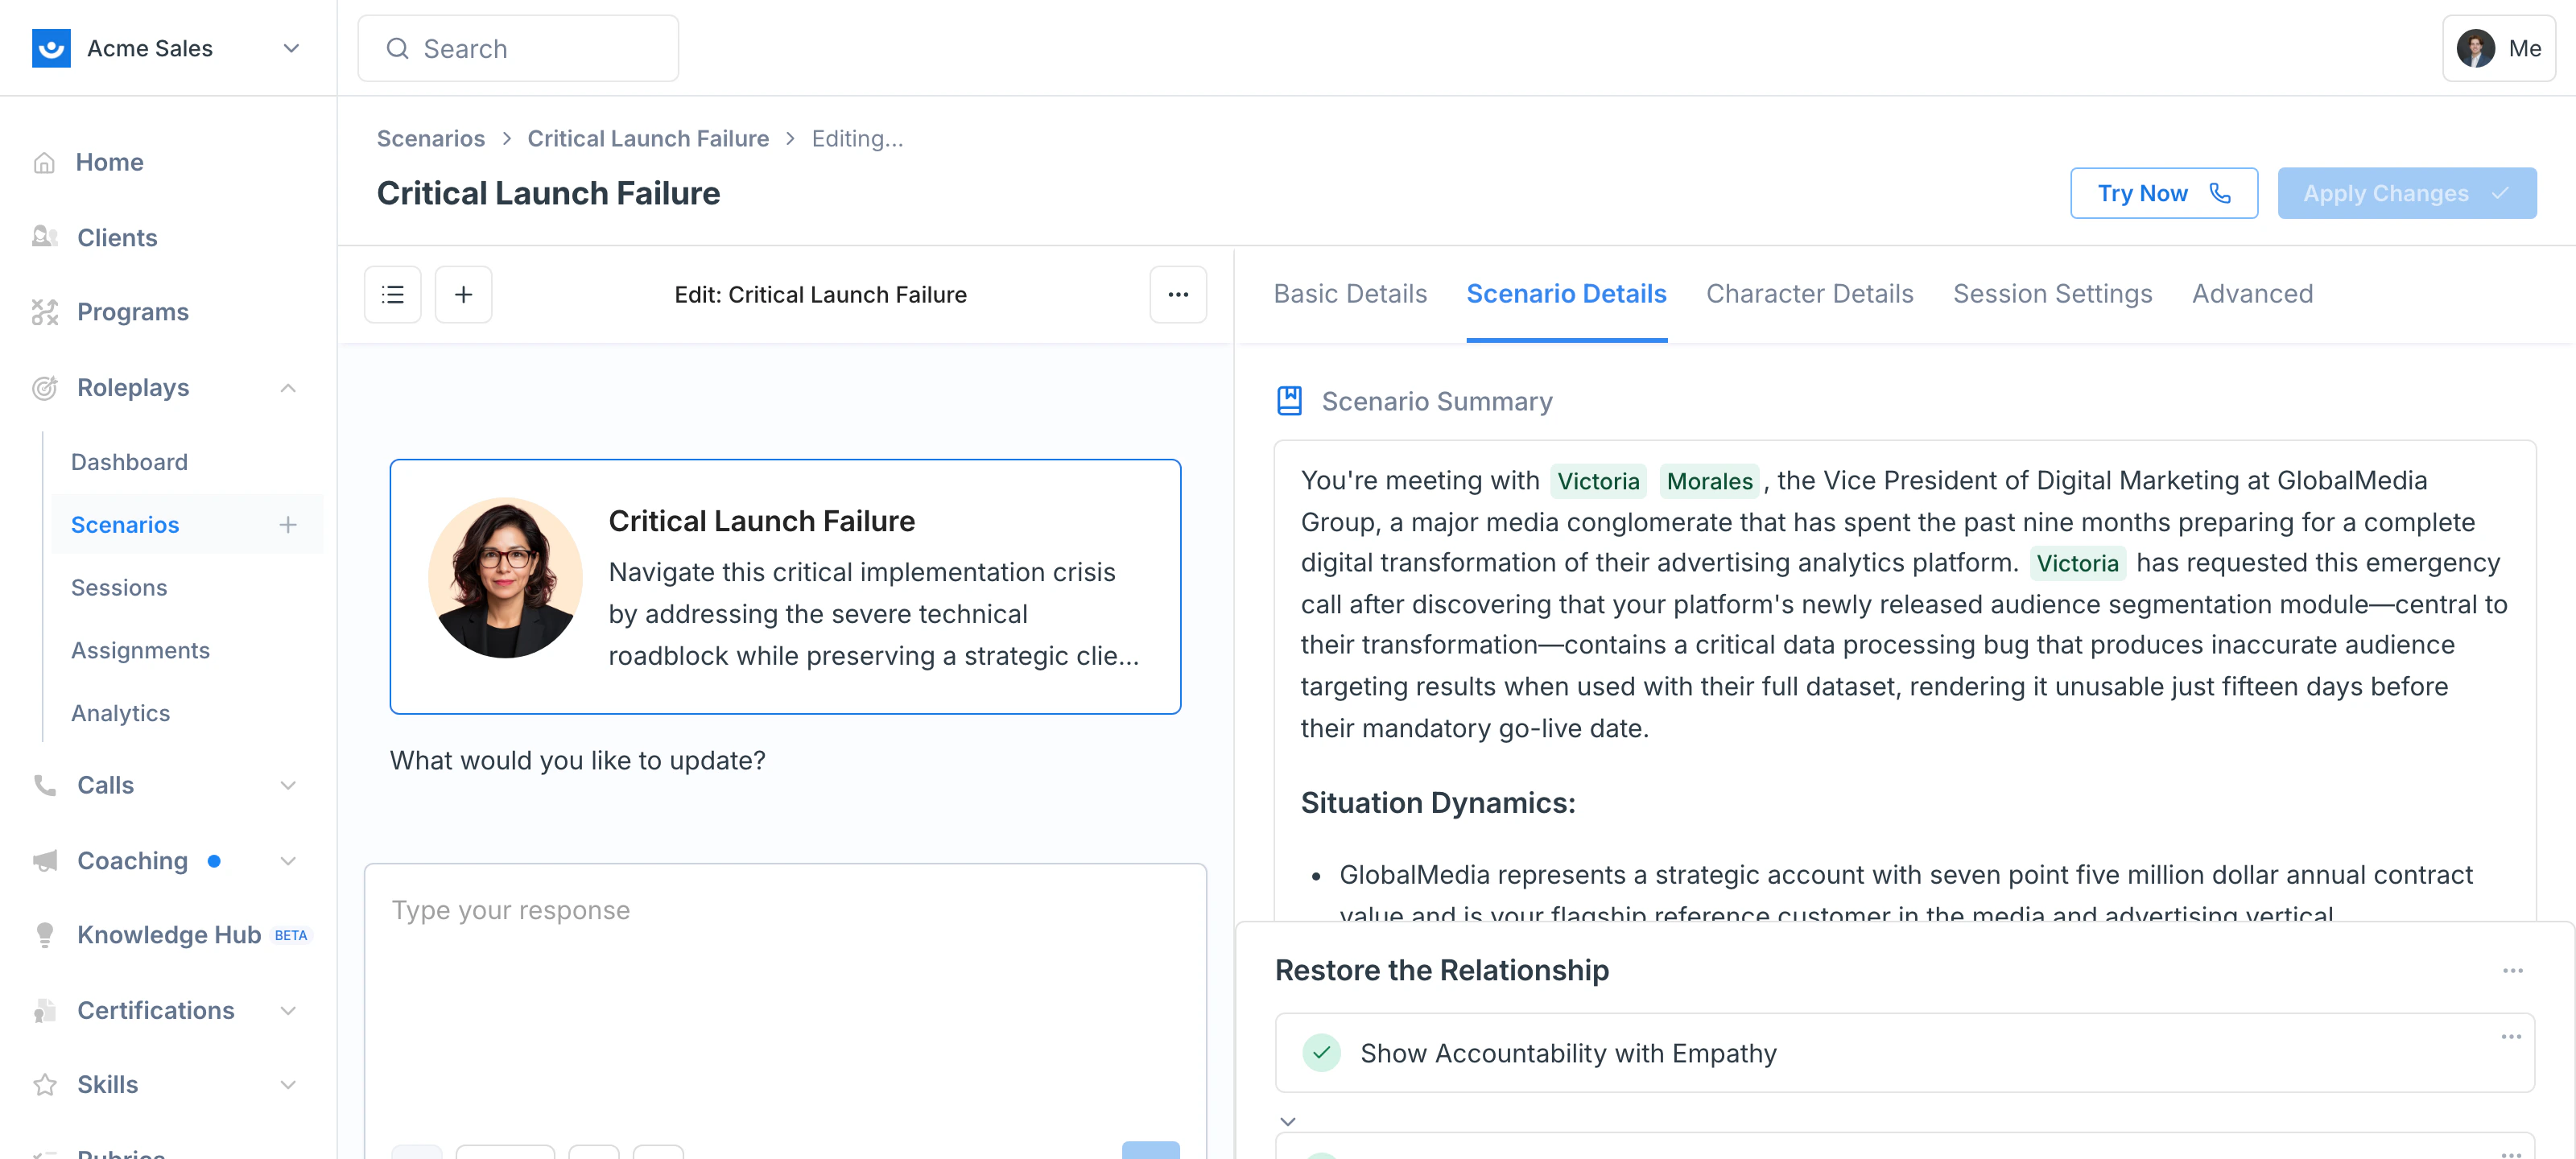
When the draft is ready, the panel on the right shows everything the agent built, across tabs. You can keep prompting on the left to make changes, or edit fields directly.- Scenario Details - the Scenario Summary, the Objective (including outcomes to avoid), and the Evaluation Criteria the learner is graded on. Edit a criterion with its ”…” menu, or just ask the agent to soften the grading or add items.
- Character Details - the character’s name, job title, and opening line, plus their backstory, situational understanding, and personality. At the bottom are the Conversation Guidelines (the character’s “director’s notes”: response length, behavior, and trigger/response rules).
- Session Settings - language and translation, webcam, screen share, and cold call settings.
- Basic Details - a short description and the introduction audio generated on publish.
Test, Then Publish
Click Try Now to drop into a short test conversation with the character before you commit. If something feels off, return to the chat and adjust (“make the character more skeptical,” “they’re giving away info too quickly”). When it feels right, click Publish.Share Your Scenario
Once published, decide who can use it:- Workspace - available to everyone in your organization
- Restricted - private to you, plus specific people you add by name. You can let someone view it, share it with their team, monitor session activity, or edit it alongside you as a collaborator.
Assign to a Team
To require completion, assign the published scenario to a group. You can set a due date, a minimum passing score, a minimum or maximum number of attempts, and a custom message delivered by email. Assignees find it at the top of their home screen. See Assign Scenarios and Manage Assignments.Edit After Publishing
To change a live scenario, click the pencil icon (or the ”…” menu > Edit Scenario) to reopen it in Scenario Studio. Prompt the agent on the left or edit fields inline, then click Apply Changes. Before saving, you’ll see a before/after view of exactly what changed, so you can keep the parts you like and re-adjust the rest. See Edit a Scenario.Clone and Remix
From the published scenario’s ”…” menu:- Clone - make an exact copy you can use independently
- Remix - copy the scenario and reopen it in Studio to build a new version (for example, a part two, or a harder variation)