

Add a Roleplay to a Page
1
Insert the block
In the course editor, open the slash menu on any page and choose Roleplay. See Add Content Blocks for how blocks work in general.
2
Choose a scenario
The block offers two tabs: Pick existing to link a scenario you already have, or Generate with AI to draft a new one.
3
Set the completion requirements
Choose the minimum rank and minimum attempts learners need to complete the block.
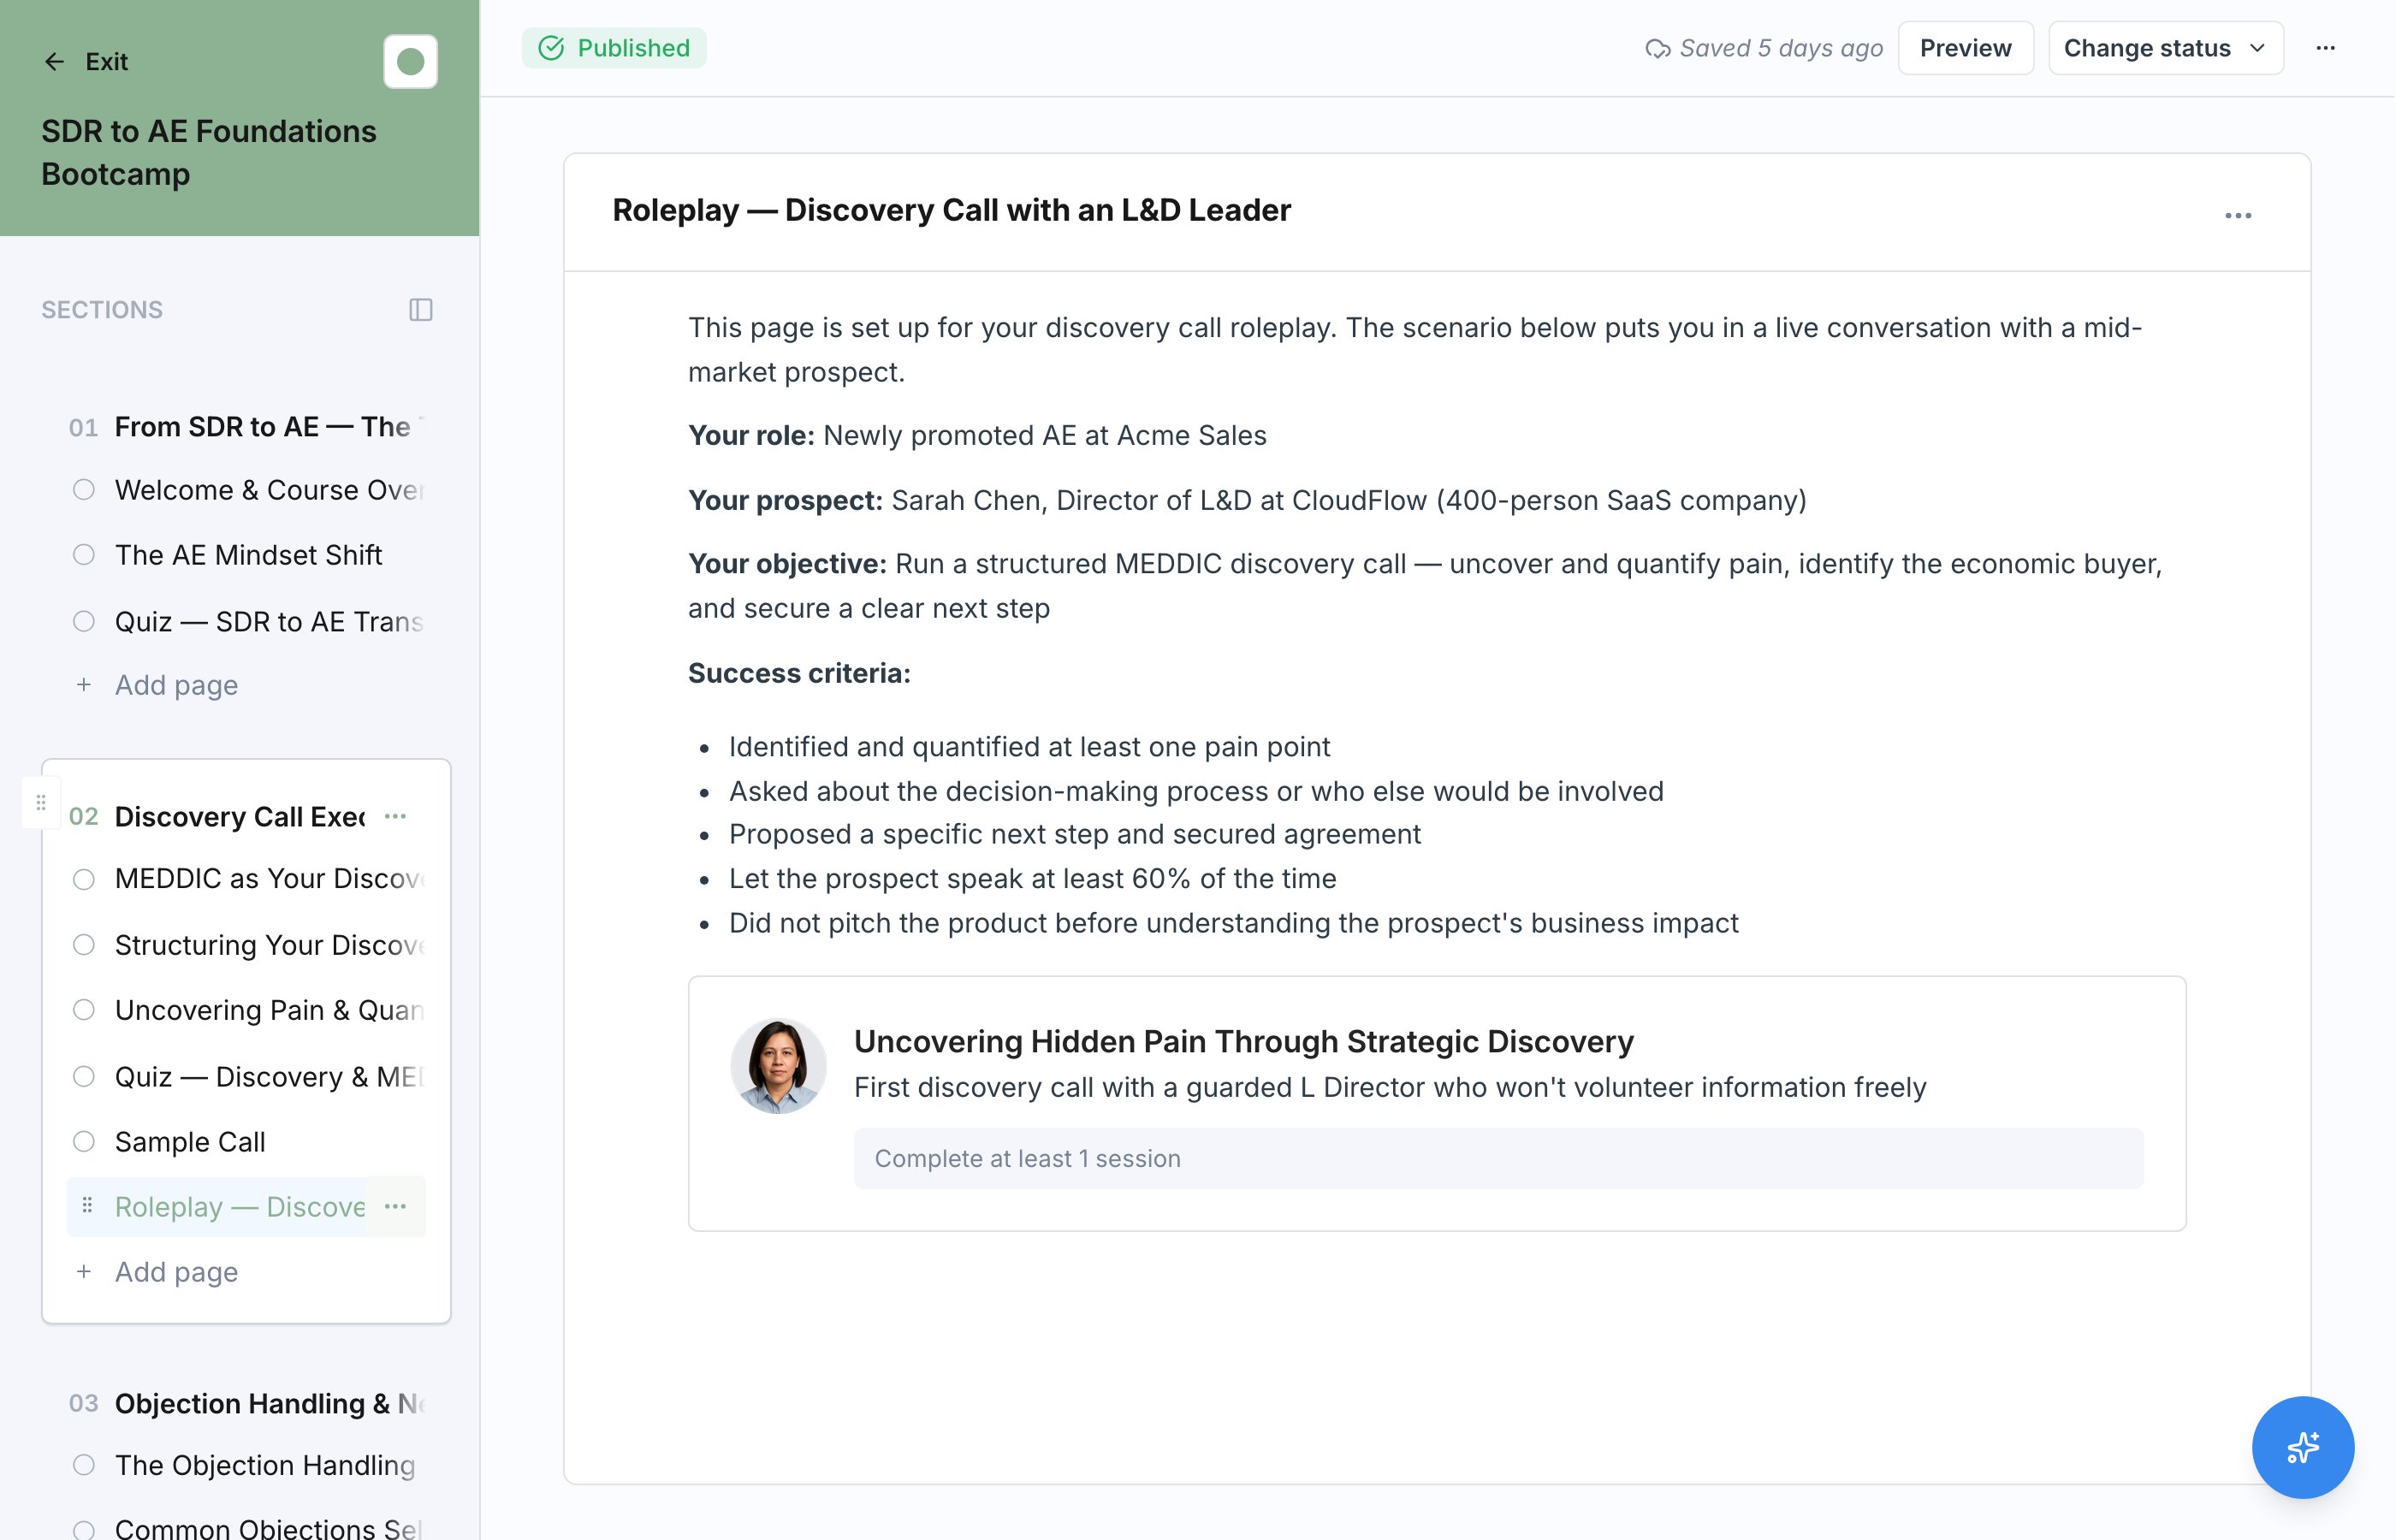
Pick an Existing Scenario
If your workspace already has roleplay scenarios, Pick existing links one into the course. The scenario itself lives in your roleplay library, so the same scenario can be used in a course and assigned on its own. To learn how scenarios work, see AI Roleplays.Edit the Scenario Behind the Block
A Roleplay block points at a scenario, it does not copy it. If something about the AI character is off, its voice is wrong, or the setup does not add up, open the scenario from the block and edit it the same way you would edit any scenario. Your changes show up in the course, because the course was always pointing at the live scenario. See Edit a Scenario. This applies to AI-generated scenarios too. Generation gives you a starting scenario, and it is fully editable afterward.Generate a Scenario with AI
On the Generate with AI tab, choose what the scenario should draw from:- This page drafts a scenario based on the content of the current page.
- This whole section drafts a scenario covering the full section, useful for a capstone practice at the end.
Completion Settings
Use a higher rank for skills the course exists to certify, and a lower bar when the roleplay is there for exposure and reps.
Make Sure Participants Can Open the Scenario
A learner can only run a scenario the scenario itself grants them access to. If the scenario is Restricted and the learner isn’t one of the people it’s shared with, the block shows up as locked. To keep this from being a surprise, the roleplay setup dialog and configured roleplay blocks now show an access strip summarizing the access on every scenario referenced in the course. The strip has three states:
From the strip you can:
- Flip a scenario between Restricted and Workspace inline, without leaving the course editor.
- Click Manage to open the standard scenario share modal and grant access to specific users or groups.
Access is checked against the live scenario, not a snapshot. If the scenario’s scope or sharing changes later, learners immediately gain or lose access — you don’t need to republish the course.
Publish Requires Openable Scenarios
Publishing is blocked while any roleplay block in the course points at a Restricted scenario that no one else has been granted access to. The publish sidebar highlights the affected pages so you can jump straight to them. Fix each block by either sharing the scenario, opening it to the workspace, or replacing it with a different scenario, then republish. See Publish and Versioning. Workspace and Global scenarios always publish. Restricted scenarios publish as soon as at least one user, group, or program has been granted access — even if that grantee isn’t the course author.What Learners See
When a learner reaches the block, they run the roleplay session directly from the course. The page counts as finished once they meet the rank and attempt requirements, and the advance bar unlocks so they can continue. If a learner exhausts their attempts without reaching the required rank, they fail the course with a Did Not Pass status. See Taking a Course for the full learner experience. If a learner isn’t among the people a restricted scenario is shared with, the block stays locked and shows a private-scenario message instead of the roleplay. Because publish blocks restricted-with-zero-grants scenarios, this only happens when the block is shared with a subset of the course’s participants.Mark the block Optional if the roleplay is practice only and should not gate course completion.