

Inserting a Block
Open a page in the editor and use the slash menu to add a block. Six block types are insertable from the menu: Roleplay, Quiz, Video, Slides, File, and Article. The seventh type, plain text, is not a menu item; you simply type prose directly on the page.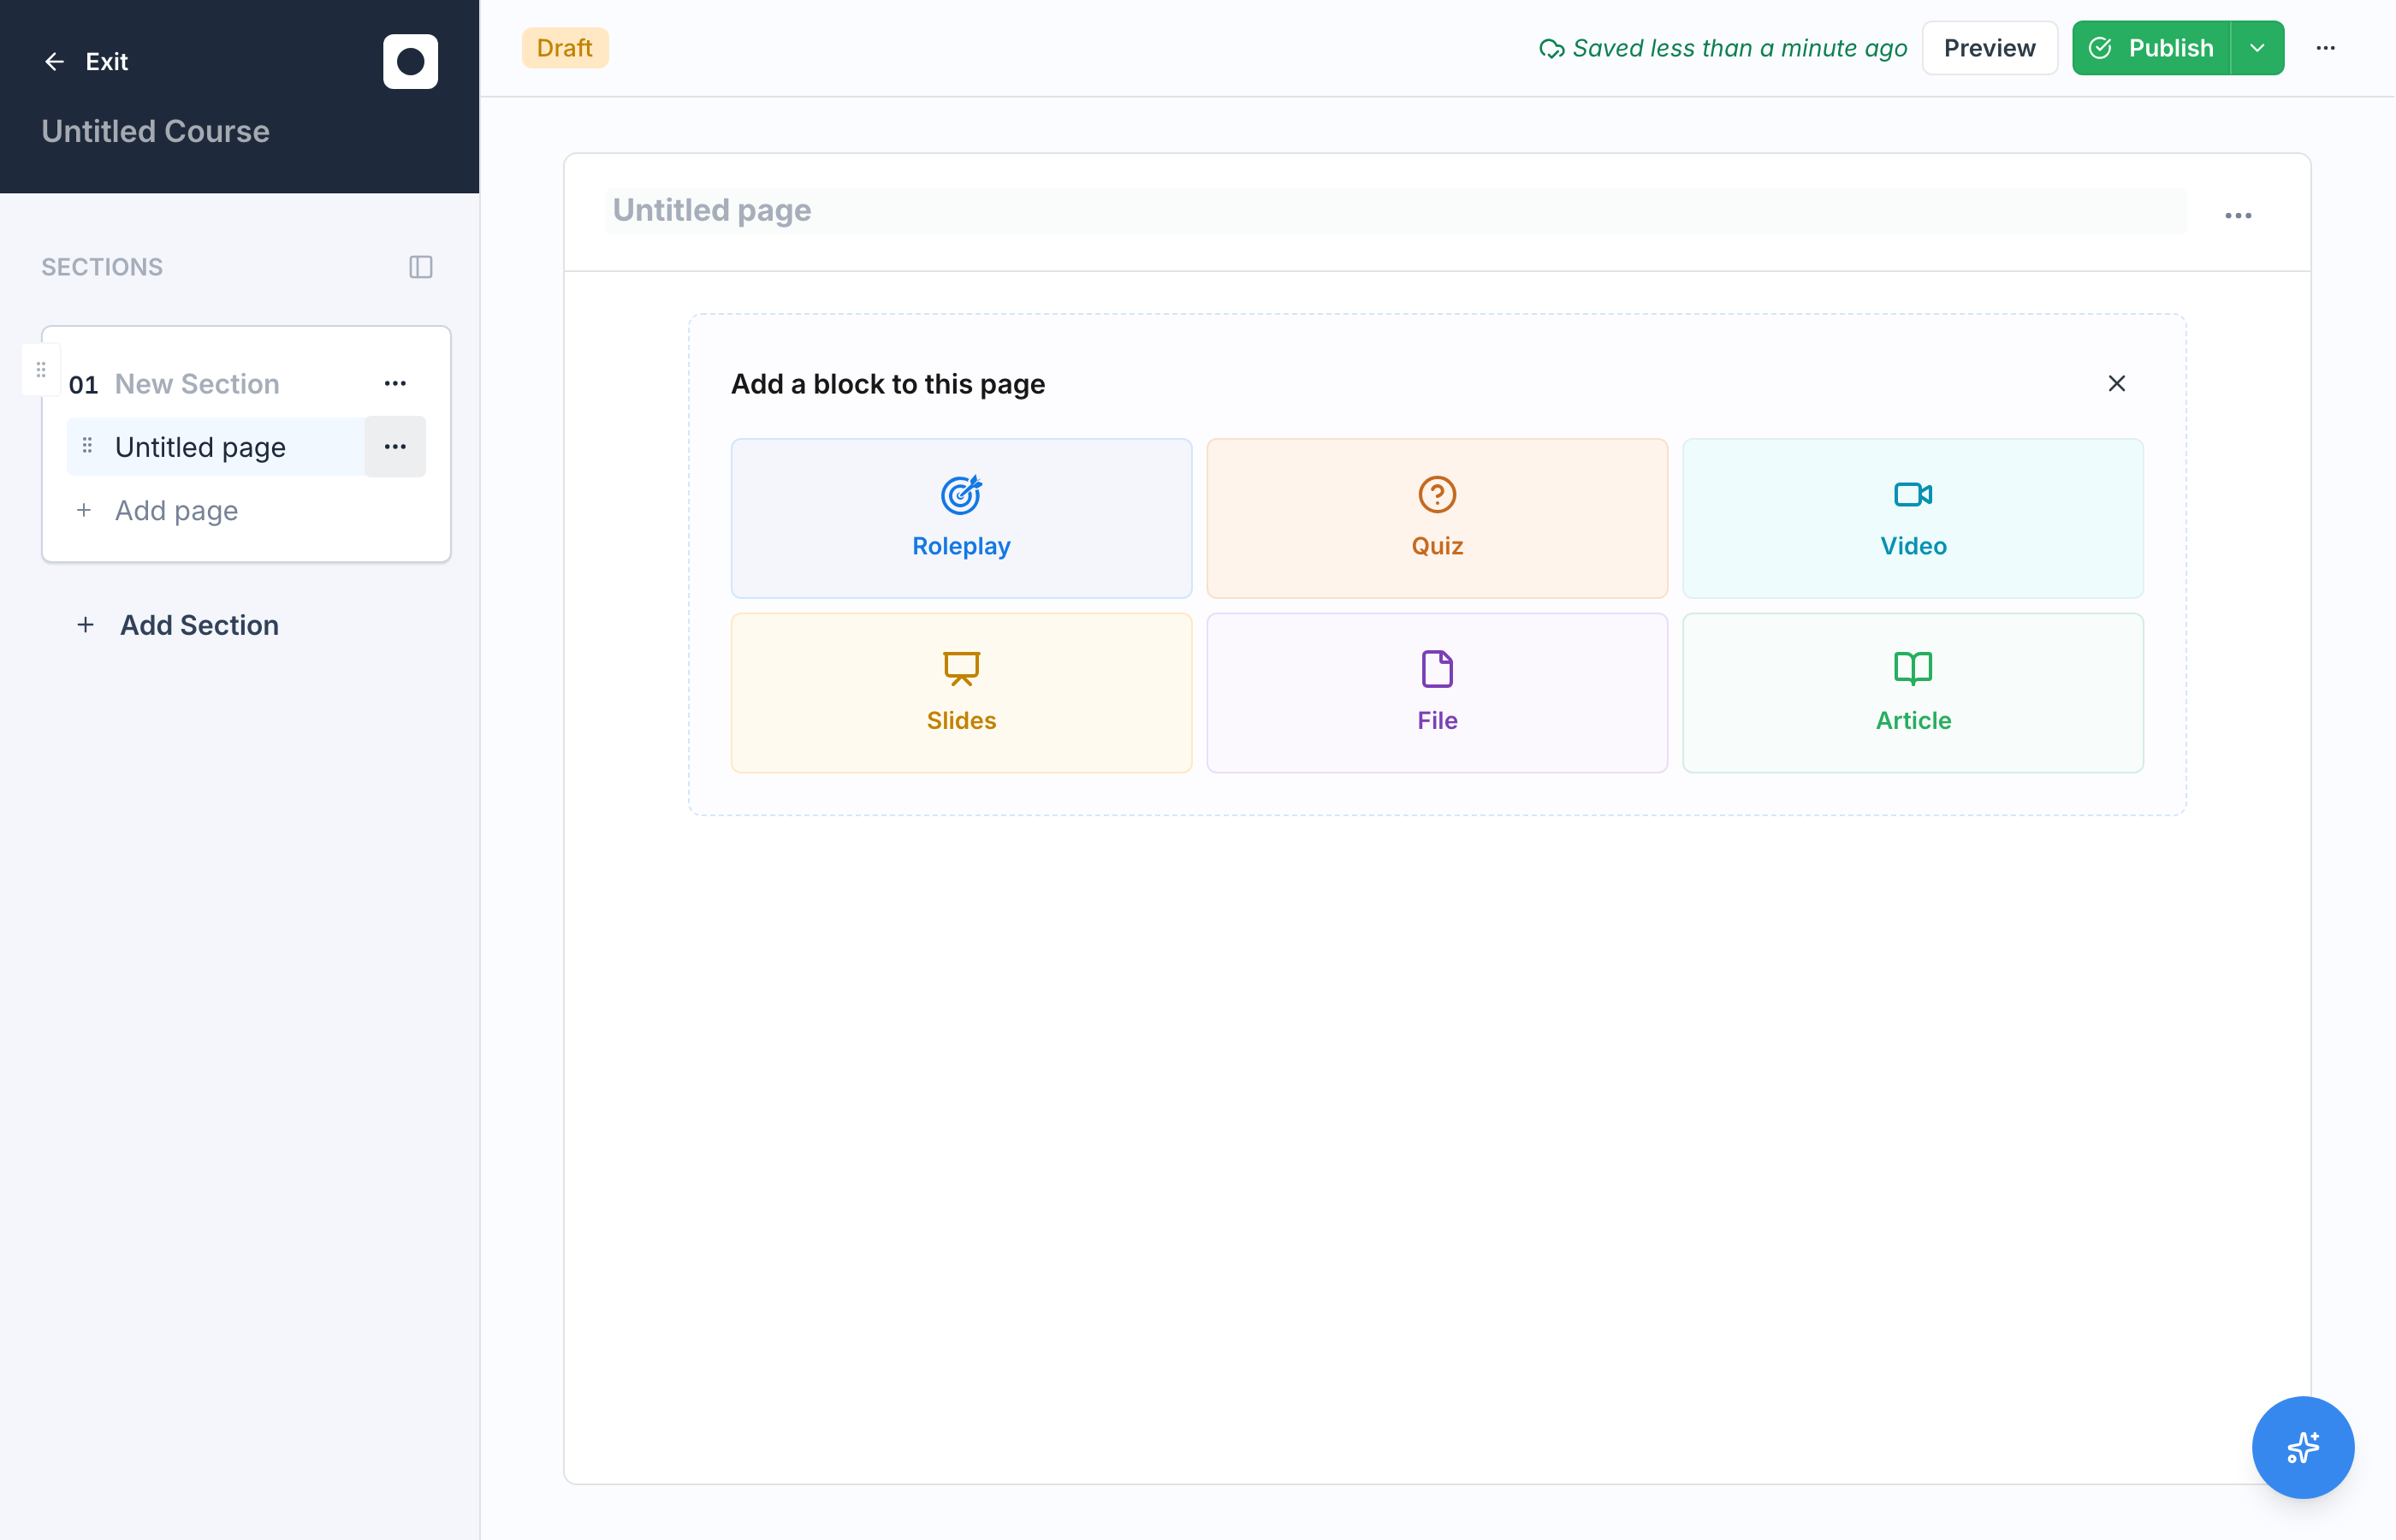
The Seven Block Types
Layout and Formatting
The slash menu carries more than the six blocks. The same menu has the rich-text and layout elements you use to shape a page, so a lesson does not have to be a wall of paragraphs:- Text structure. Paragraph, Heading 1 through Heading 4, Bullet list, Numbered list, Task list, Quote, Code, and Horizontal line.
- Layout. Columns puts content side by side, and Tabs and Carousel let one area hold several panels.
- Progressive disclosure. Toggle hides content until the learner expands it, and Flip card reveals an answer on the back of a card. Both are useful for self-check prompts, where you want the learner to think before they see the answer.
- Emphasis and visuals. Callout for a highlighted note, plus Table, Image, Emoji, Image hotspots for a picture with clickable markers, and Diagram for a rendered diagram.
Block Settings That Apply Everywhere
Two settings are available on blocks regardless of type:- Optional. An optional block is available to learners but not required for completing the course. Use it for supplementary material.
- Display mode. Choose how the block presents itself: as a Card the learner clicks into, Inline within the page, or as a Full page of its own. Card is available on every block type; Inline and Full page depend on the type, so an article or roleplay does not offer Inline.
Video Blocks
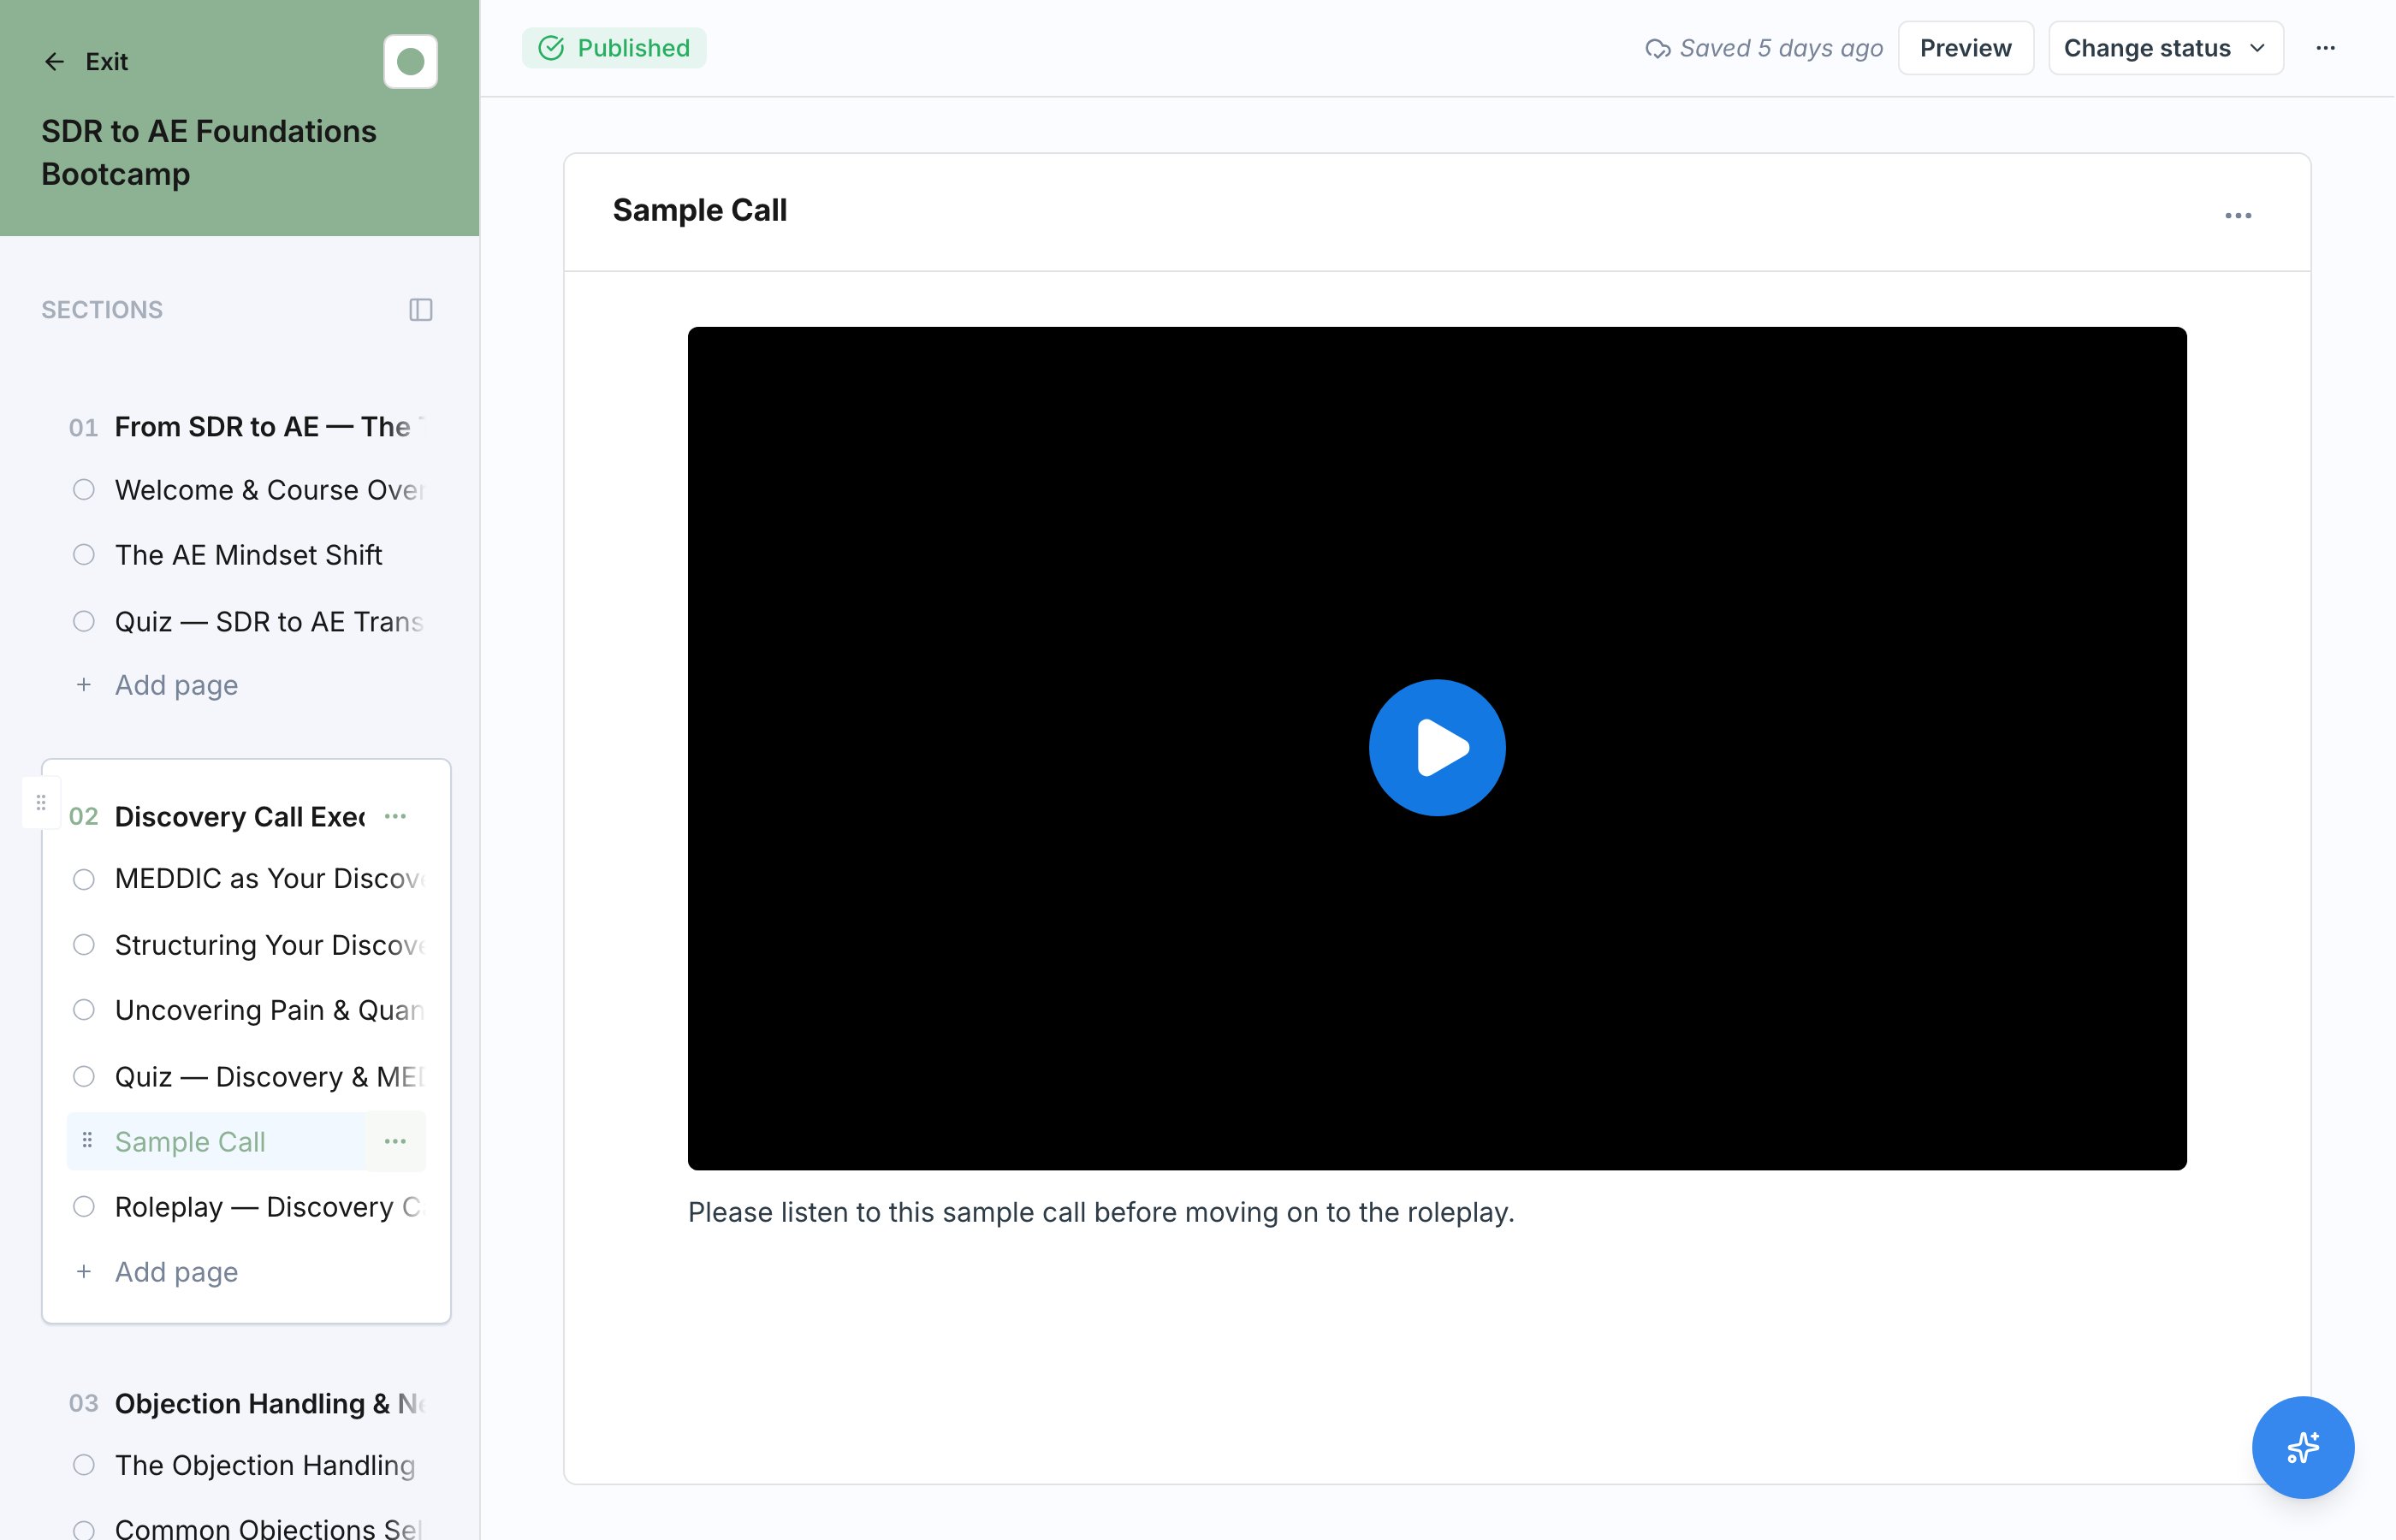
Two settings on a Video block deserve a closer look:- Clip range. Play only a portion of the source video, presented to the learner as a standalone clip — the scrubber and time display are scaled to the clip, and playback stops at your end time. Set the start and end in the block’s settings, either by typing times into the fields or by dragging the two handles on the scrubber. Use it to pull a single teaching moment out of a longer recording without editing the underlying file. Clip range works on Knowledge Hub videos, uploads, and URL-sourced videos alike.
- Minimum watch percentage. How much of the video (or clip, when a range is set) the learner must watch for the block to count as complete. Defaults to 80%. Set it lower for supplementary content or higher for material learners need to see end-to-end.
Quiz and Roleplay Blocks
Quiz and Roleplay are the two graded block types, and both support AI generation inside the editor:- Quiz offers “Generate with AI” and “Build from scratch” tabs. Learners must hit the passing score within the attempt limit, so these blocks can gate completion. See Add a Quiz for question authoring and settings.
- Roleplay offers “Generate with AI” and “Pick existing” tabs, and you set the minimum rank and minimum attempts a learner needs. See Add a Roleplay for the full setup, and AI Roleplays for how scenarios work.
Image hotspots
Image hotspots turn a picture into a set of clickable markers. Each marker opens a pop-up that can hold its own text, images, or videos, so a learner explores a diagram, screenshot, or form one point at a time instead of reading a wall of prose. Add hotspots to an existing image by hovering it and clicking Add hotspots, or insert an empty block from the slash menu (/image hotspots) and upload a picture. Once the picture is in place:
- Add a marker. Click anywhere on the picture. A new numbered dot appears where you clicked, and its pop-up opens for you to write into.
- Move a marker. Drag a dot to a new position. Positions are stored as percentages of the picture, so they hold at any render size.
- Edit a marker. Click a dot to open its pop-up. Add blocks inside with the slash menu, rename the marker, or delete it.
- Choose a marker style. Above the picture, switch between Steps (numbered dots read in order) and Points (plus dots opened in any order). Use Steps for a walkthrough where the sequence is the lesson, and Points for scattered annotations where order does not matter.
Next Steps
Add a Quiz
Write questions, set the passing score, and control attempts.
Add a Roleplay
Link or generate a scenario and set rank and attempt requirements.