Learn how to create effective AI roleplay scenarios from start to finish - from picking your setup method to publishing and refiningDocumentation Index
Fetch the complete documentation index at: https://docs.exec.com/llms.txt
Use this file to discover all available pages before exploring further.
Building a great roleplay doesn’t require perfection on the first try. Use the guide below to go deeper on any section covered in the video.
Before You Build: The Four Pillars
Before diving into any building method, think through these four elements. They apply regardless of how you create your scenario.Pillar 1: Scenario Context
Pillar 1: Scenario Context
Define the basics of the situation:
- What role does the learner play? (SDR, AE, Manager, etc.)
- Who is the AI character?
- What type of conversation is this? (Cold call, scheduled meeting, video call)
- What company or product is the learner representing?
Pillar 2: Conversation Goal
Pillar 2: Conversation Goal
Be specific about what success looks like. A clear goal keeps the scenario focused.
- Book a meeting with an AE
- Gather discovery information
- Deliver difficult feedback
- Close a deal
- Get a clear action item
Pillar 3: Definition of Good
Pillar 3: Definition of Good
If you were watching the conversation, what would tell you it’s going well? Define observable success criteria.
- Cold calls: Booking the meeting
- Discovery: Gathering specific info (budget, timeline, pain points)
- Feedback: Getting commitment to behavior change
- Negotiation: Reaching specific terms
Pillar 4: The Challenge
Pillar 4: The Challenge
What makes this conversation difficult? This is what creates realistic practice.
- Skeptical or resistant prospect
- Bad timing or previous negative experience
- Competitor already in play
- Budget constraints
- Difficult personality type
Choosing a Building Method
| Method | Best For | Control Level |
|---|---|---|
| Voice Setup | Beginners, brainstorming | Medium |
| Chat / Text | Quick builds, clear vision | Medium–High |
| Templates | Structured approach, scaling | High |
| Templates + Sources | Scale, consistency, non-SMEs | Highest |
Voice Setup
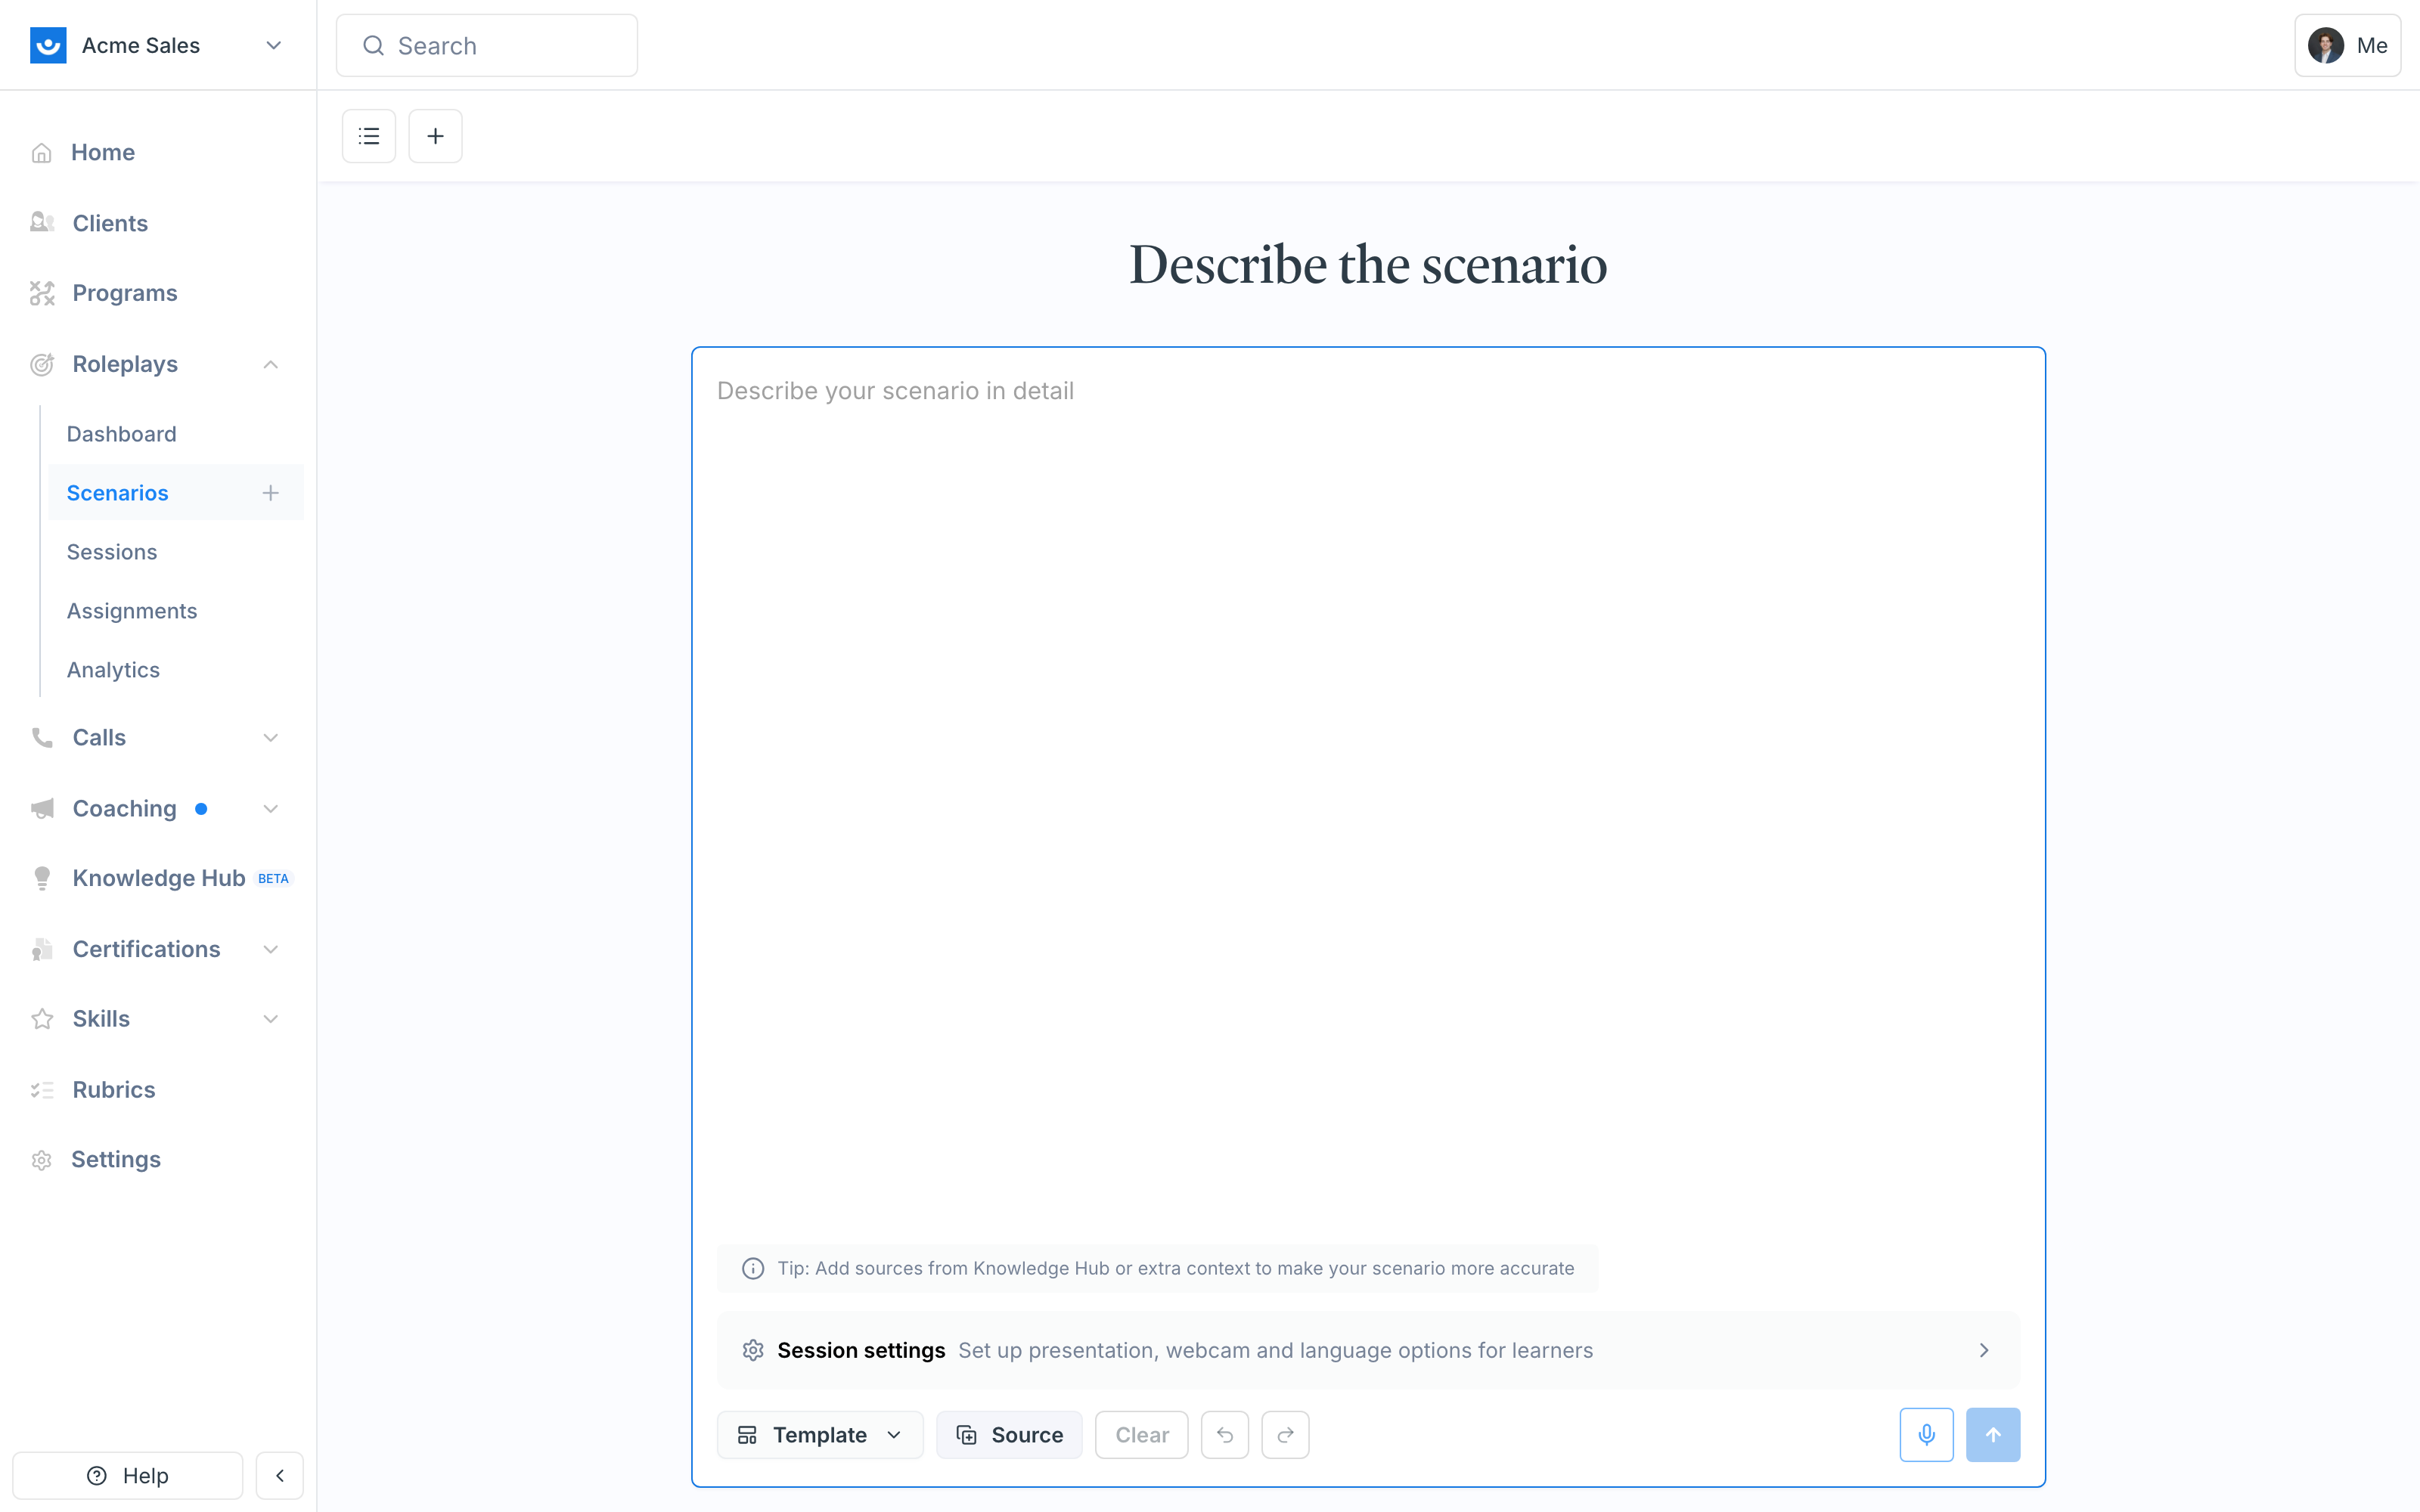
Create a scenario in 3–5 minutes through a natural voice conversation with the AI Agent. Best for: Beginners, quick creation, people who prefer talking over typing.Describe your scenario
Talk through what you want to build. The agent will ask clarifying questions to fill in any gaps. Keep the four pillars in mind as you speak — you don’t need to be formal.
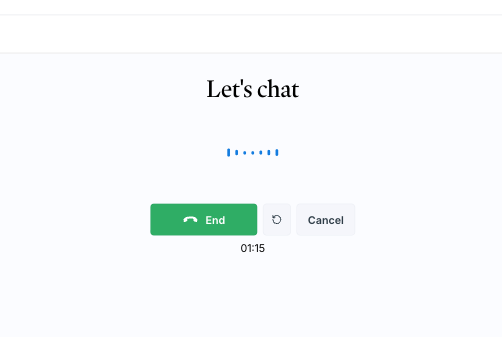
You can’t review the voice conversation after ending the call, and you won’t be able to attach documents until after the call is complete. If you need to attach materials upfront, use Chat or Templates instead.
Chat / Text Input
Type your scenario details directly into the chat. Best for: When you have a clear vision and want to move quickly, or when you’re pasting in a prewritten outline.Type your scenario details
Enter your scenario directly into the chat. You can attach documents from the start to enhance the creation process.
Answer any follow-up questions
The AI Agent will ask clarifying questions if it needs more detail. The more specific you are upfront, the fewer follow-ups you’ll get.
Templates
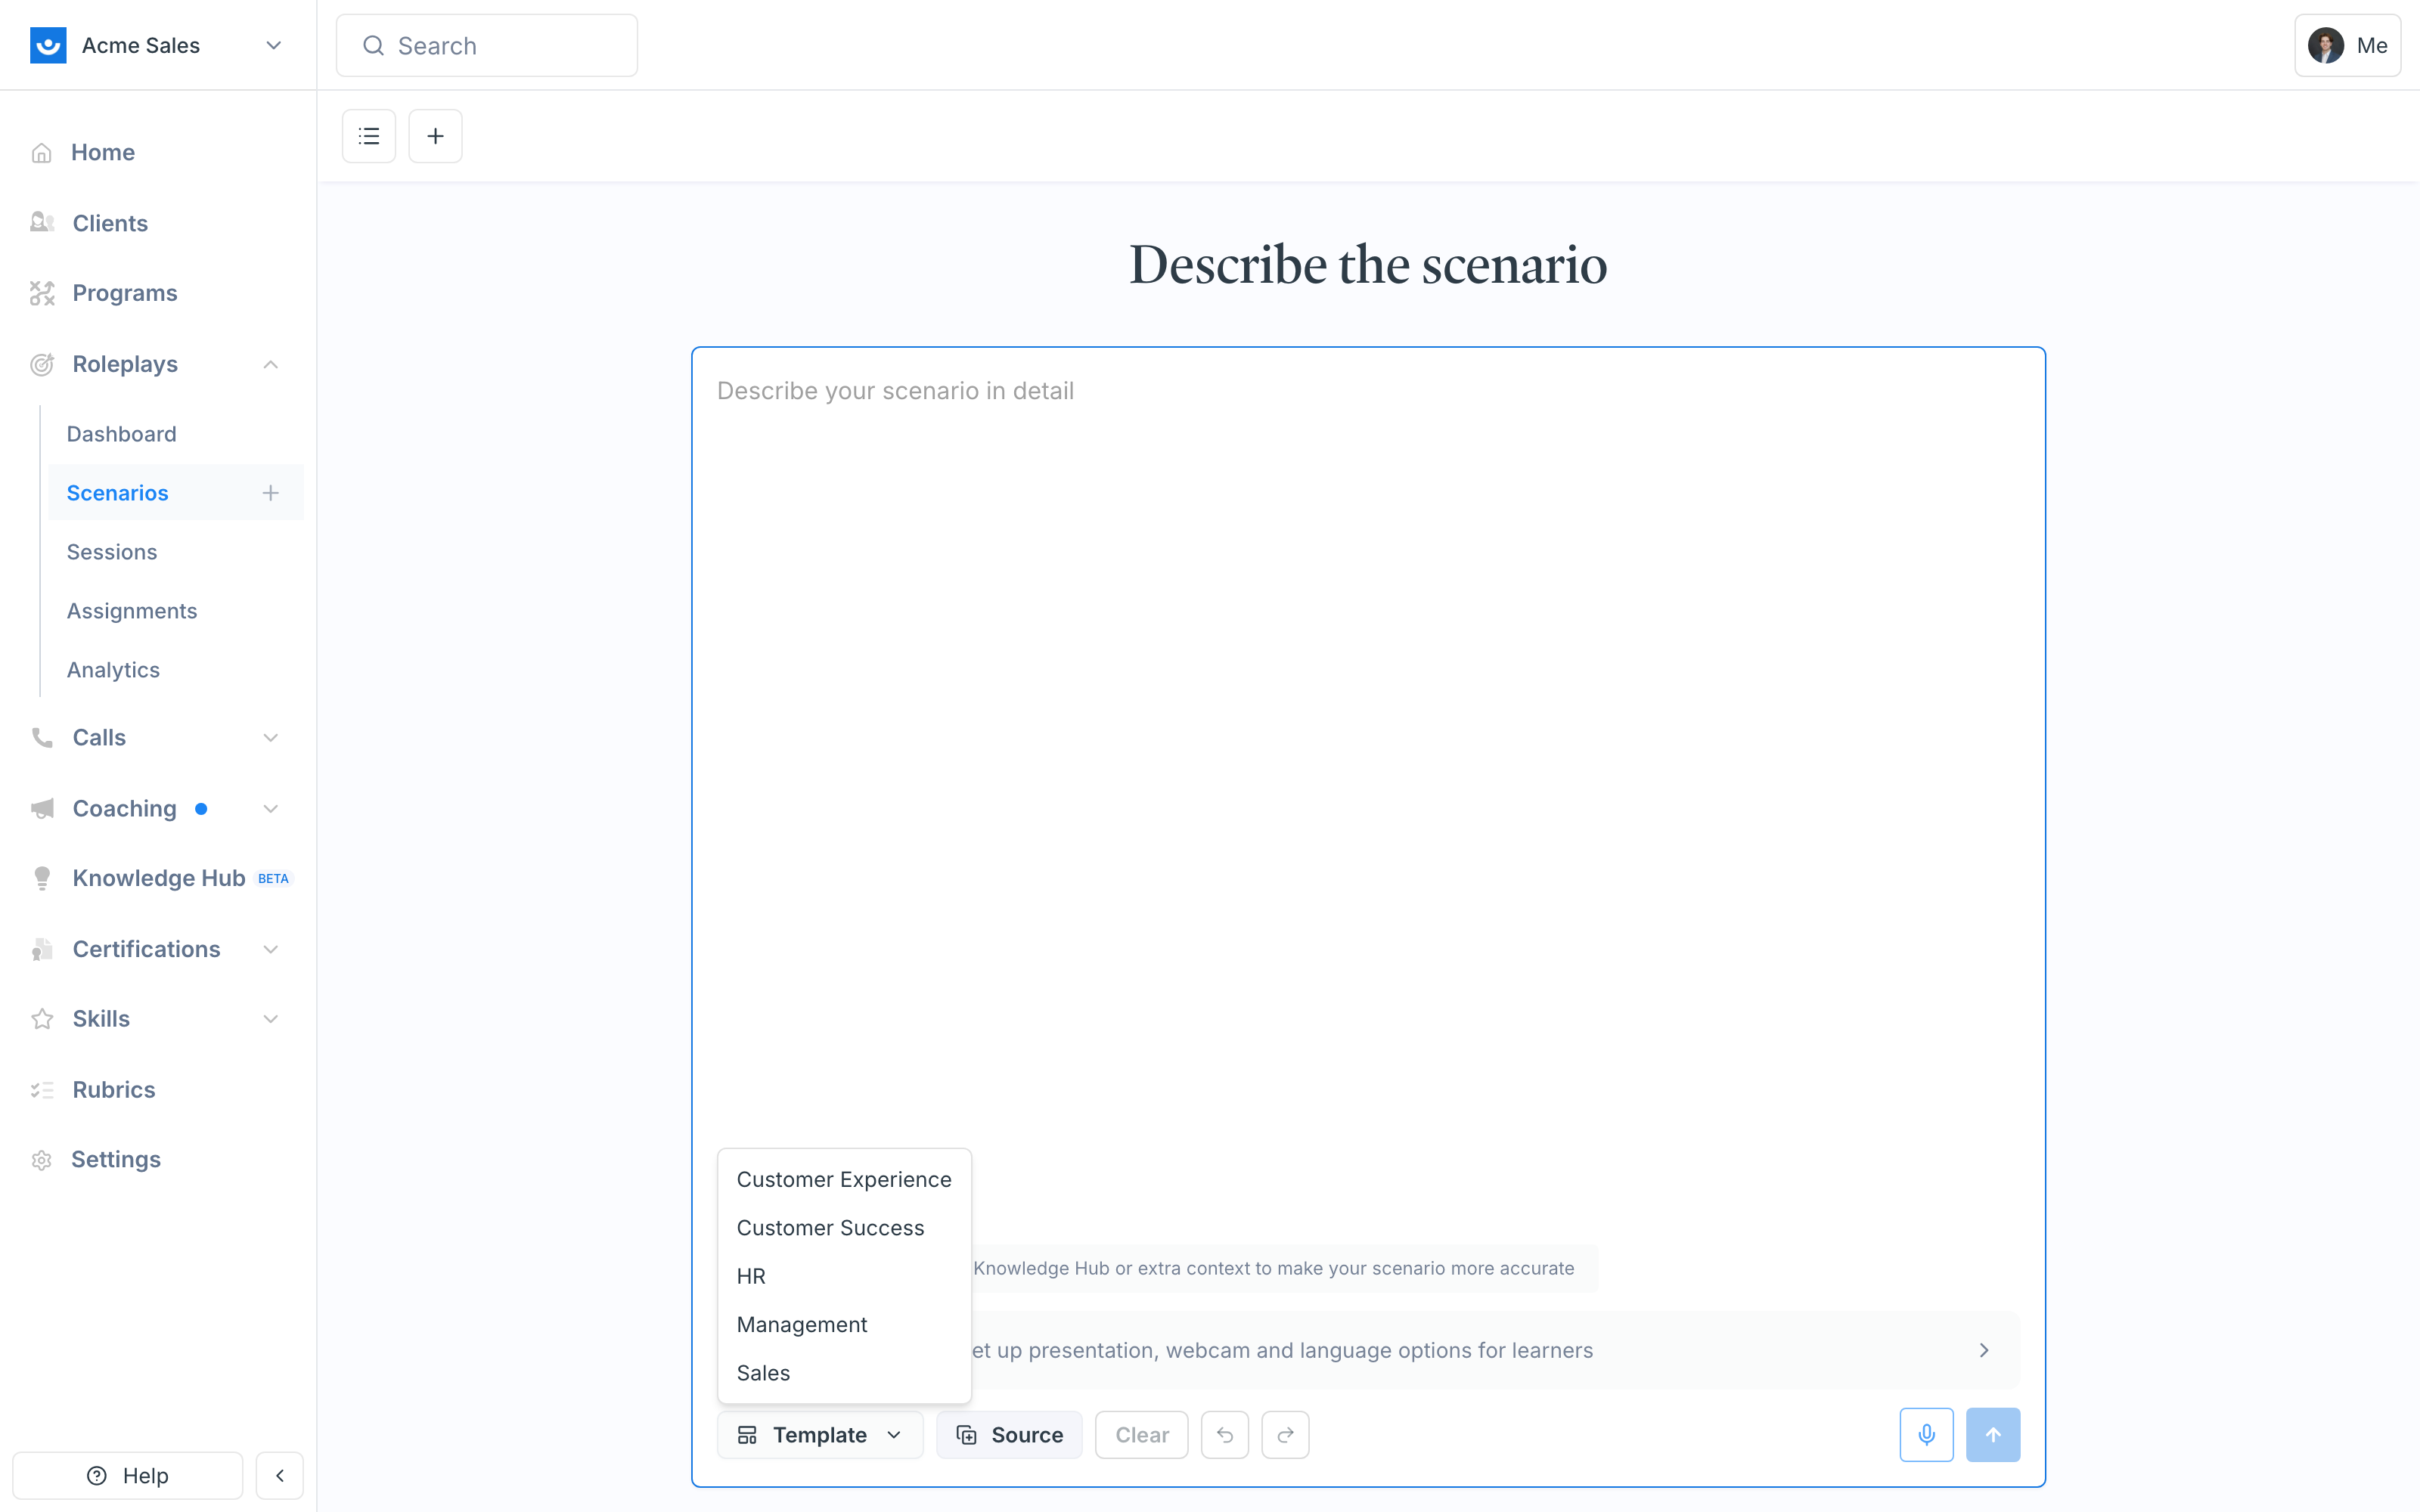
Select a conversation template and fill out the form fields. Best for: Structured approach, ensuring you don’t miss key elements, scaling to multiple scenarios. Templates help the AI Agent understand the type of conversation you’re building. Each conversation type has nuances — discovery is about digging deeper, objection handling has different dynamics than demos or feedback conversations. Templates encode those nuances so the agent builds appropriately.Click Use Template
Hover over the conversation type (Sales, Management, HR, etc.) and select a specific template.
Fill out the form fields
Complete the fields provided — company context, customer profile, situation details, desired outcomes, and competitive considerations.
Templates take more time to fill out than voice or chat, but they produce the most consistent results — especially when building at scale.
Templates + Sources (Power User Method)
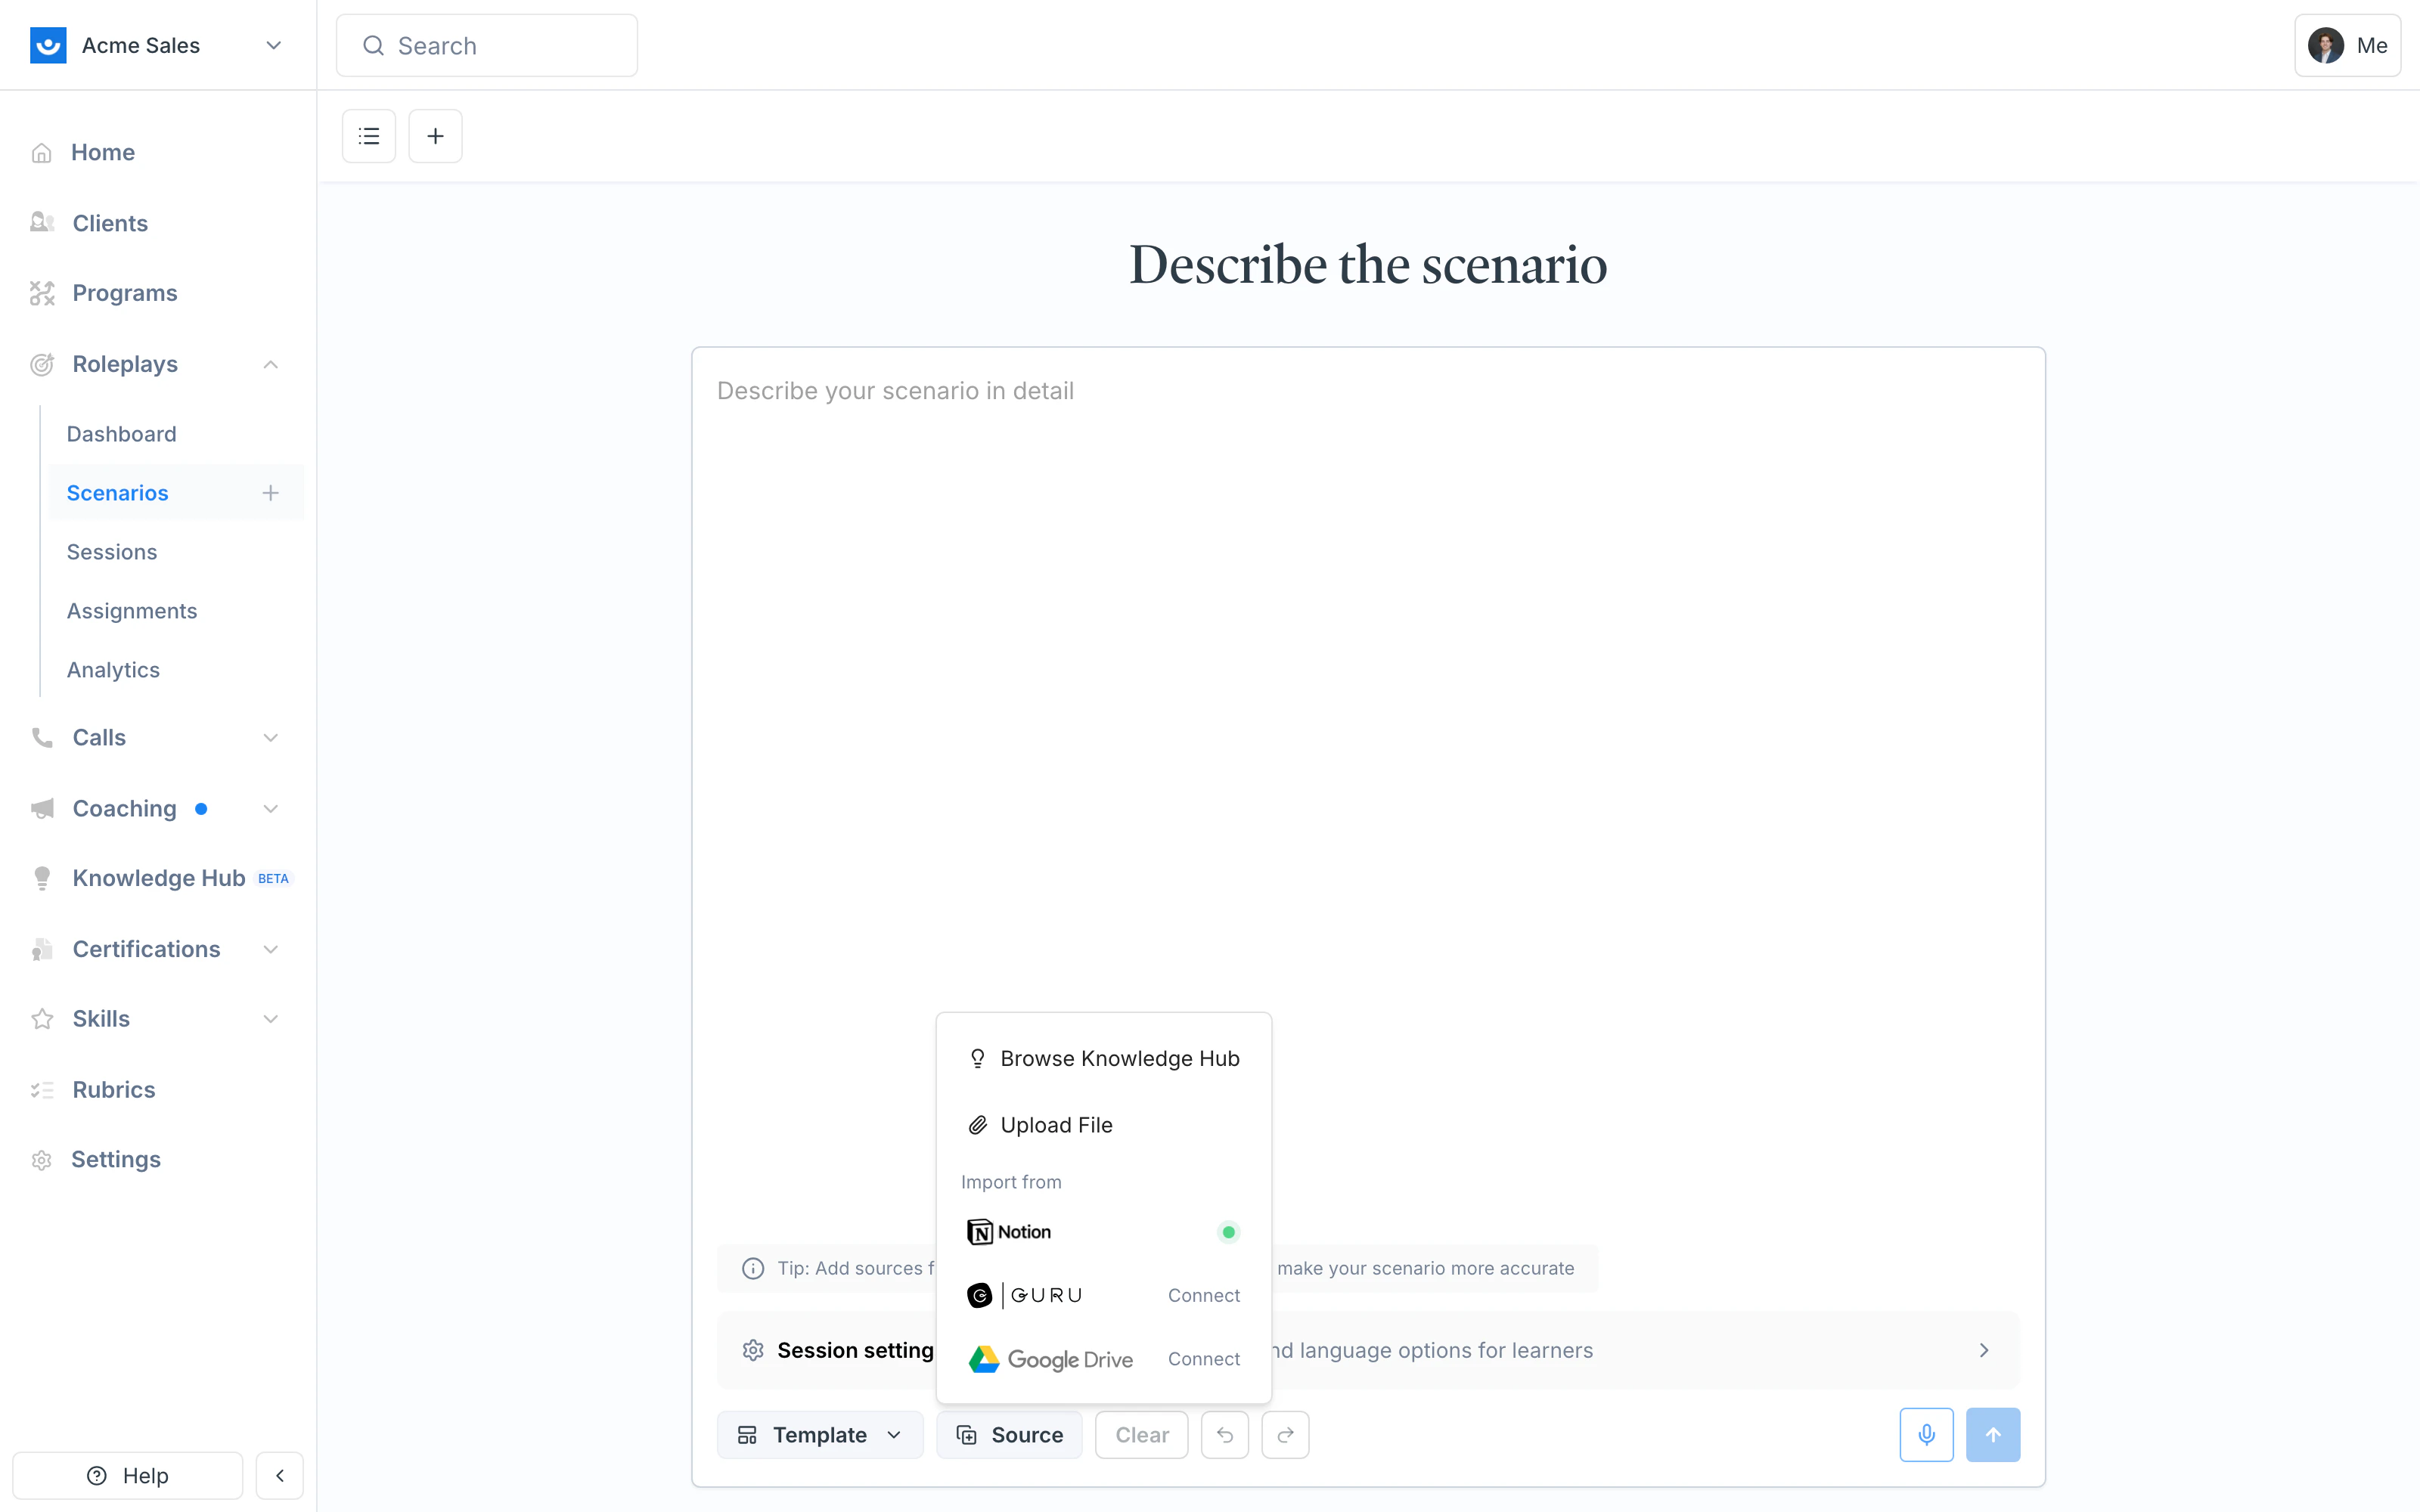
Attach your existing enablement materials to a template via the Source menu and let the AI Agent do the heavy lifting. Best for: Leveraging existing resources, building at scale, scenarios where you’re not the subject matter expert.Add sources
Click Source under the chat and pick where the agent should pull from — your Knowledge Hub, an uploaded file, or an Import from Notion / Guru / Google Drive connection.
Add a prompt
At the top of the chat, tell the agent to use your sources to fill out the template. Example:
Review the completed template
Before building, verify the agent pulled in the right information. Check for accuracy and refine if needed (e.g., “Use the MEDDIC framework for the evaluation criteria”).
Where Sources Come From
The Source menu gives you three ways to bring material into a build, replacing what used to be separate “Context” and “Attachments” options:| Option | Use it for |
|---|---|
| Browse Knowledge Hub | Reusable reference material saved to your workspace (pricing guides, company briefs, methodology docs) |
| Upload File | A one-off document for this specific build (a call transcript, a single PDF) |
| Import from Notion / Guru / Google Drive | Pull a page or doc directly from your team’s connected tools |
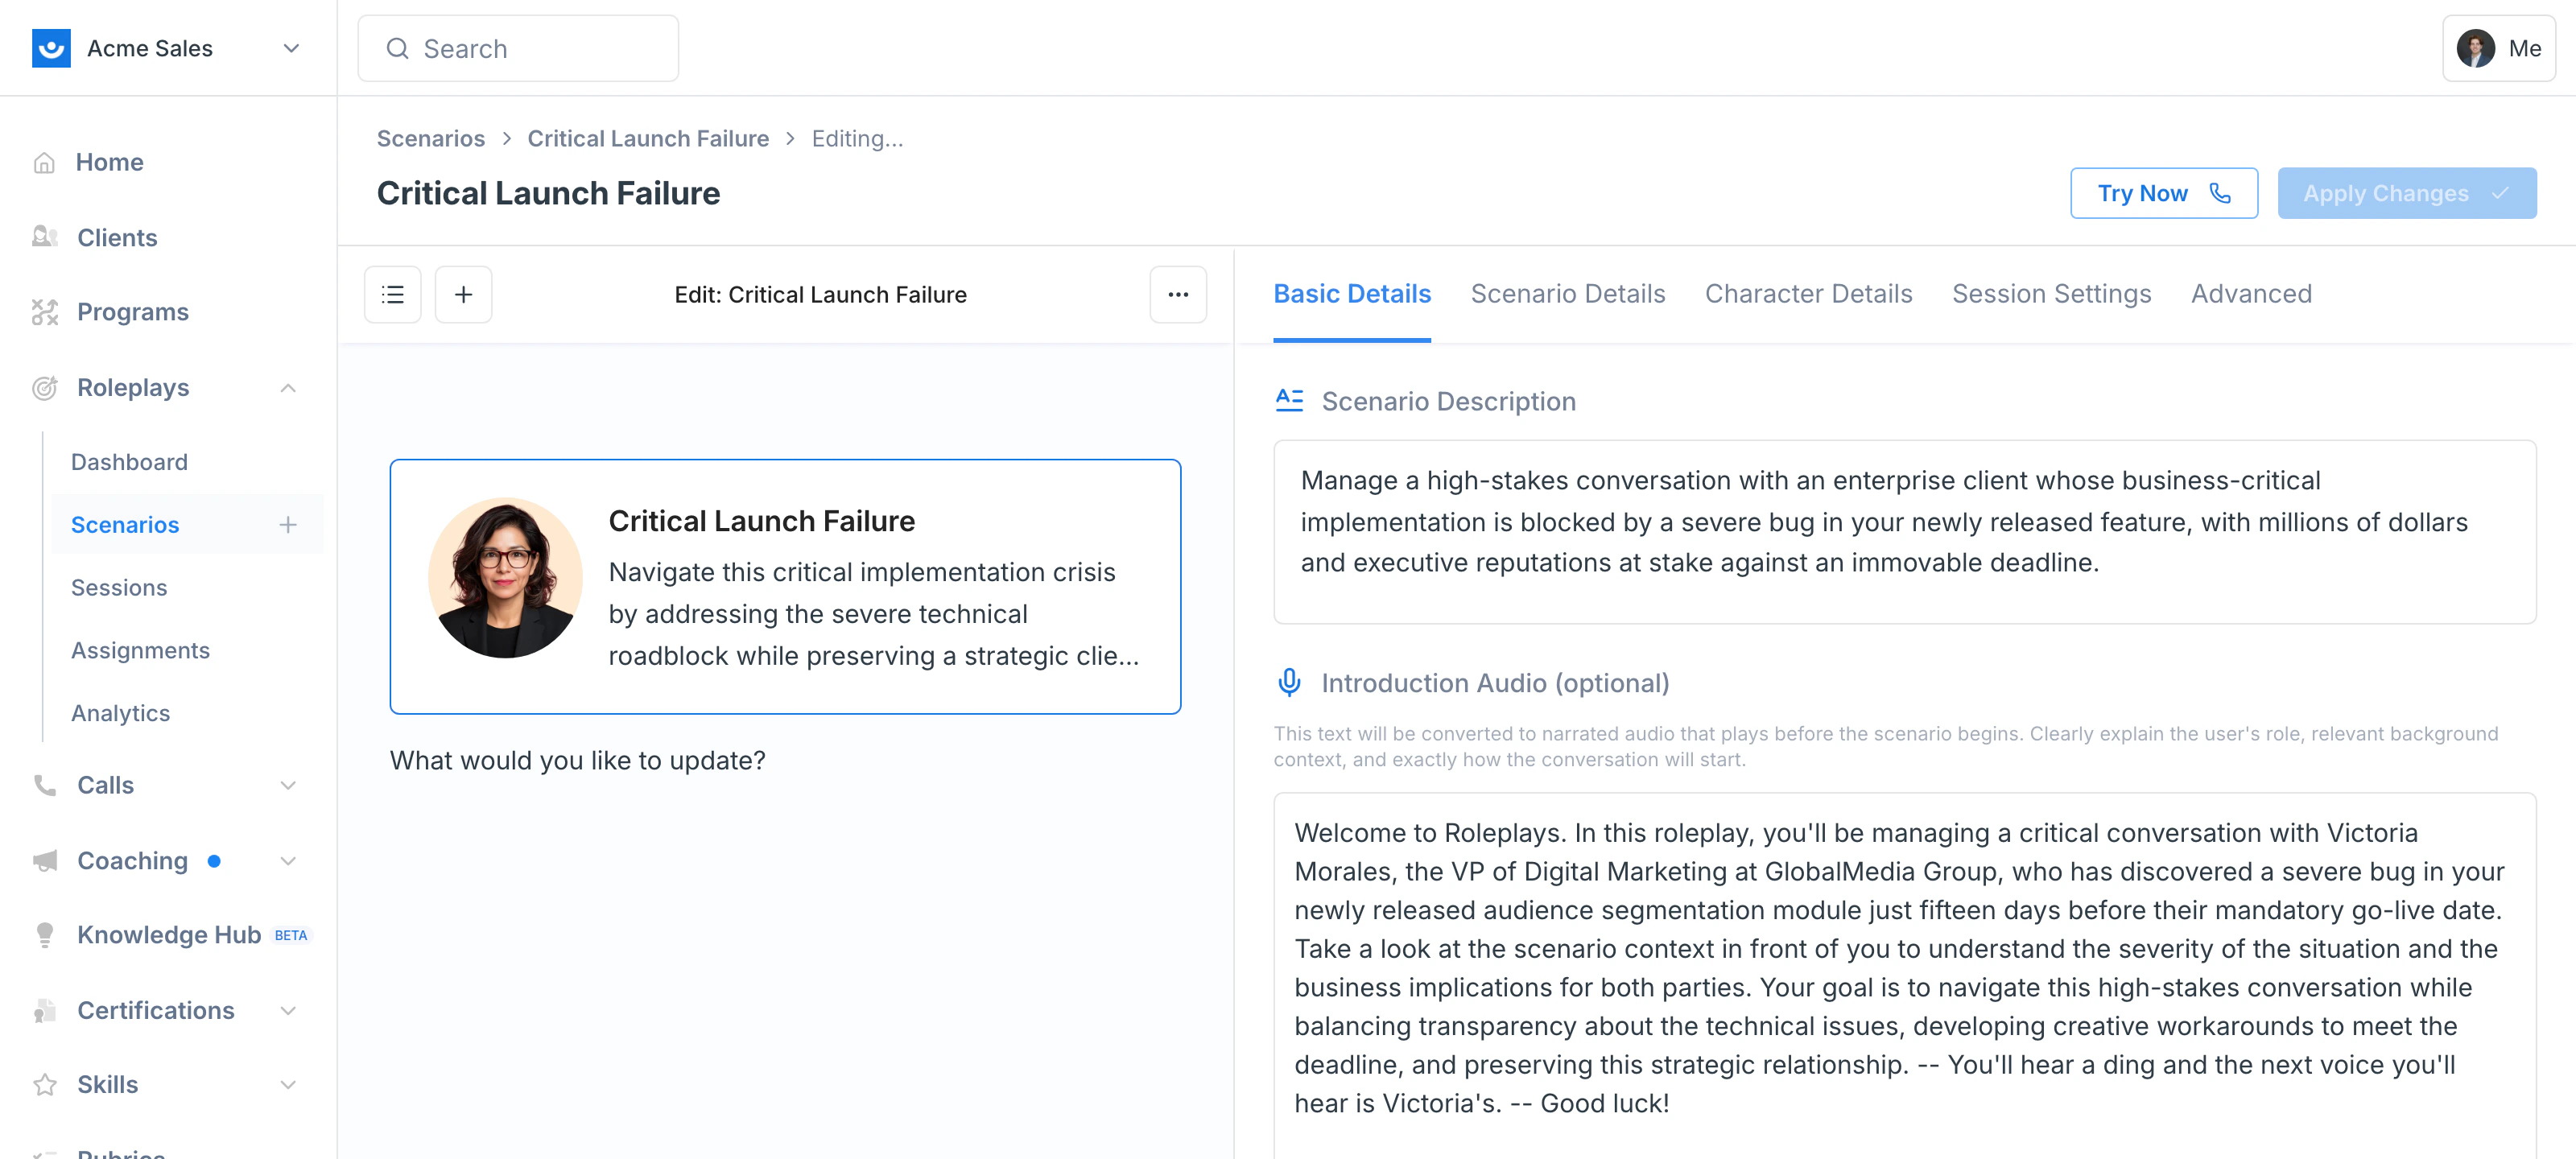
Testing Before Publishing
Always test your scenario before publishing.Click Try Now
In the Scenario Studio, click Try Now to start a short test conversation with the character.
Test specific triggers
Try the moments that matter most — how the character handles resistance, how much info they volunteer, whether the opening line feels natural.
Return to chat to adjust
If something feels off, go back to chat and be specific:
- “Make the character more skeptical”
- “The character is giving away info too quickly”
- “Add more resistance around budget discussions”
Refining After Publishing
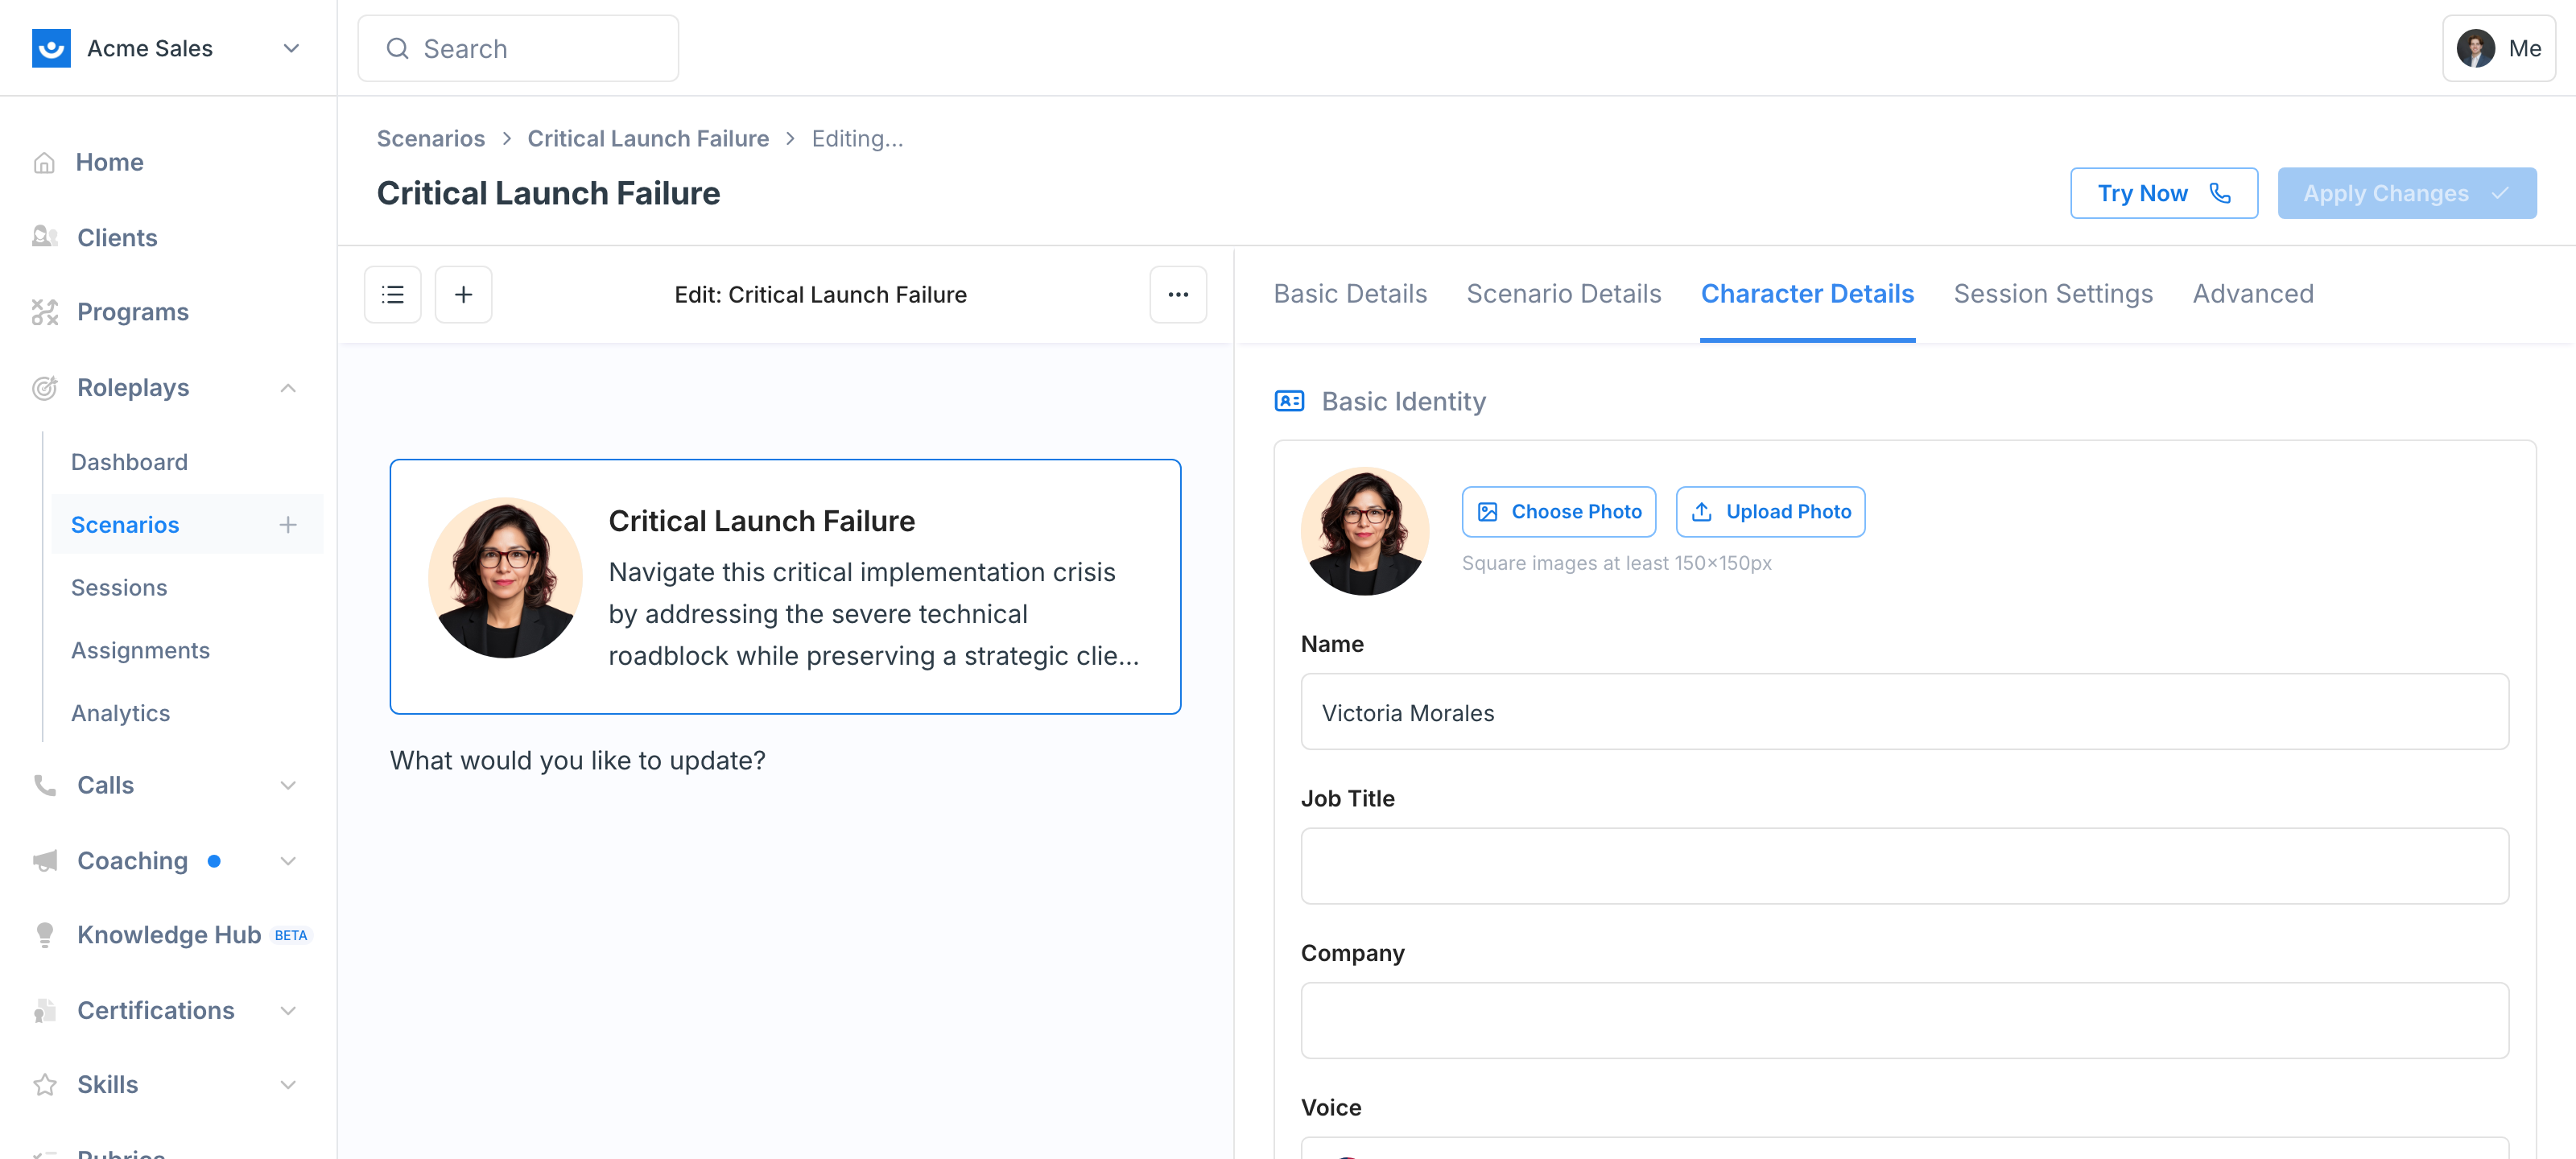
Once a scenario is live, you have two paths for making changes — edit the current scenario, or remix it into a new one.Edit the Existing Scenario
Open the scenario, click the three-dot menu (⋯) in the top-right and choose Edit Scenario (or click any pencil icon on the page). The scenario reopens in the Scenario Studio with an agent chat on the left and a live preview on the right. Everything is editable here — scenario context, evaluation criteria, character identity and personality, response guidelines, conversation flow, hidden details, voice, session settings, and Conditional Context. Type instructions to the agent or click the pencil next to any field to edit it inline, then click Apply Changes to save back to the same scenario.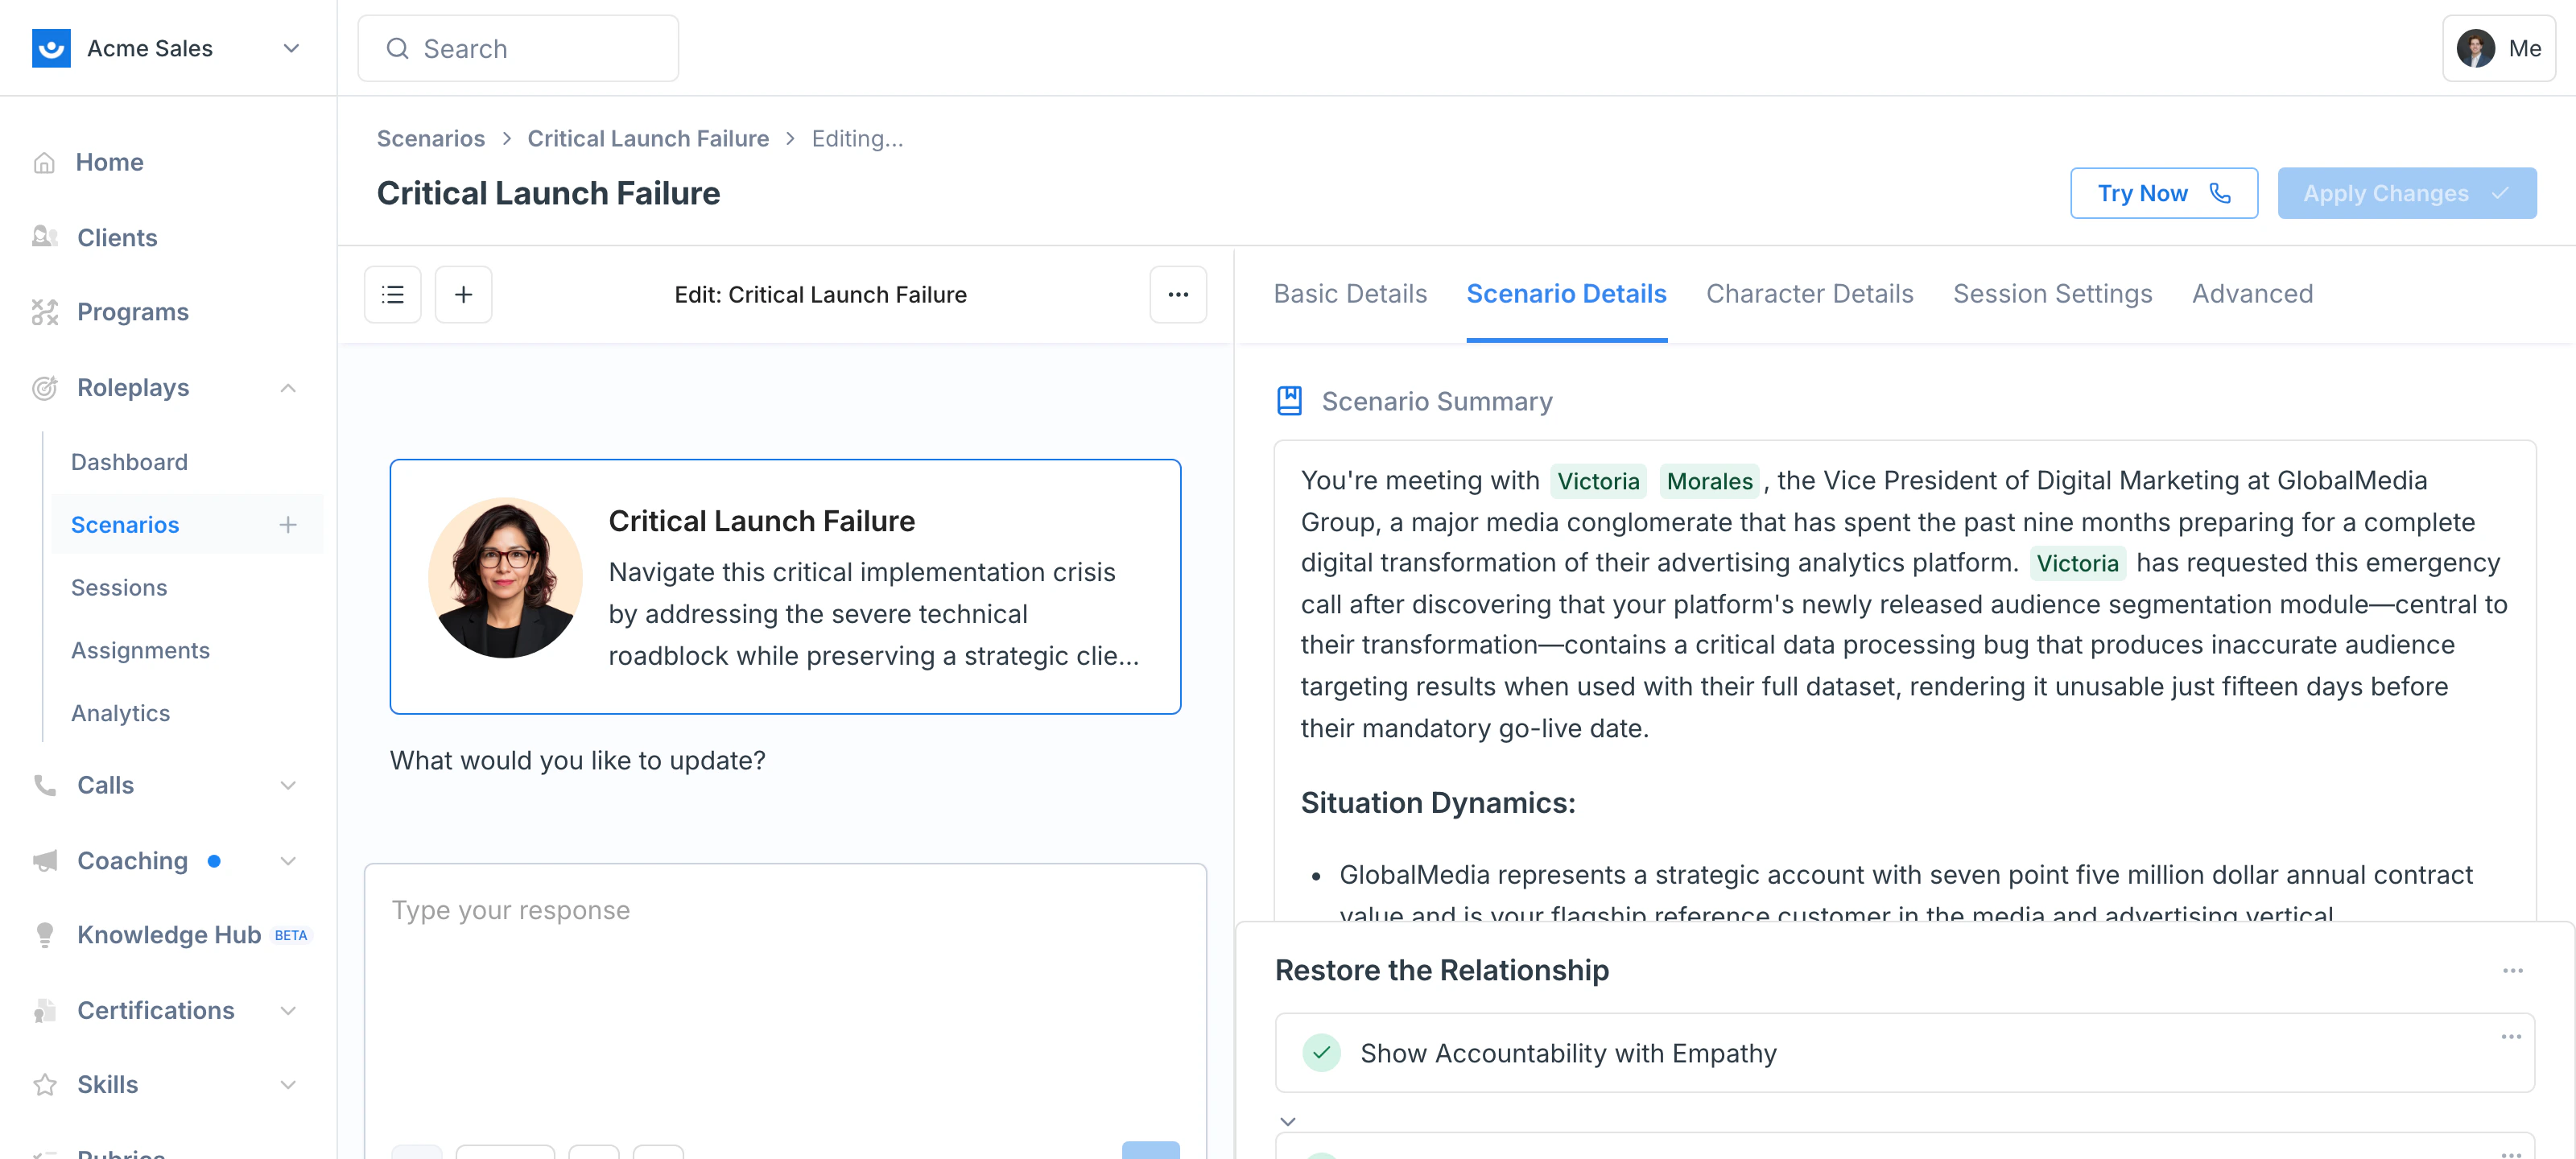
Remix into a New Scenario
Remix when you want a variation instead of an update — a harder version, a different audience, a different industry — while keeping the original intact for the people already using it.Remix creates a copy — your original scenario stays intact with all its session data preserved.
- “Make a harder version of this scenario”
- “Make the character more resistant to sharing information”
- “Add a competitor already in play”
- “Remove budget authority from this character”
Advanced Tuning
Once you have a working scenario, use these techniques to fine-tune character behavior. Natural speech patterns- Level 1 (Initial): Surface-level, guarded response
- Level 2 (Follow-up): More detail if pressed
- Level 3 (Final): Full information only with strong probing
Customizing Evaluation Criteria
Evaluation criteria determine how learners are scored. You can customize these at any time after publishing. What you can do:- Add, remove, or reorder criteria
- Edit the Good/Fair/Poor descriptions
- Add scenario-specific context within each description
- Associate skills with each criterion for analytics tracking
- Import a custom rubric by clearing existing criteria and adding your own
| Difficulty | Recommended Criteria |
|---|---|
| Easy | 6–7 |
| Medium | 8–9 |
| Hard | 10–12 |
Troubleshooting
| Issue | Solution |
|---|---|
| Character reveals too much | Edit the scenario and add response length limits or extra discovery depth |
| Character is too difficult | Edit to tone it down, or remix for an easier variation |
| Conversation feels unnatural | Add natural speech patterns; test and iterate |
| Missing evaluation criteria | Edit criteria directly in the Scenario Studio |
| Info from a source isn’t showing | Explicitly tell the agent to pull in that specific information |
| First version didn’t feel right | Paste the session transcript into the agent chat and show it what to fix |
| Need a separate variation for another audience | Clone the scenario or remix it instead of editing |